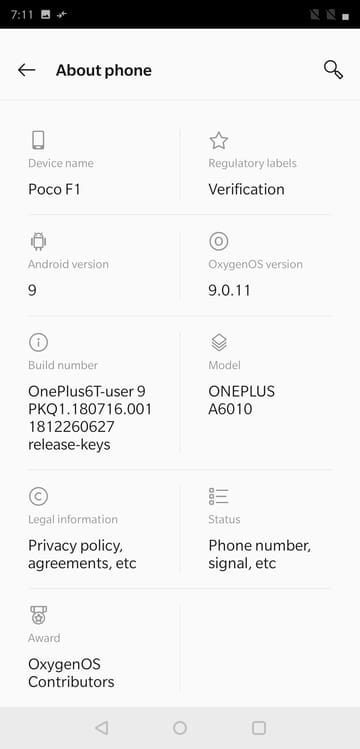
In this tutorial, we show you how you can install OxygenOS 9.0 from the OnePlus 6 or OnePlus 6T on your Xiaomi Poco F1 to get the best possible performance. Follow the tutorial to enjoy OxygenOS 9.0 on Poco F1.
Xiaomi took the smartphone market by storm when it launched the Poco F1. It’s a smartphone that got people talking about it because it accomplishes what OnePlus once did. With the rising prices of flagship smartphones, OnePlus included, the Poco F1 aims to capture the brand loyalty that the OnePlus One once earned for OnePlus. One of the reasons people love OnePlus devices though is also Oxygen OS, the custom skin that runs on top of Android on OnePlus phones.
Oxygen OS is probably the closest an OEM skin has gotten to stock Android. It also has many features that users love, and that stock Android lacks. Network speed indicator, built-in app lock, parallel apps, file locker, etc. to name a few. OnePlus carefully curates the features that it adds to Oxygen OS, based on community feedback. This ensures only features that users find useful, end up in the OS. Thus, weeding out all the junk features that other OEM skins like MIUI, EMUI, Samsung Experience, end up with. Users of the Poco F1 can now enjoy the power of Oxygen OS on their device thanks to some hardworking devs such as CodeElixir.
Oxygen OS 9.0 on Poco F1
Almost everything works on this port of Oxygen OS except a few things. The most important of these is the MIUI camera which doesn’t work whereas the OnePlus camera is also not fully functional. An easy workaround is to install the Google Camera port for the Xiaomi Poco F1. The OnePlus Always On Display also doesn’t work but the Poco F1 doesn’t have an AMOLED display so that’s fine. Oxygen OS Audio tuner also doesn’t work but it’s not something users will miss badly. The silent mode also doesn’t work because the Poco F1 does not have the Alert slider. If you do need to put your device to silent mode, you can use a third-party app or widget from the Play Store.
Warning
Installing a custom ROM on your device requires unlocking the bootloader which will void its warranty. If you’re here though you’ve probably already unlocked the bootloader. We can assure you that the method mentioned below has been successfully tested and that it works perfectly fine. But we can not assure you that everything that you do (even if you follow this guide exactly) will produce the desired result. There is always a risk that something can go wrong. In which case, you must understand that you were warned, and you still went with it anyway. Therefore, DroidViews cannot be held liable for any damage to your device.
The process requires you to format your device so make sure you have backed up everything important, including files and folders on your device’s internal storage.
Requirements
- A Xiaomi Poco F1 with an unlocked bootloader and TWRP recovery installed. To Unlock the bootloader of your device, apply here.
- Enable USB debugging and OEM unlock.
- Make sure the device is charged at least 50%.
- Windows users will need to install the latest Xiaomi USB Drivers.
- The latest stock MIUI 10 firmware based on Android Pie must be installed on the Poco F1 in order to run Oxygen OS. If you’re currently running a custom ROM, flash the stock firmware and vendor first and then proceed with the tutorial.
Download OxygenOS 9.0 for Poco F1
Since the internal storage of the device needs to be formatted, it is better to download and keep these files in an external SD card or a USB OTG. You can also transfer the files to the device’s storage after formatting, via an MTP connection.
How to install OxygenOS 9.0 on Poco F1
- Connect your Poco F1 to the PC with a USB cable and launch the ADB command line interface. Grant ADB debugging permissions to the PC on your phone if asked.
- Use the following ADB command to reboot your device into recovery mode.
adb reboot recovery
- When in recovery mode, slide towards the right to Allow Modifications if asked.
- Go to Wipe > Format data and type yes to factory reset the device. This will wipe your internal storage. Next, go to Wipe > Advanced Wipe and select system, data, cache, and Dalvik cache. Swipe at the bottom to wipe the selected partitions.
- Select Install and navigate to the folder where you’ve placed the downloaded Oxygen OS ROM file, then select the ROM. GApps are included in the ROM so you don’t have to flash an additional GApps file.
- Similarly, flash the Vendor Patch and then the IR Face Unlock. IR Face Unlock is required to get the Face Unlock working since the built-in Oxygen OS face unlock doesn’t work.
- Once everything is flashed, go back to the TWRP main menu and select Reboot > System.
When your device boots up again, you should be greeted with the beautiful Oxygen OS bootanimation. To customize your Android device is awesome ways, you should also try Swift Installer.
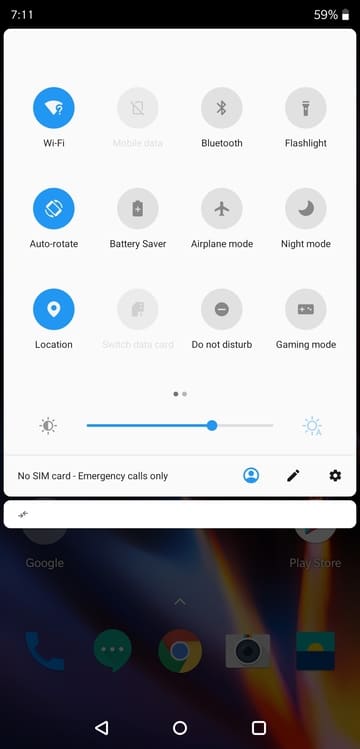
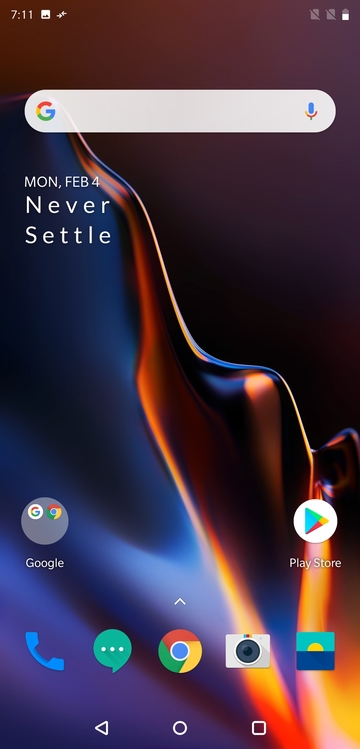


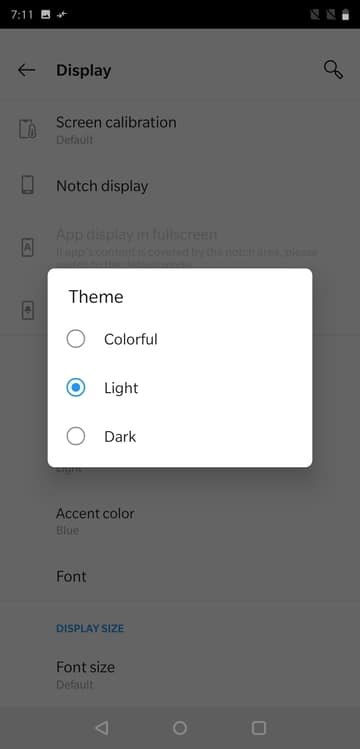


Join The Discussion: