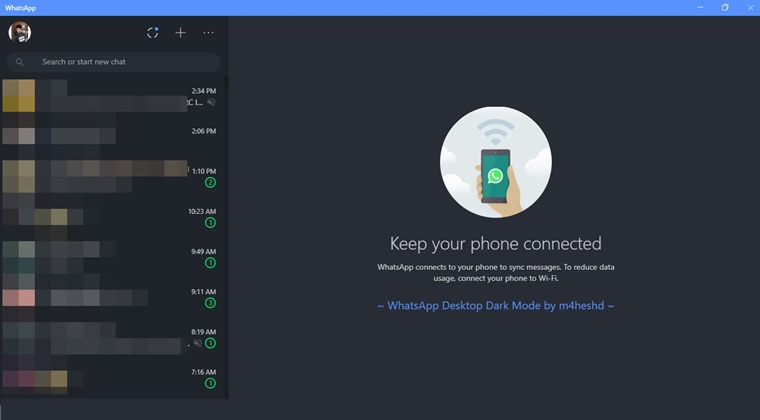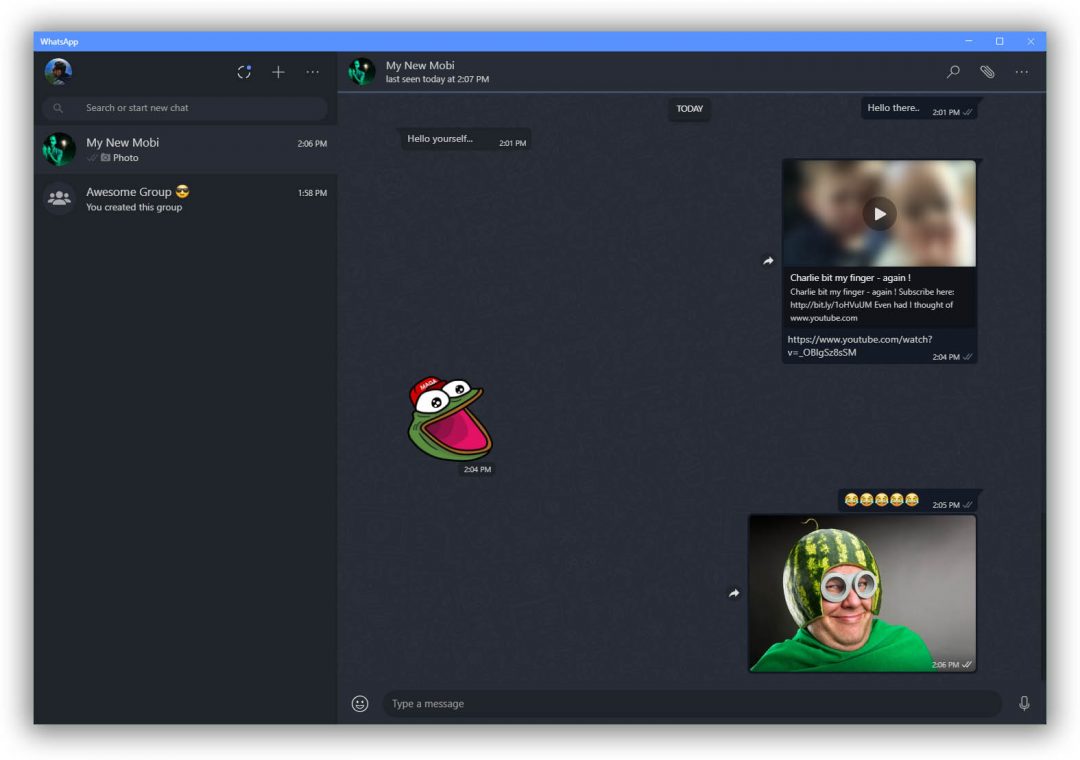
m4heshd from Github has created a dark theme called WA Dark for the WhatsApp desktop client for Windows and Mac. To enable and enjoy WhatsApp dark mode on your computer, download the theme file according to OS and install it as instructed.
Probably the most famous Instant Messaging service out there, WhatsApp has been downloaded over a billion times on Android alone. The app has a simple UI with all the important functionalities that a user could ask for. But still, there is one feature that every user is long being waited for. The rumor mill has been filled up to the brim with news that WhatsApp is “soon” going to launch the dark version of their app. But it’s been close to a year and the situation is still the same. Now, it seems someone over at XDA has finally given heed to this demand.
Although WhatsApp is available for both the mobile devices (Android, iOS) as well as desktop (Windows, and macOS), this theme only works on the desktop version (both on Windows and macOS). So if you are among those users who are ever busy on their PC and don’t pick up his or her phone for every new message, then its time to give the desktop version a try- even more so when a dark theme is available for it. Read on further to know more about how to enable the dark mode on WhatsApp for desktop. But before beginning with this guide, why not have a look at the 25 WhatsApp tips and tricks.
Dark Mode on WhatsApp for Desktop- Everything you need to know
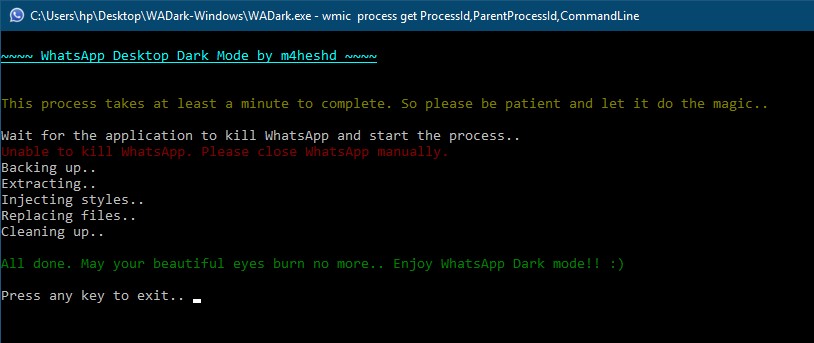
XDA Member m4heshd has created a little tweak which themes the entire desktop version of the app with a dark mode. The developer has created a simple installation script using NodeJS and then injected it into the source files of the WhatsApp (desktop client). On the front end, he also created a simple executable file using nexe which the users just need to click once to enable this script.

So is it safe? Well, this one question would be bugging you all since the beginning of this guide. Just to clear all such doubts, the developer has made this project open-source and released all the source files over at GitHub. Anyone having any doubts could easily inspect all the available source files. He even has provided detailed instructions on how to create the entire script yourself, if anyone still has any doubt whatsoever.
He strictly emphasis on the fact that he hasn’t created a modded version of WhatsApp or used any third-party app. Rather he has just created a script which injects some codes into the root directory of WhatsApp. Still, the decision completely lies in your hands. DroidViews or any of the members wouldn’t be held responsible for anything that happens to your WhatsApp (or data associated with it) by trying out this dark mode.
Downloads
- WhatsApp for Desktop- WhatsAppSetup.exe
- Windows (x86 & x64): WADark-0.3.4479-Windows.zip – Download
- macOS (x64): WADark-0.3.4479-macOS.zip
- WhatsApp Dark mode source code
How to Enable Dark Mode on WhatsApp for Desktop
- Make sure you have the desktop version of WhatsApp up and running on your Windows or macOS.
- Download the dark mode script for your OS from the above section.
- Extract it and run the WADark executable file in the root of the extracted directory.
- Wait till the installation process gets over. It might take a minute or two.

- That’s it. Dark mode will now be enabled on WhatsApp for the desktop version.

Remove Dark Mode from WhatsApp Desktop
If you ever want to remove this mod and revert back to the original theme, just follow the below instructions:
- Open the WADark executable file.
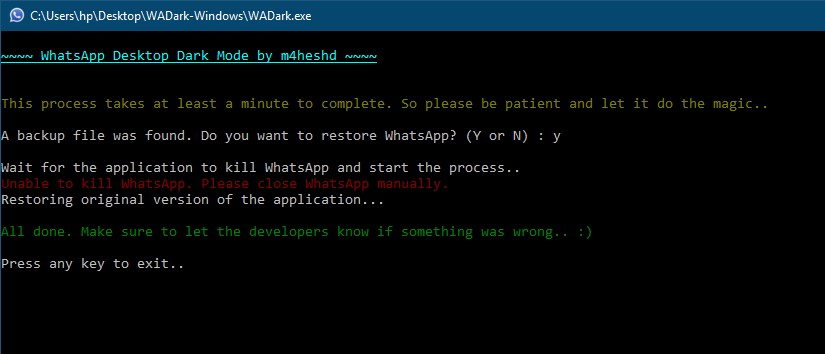
- It will ask whether you want to restore the backed up Whatsapp data and files. Simply type Y and press enter.
- The process may take a minute to complete. Once done, just close this application.

- You will now have the WhatsApp back with its original theme.
So this was an interesting tutorial on how to enable the much-awaited dark mode on WhatsApp for Desktop (Windows/macOS). If you have any doubts with respect to any part of this guide, do let us know. Moreover, if you wish to build the entire installation script yourself, refer to the instructions given by the developer on his Github page.


Join The Discussion: