
We use smartphones all day long for various purposes and so much so that they have turned into an addiction for many for us. However, there are times when we don’t want to be disturbed by a call, message or notification. Android’s Do not Disturb feature comes handy in such situations as it lets you customize Do not Disturb preferences or priorities and below we’ll see how can we use this feature.
Whenever a new version of iOS arrives, it is pretty common to come across memes welcoming iPhone users to their future, and the past of Android. But credit where’s due, iOS did actually beat Android by 4 years when it comes to the introduction of the Do not disturb feature. Android has since taken the Do not disturb feature and added some nifty features that now iOS might want to copy.
Instead of limiting you to a single set of quiet hours, Android’s Do not disturb mode lets you create conditions and scenarios to automatically turn Do not disturb on or off. The process is understandably not as user-friendly as flipping a switch.
Understanding Do not disturb on Android
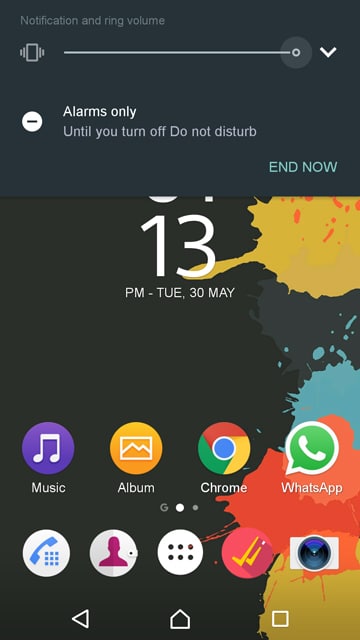
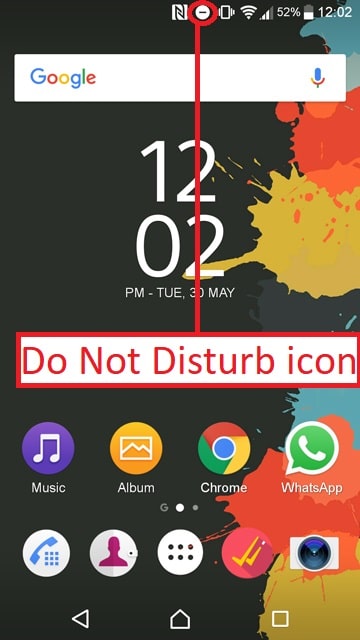
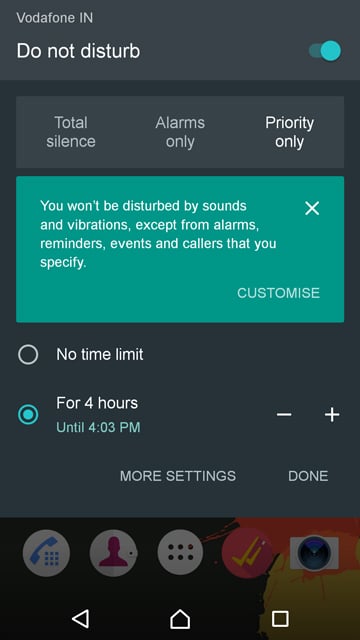
We’re here to make sense of it all for you. Sure, accessing Do not disturb mode on Android is not as easy as flipping a switch, but it’s not any more difficult than pressing and holding the Volume down button. But holding down the Volume down button sets your Android to Alarms only DnD mode. There are two other DnD modes on Android and these can usually be accessed via the Quick settings. When you tap the DnD icon, which is a solid circle with a small line inside it, you are presented with the three available DnD modes. While Total Silence and Alarms Only make sense, Priority only won’t mean much to you if you don’t know what it is.
Also read: 4 Simple and Useful Tricks Every Android User Should Know
- Total Silence obviously means your phone won’t make any sound at all. Consider your speakers dead for the time being. Unless you manually end it, your phone won’t make any sound while playing media, for alarms or calls, messages or anything. When you want out, simply tap the Volume Up button and tap End now.
- Alarms only mode is your classic silent mode. Your phone won’t make any sounds for incoming calls or notifications, but apps, games, and alarms will make noise.
- Priority only is the most interesting one and the one you should absolutely learn about. It mutes all sounds except alarms and those you specify as a priority. These may or may not include reminders and events depending on your choice. By default, reminders and events do make sounds.
All these modes can be set on for a certain amount of time or until you manually turn it off.
How to set up “Priority only” Do not disturb
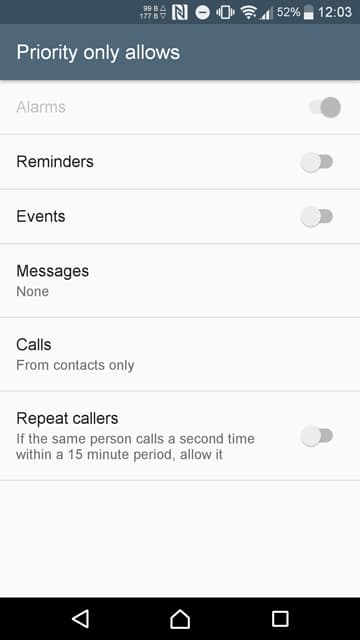
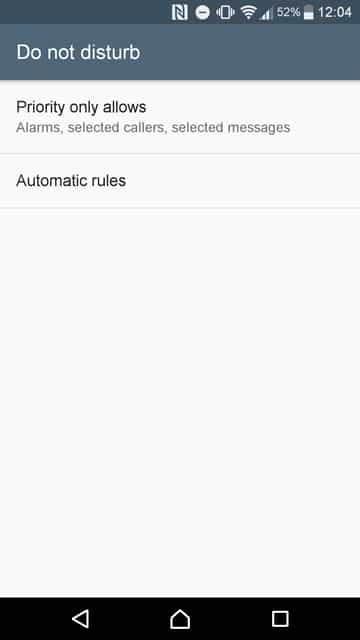
To access settings for Priority only mode, go to Settings> Sound> Do not Disturb or simply tap more settings on the quick settings page. There is an Automatic rules option but we’ll get to it later.
For now, select Priority only allows. Here you can toggle off Reminders and Events if you want. Tap on Messages and/or Calls and you can select contacts based on four groups from a drop-down menu. These include – From anyone, From contacts only, From starred contacts only, and None. A DnD setting that allows calls and messages From anyone does not make much sense. If you want to choose None, the Alarms only mode is rather easier to use. So you may want to choose From starred contacts only here.
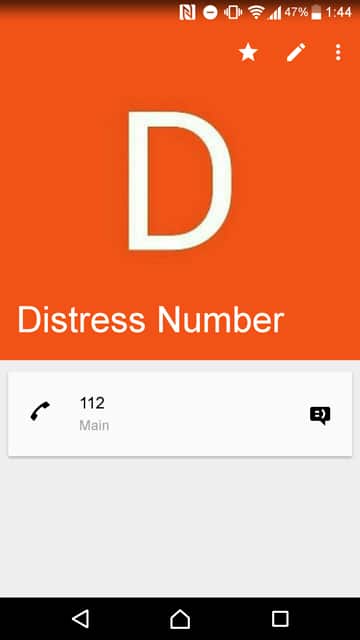
If you don’t have any idea what starred contacts are, these are, say, your favorite contacts. People really close to you, that you wouldn’t want to miss a call from. Starred contacts appear on top of your contact list on Android.
Furthermore, you can exclude certain apps. Go to Settings > Apps and select the app that you wish to hear from even while Priority only DnD is on. Tap on Notifications in the app info page and toggle on Treat as priority.
Do Not Disturb preferences or rules
That was all easy to do, nothing that confusing. But that was all also really basic stuff. A smartphone isn’t really smart unless it is doing things automatically. So Android’s Do not disturb mode has some Automatic rules that you can set according to your needs. We mentioned this at the start.
Instead of limiting you to a single set of quiet hours, Android’s Do not disturb mode lets you create conditions and scenarios to automatically turn Do not disturb mode on or off.
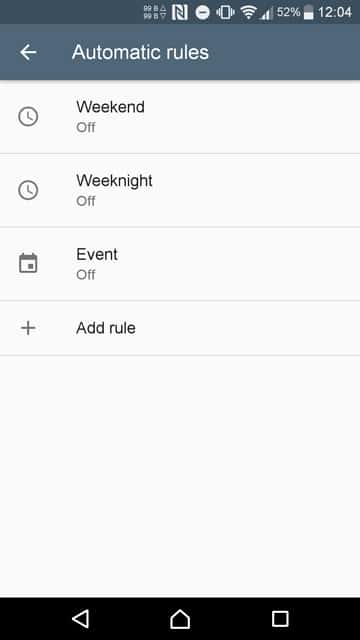
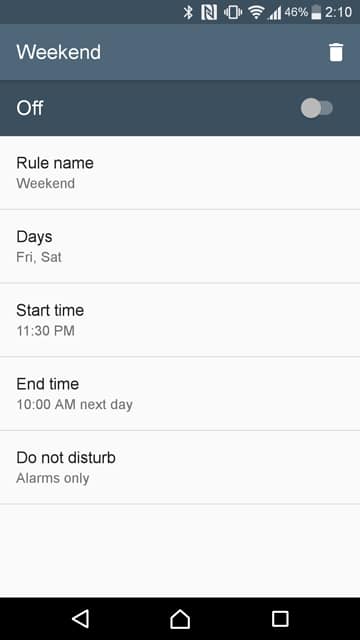
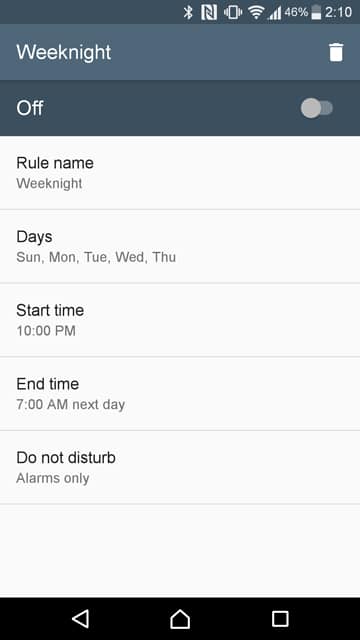
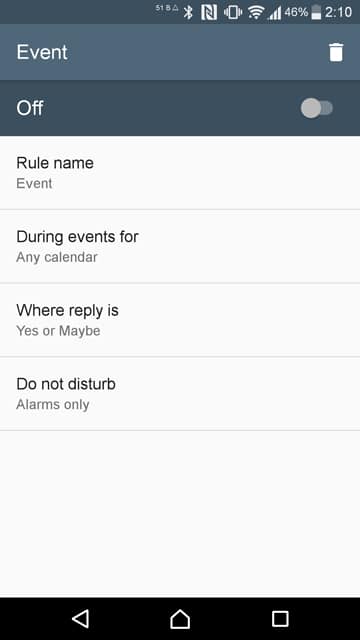
To add rules, simply tap Automatic rules when you go to the Do not Disturb settings instead of Priority only. Here you can add as many rules as you want by tapping Add rules. Rules can be Time-based or Event-based. If you select to create a Time based rule, you have the usual time-based options at your disposal, including start time, end time and the days of the week. If you select to create an Event-based rule, you can choose events Where reply is – Yes, Maybe or Not replied, Yes or Maybe, and No. The events can here are only selected from your Google calendar.
Regardless of the kind of automatic rule you choose to create, at the bottom of each you can select the Do not disturb mode that you want for the said rule. There are already three pre-built rules as seen in the screenshots above that you can simply toggle on or edit.




Join The Discussion: