LG launched the mid range variant, the LG K20 Plus towards the end of last year with Android Nougat 7.0 which was the latest version of Android then. Google recently released the newest version of its mobile operating system, Android Oreo 8.0 to the Pixel and the Nexus devices and it might reach other Android devices in the coming months.
While it is not sure whether LG will send the Android Oreo update to the LG K20 Plus or not, the device might get a custom ROM based on the latest version of Android. So, to be prepared to install a custom ROM based on Android Oreo 8.0, you can follow this guide to install a custom TWRP Recovery and root your LG K20 Plus, which are the basic requirements to install a custom ROM on Android.
Warning
The method described here only works on LG K20 Plus. So, don’t try this on any other device unless you deliberately want to brick it for some reason. Also, note that rooting will void your phone warranty. We are not responsible for any damage to your phone even if you claim to have followed the guide correctly. You must understand the amount of risk involved and proceed at your own responsibility. That said, we’re happy to help in any case.
Prerequisites
- Download and install Minimal ADB and fastboot drivers and extract it to a folder named ADB
- USB Debugging and OEM Unlock must be enabled.
- Unlocking bootloader will erase all your personal data including data of internal storage. It is advised that you take a complete backup of your phone and then proceed.
- Ensure that your phone has at least 50-60% charged to prevent the accidental shut down in-between the process.
- Make sure all the latest LG USB drivers are installed.
Downloads
- Download TWRP recovery for the LG K20 Plus and rename it as “recovery.img”. Move this file to the ADB folder.
- Download SuperSU and move it to your phone’s Internal Storage
Steps to Unlock Lg K20 Plus Bootloader
- Open a command window on the ADB Folder you previously created. You can do this by holding the shift key on your keyboard and right-click on an empty space and select “Open command window here”.
- Now connect your device with your PC using your USB cable and enter the following command to reboot to the bootloader.
adb reboot bootloader
3. To check whether a proper connection is established, issue the below command. If you get the name or the serial number of your device then the connection is successful.
fastboot devices
4. Now enter the below command to unlock the bootloader of your device. Remember, all your data will be erased.
fastboot oem unlock
5. Once the process is completed, reboot your device by entering the below command.
fastboot reboot
Steps to Install TWRP Recovery
1. Now connect your device with your PC using your USB cable and once again enter the following command to reboot to the bootloader.
-
adb reboot bootloader
2. Now enter the command, fastboot flash recovery recovery.img to install the TWRP recovery.
Once the process is complete, you can remove the USB connection and reboot your LG K20 Plus.
Steps to Root LG K20 Plus
- Switch off your device and boot into the TWRP Recovery by holding power and volume buttons until the LG Logo appears.
- Now, release the buttons and then immediately press them again until the Recovery screen appears.
- Now select the recovery mode using the volume and power buttons to boot into TWRP Recovery.
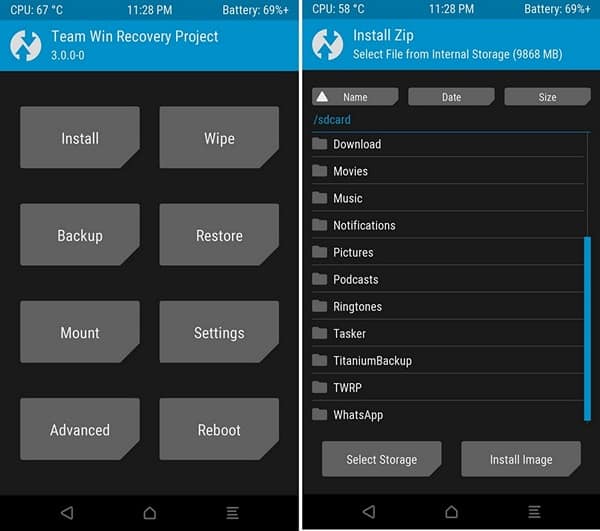
- Once the TWRP menu appears, select the Install option in the home screen.
- Now browse for the SuperSU file you downloaded earlier and then select it.
- In the next screen, swipe to flash the zip file.

- Once the flashing process is done, simply reboot your system and your device will now be rooted successfully.
If you have any doubts regarding the process, don’t hesitate to comment below for help!


I can’t get past the abd reboot bootloader