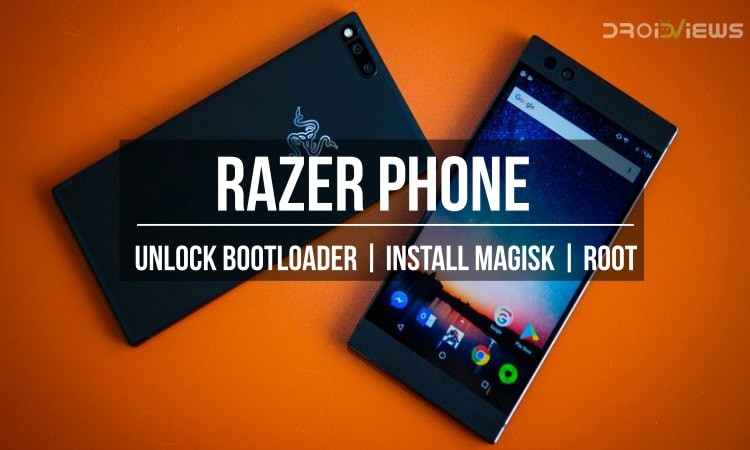
Razer launched their first-ever smartphone which has been powered by Android and this device has been named as the Razer Phone. Now, the Razer Phone comes with a 120Hz display which is double the regular smartphone displays which come with 60Hz refresh rate. Apart from that, it has normal bezels as well as a fingerprint sensor on the Power button.
Now, the Razer Phone was launched last year and we have attached a guide to Unlock the bootloader, install Magisk as well as Root the Razer Phone down below. Thus, make sure to follow the guide properly and you will have root access on your smartphone after this tutorial
Prerequisites
- You need to have ADB and Fastboot installed on your PC in order to begin the process of unlocking your device. In order to install ADB and Fastboot, you can follow our tutorial to Install ADB and Fastboot on your PC
- Also, you will need to have OEM Unlocking from the Developer Options. To enable Developer Options, you need to go to Settings -> About Phone and tap on build number 7 times and you will see a popup that “you are now a developer”.
- Apart from that, you need to have at least 50% or more battery on your device in order proceed with the unlocking process as it may drain your battery.
Downloads
- TWRP.img for Razer Phone(cheryl)
- TWRP Installer for Razer Phone
- Magisk v16.0.zip
- boot.img for Razer Phone
Steps to Unlock Bootloader on Razer Phone
- First of all, you will need to follow all the steps mentioned in the Prerequisites section and then continue with this tutorial.
- Now, open the command prompt window on your PC in your ADB and Fastboot installation folder and connect your Razer Phone to PC with the help of a USB cable.
- Check that your device is properly connected and detected by the PC by typing the following command in the command prompt window:
adb devices
- Once you see your device is properly connected, type the following command in the same command prompt window:
adb reboot bootloader
- Now, your phone will be in the Download Mode with the Razer logo visible to you
- In the Download or Fastboot mode, type the following command to check if your device is detected in Fastboot mode as well
fastboot -i 0x1532 devices
- Once you see your phone after entering this command, type the following command to start the process of bootloader unlock on your Razer Phone
fastboot -i 0x1532 flashing unlock
- Once entered, you will see a prompt to allow unlocking the bootloader on your Razer Phone, select Yes by navigating through Volume Buttons to unlock the bootloader
- After this, the smartphone will reboot and the bootloader will be unlocked on your Razer Phone
Steps to Install Magisk and Root Razer Phone
- Once you have unlocked the bootloader on your Razer Phone from above, you need to install TWRP recovery and install Magisk to root the smartphone
- Now, download the files which have been attached to the Downloads section above on your PC
- Once you downloaded this files, you have to transfer this files to your smartphone.
- To transfer the files, you will have to enter the following commands in the command prompt window one by one as seen from below:
adb push boot.img /sdcard

adb push twrp-installer-3.2.1-0-cheryl.zip /sdcard

adb push Magisk-v16.0.zip /sdcard
- After this, reboot to the bootloader mode on your smartphone by typing the following command in your Command Prompt window
adb reboot bootloader
- Now, flash the TWRP recovery on your Razer Phone by entering the following command:
fastboot flash boot twrp-3.2.1-0-cheryl.img
- Inside TWRP, select Install option and select Install IMG button, then select boot.img from your SD Card and swipe to flash this image file
- After this, once again go to the Install option inside TWRP and select the TWRP installer zip file which is linked in the Downloads section above and flash the zip file by swiping to install.
- Now, reboot to system and check if everything is working fine on your phone. After this, type the following command in the command prompt to re-enter the recovery mode on the phone:
adb reboot recovery
- Now, select the Install option inside TWRP, select Magisk v16.0.zip and swipe to install this zip file.
- Now, you will need to flash Magisk zip to the Razer Phone’s second slot as well.
- Thus, click on Reboot option inside TWRP and select option to switch slots. After switching slots, reboot to recovery once again by selecting Recovery option
- After the slots are switched, go to the Install section once again and install the Magisk v16.0.zip once more via swipe to flash method inside TWRP
- Now, reboot to the system and your Razer Phone will now have an Unlocked Bootloader, TWRP recovery installed as well as Magisk installed which will grant root access to your device
Let us know if you have any issues following this method in the comments section below so that we can respond to your queries, if any.
source: xda


Join The Discussion: