When it comes to third-party development, Samsung devices as a whole are a peculiar case. The flagships are quite popular but they often divide the development with a locked down Snapdragon version for the US and some other markets. The Internationally sold Exynos variants are often way ahead in terms of third-party support. Samsung’s more affordable devices don’t really get as much developer love. It’s generally a hit or a miss. If you bought the Samsung J2 Pro 2018, you can at least now root your device and install TWRP on it.
Warning
You probably know already, rooting will void your warranty. To root your device you will be relying on third-party tools and software. None of these third-parties, nor us, will take any blame in case you end up harming your device. You must understand the risks involved and take full responsibility for your actions. You can proceed with confidence that the method does work. Still, things can go wrong. In which case, you must understand that you were warned, and you still went with it anyway. Therefore, DroidViews cannot be held liable for any damage to your device.
Requirements
- A Samsung Galaxy J2 Pro 2018 with an unlocked bootloader.
- A Windows computer with ADB and fastboot installed and set up. We do have a dedicated, detailed guide on how to do just that. You can check it out by following the links below.
- You will also need to install the latest Samsung USB Drivers in order to get things working.
- Enable USB debugging and OEM Unlock on your Galaxy J2 Pro. To do this go to your Settings > About phone > Software information. Now tap on the Build number 7 times until you see a toast message “Developer option enabled”. Go back to Settings and you should see Developer Options listed towards the bottom. Tap on it and enable OEM Unlock and USB Debugging. In case you don’t see an OEM Unlock option here, there’s currently no workaround so you will just have to wait until there is.
- Ensure that your Galaxy J2 Pro has at least 70% battery.
- The process does require you to format your device so make sure you have backed up everything important, including files and folders on your device’s internal storage.
Downloads
- ODIN
- TWRP for Galaxy J2 Pro 2018
- Magisk (download and transfer to an external storage that you can connect to your phone)
- no-verity-no-encrypt-5.1(download and transfer to an external storage that you can connect to your phone)
Install TWRP & Root Samsung Galaxy J2 Pro 2018 (SM-J250F)
- Turn off your Galaxy J2 Pro then hold down the Volume Down + Home + Power keys. When you see a change on the screen let go of all the buttons and select OK with the Volume Up key. This will boot your device into download mode.
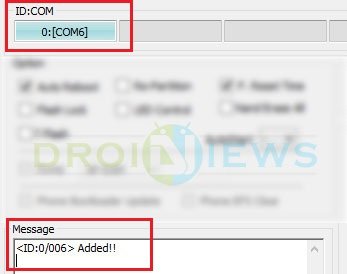
- Run Odin on your PC and disable Auto reboot under the Options tab. You should be seeing the ID: COM port in blue on Odin which means it can detect your device.
- Click on the AP button in Odin and select the downloaded TWRP tar file then click on the Start button.
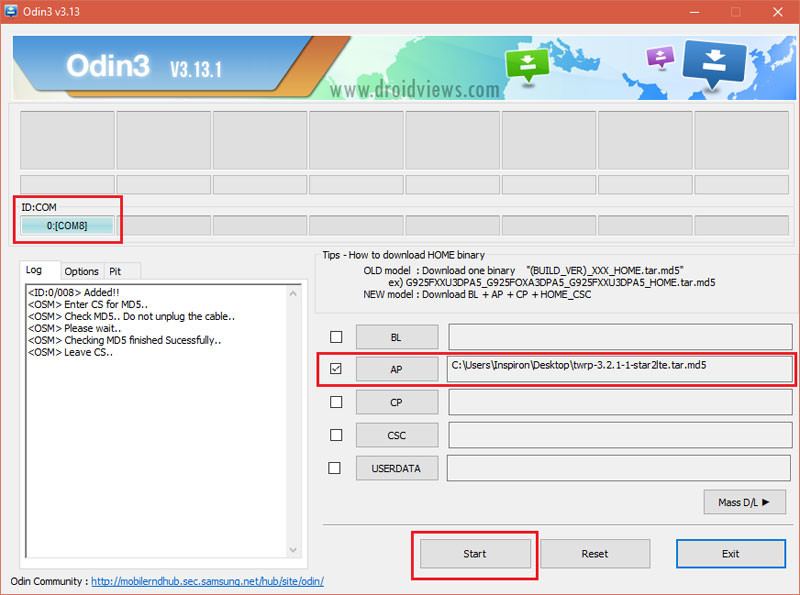
Selecting TWRP image file in Odin Galaxy S9 Plus - When TWRP has been successfully flashed, you’ll see a PASS! message on Odin.
- Disconnect the device and then press and hold down the Volume down and Power button until the screen goes off. Once it does, immediately press and hold the Power + Volume up and Home buttons to reboot into recovery.
- When you get past the TWRP splash screen, swipe at the bottom to allow modifications. If you do this, you’ll have to flash the dm-verity zip linked above in the downloads section too which is what we recommend if you don’t want to keep flashing TWRP every time.
- Once in the main menu, select Wipe > Format data and type yes to perform a factory reset. This will wipe everything on your device including your device’s internal storage.
- After the format is complete, go back to the main menu and select Reboot > Recovery.
- When you’re back in the recovery, tap on Install button.
- Navigate to the external storage where you transferred or downloaded the Magisk zip file and select it.
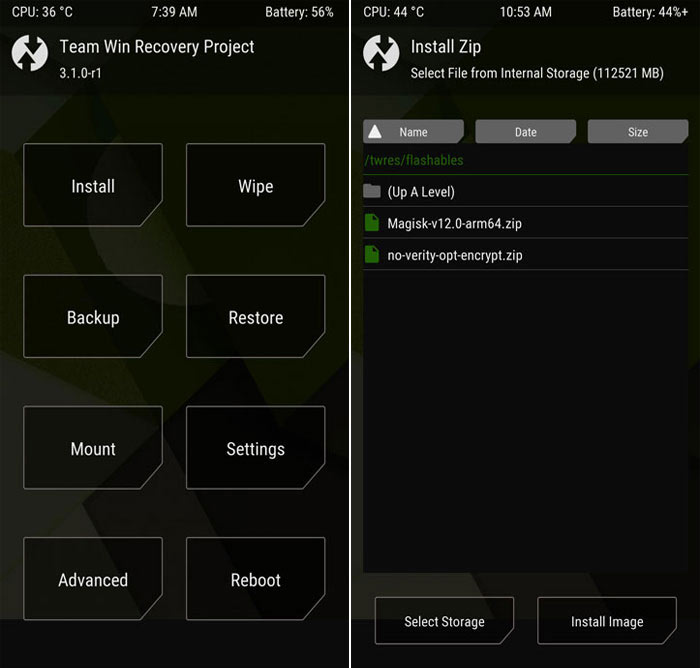
- Swipe at the bottom to flash the file and then similarly flash no-verity-no-encrypt-5.1.
- Tap on the Reboot system button when it appears after the process is complete.
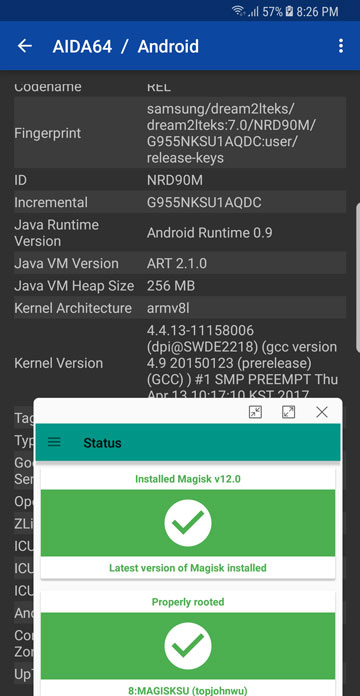
- When your Galaxy J2 Pro 2018 boots up, open the Magisk app to verify root.
Source: xda


Join The Discussion: