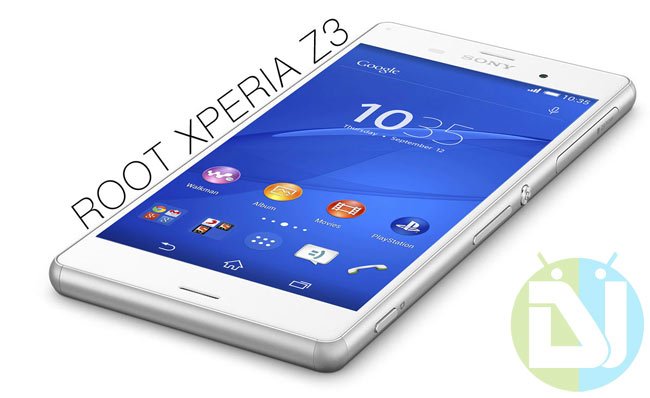
Android devices are getting much attention these days, any device that had launched a week ago has been already blessed with Root and recovery procedures. A couple of years back, the root task alone took over few weeks even for popular phones. The Xperia Z3 which had been launched a few weeks ago has already got a working root and recovery methods.
The Sony Xperia Z3 which has been launched last month boasts a beautiful 5.2 inch Full HD display and is powered by the Snapdragon 801 processor coupled with 3 Gigs of RAM. It’s to our surprise that the device is stuck with the Snapdragon 801 processor instead of the 805 processor which has already seen the light on many flagship devices.
We’ve all been tinkerers all the way digging the depths of Android, and we know that rooting the device will unleash the maximum power of the device. The Sony Xperia Z3 has been rooted successfully by many developers and we now have the popular CWM and TWRP recoveries for Xperia Z3.
But reports from XDA say that rooting the Z3 is disabling the S-Force surround sound, Bravia Engine and advanced camera algorithms. So you have to make sure you have a stock rom if you want to get back to original factory build. So if you’re ready, let’s Root Sony Xperia Z3 and Install CWM/TWRP Recovery using this simple guide.
WARNING
This Guide is intended only for the Sony Xperia Z3 devices, not for any other variant or device of Sony. Be extra cautious when you choose the mods as flashing wrong mods might result in a bricked device.
Installing these files may void your device warranty either temporarily or permanently. You alone are responsible for any consequences that might occur during the process. We shall not be held responsible for any damage to your device.
PREREQUISITES
- Charge your Xperia Z3 above 60% battery level to avoid shutdowns during the process.
- Backup your device storage, Contacts, SMS etc. using Google Sync service or any third-party app.
- Unlocked Bootloader on your Xperia Z3.
INSTALL A RECOVERY OF YOUR CHOICE
- Download the Fastboot files and extract them to a folder in your PC → Click Here
- Download the SuperSU file and transfer it to SDcard of your device → Click Here
- Download the kernel file of your choice to flash the recovery. Place the image file in the same directory of Fastboot files.
- TWRP Recovery
- For D6653 / D6603 23.0.A.2.93
- For D6633 23.0.F.1.74
- CWM Recovery
- 23.0.A.2.93 – v01
- TWRP Recovery
- Boot into fastboot mode by powering off your device then hold the Volume UP button and connect USB cable to the PC to enter the fastboot mode (Notification LED will turn blue)
- Open the command prompt on your PC and then navigate to the Fastboot folder. Then execute the following commands (Change the kernel name boot.img for convenience):
fastboot flash boot boot.img
- Reboot the device and check everything is working. Then reboot the device into recovery by pressing Volume Up / Volume Down button repetitively until booting into recovery.
- Now flash the SuperSU zip you have saved in the SDcard.
- Reboot the device again and check the SuperSU app in the app drawer.
That’s it, you now have a working recovery and root permission on your device.
Leave your feedback in the comments section below.


Have you got an image file for the xperia z3 D6603, 23.1.A.0.726