In this tutorial, we’ll see how we can root Nokia 6.1 and Nokia 6.1 Plus and install TWRP recovery on both the phones. If your Nokia 6.1 or 6.1 Plus has Android Oreo or Pie, you can root your device.
The name Nokia sure brings back some nostalgia. Under HMD Global, the brand has been revived to compete in the smartphone market once again, this time with Android. Nokia generally competes in the budget and mid-range segments but quite unlike the other players in the space. Where Xiaomi, Honor, and others depend on their aggressive pricing, Nokia’s devices are always priced higher in the name of the nostalgic brand. Nokia does do a lot of things right though including timely software updates and a clean stock Android experience. The Nokia 6.1 Plus, for instance, is already on the latest November security update. If you’re a Nokia 6.1 or 6.1 Plus user, you can now also install TWRP recovery on it and root the devices.
Since both devices share the same kernel and tree and have a similar A/B partition scheme as the Nokia 7 Plus, the TWRP recovery build has been based on the TWRP for Nokia 7 Plus. This unofficial TWRP recovery for both the devices was developed by Maherabed1986.
Warning
You probably know already, rooting will void your warranty. To root your device you will be relying on third-party tools and software. None of these third-parties, nor us, will take any blame in case you end up harming your device. You must understand the risks involved and take full responsibility for your actions. You can proceed with confidence that the method does work. Still, things can go wrong. In which case, you must understand that you were warned, and you still went with it anyway. Therefore, DroidViews cannot be held liable for any damage to your device.
Requirements
- A Nokia 6.1 and/or Nokia 6.1 Plus with an unlocked bootloader.
- A Windows computer with ADB and fastboot installed and set up. If you don’t have ADB and Fastboot installed already, we have detailed guides to install ADB and Fastboot on all three major desktop operating systems.
- You will also need to install the latest Nokia USB Drivers in order to get things working on Windows.
- Enable USB debugging and OEM Unlock on your device. To do this go to your Settings > About phone > Software information. Now tap on the Build number 7 times until you see a toast message “Developer option enabled”. Go back to Settings and you should see Developer Options listed towards the bottom. Tap on it and enable OEM Unlock and USB Debugging. In case you don’t see an OEM Unlock option here, there’s currently no workaround so you will just have to wait until there is.
- Ensure that your Nokia 6.1 and/or Nokia 6.1 Plus has at least 70% battery.
- The process doesn’t require you to format your device but still, make sure you have backed up everything important, including files and folders on your device’s internal storage.
Downloads
- TWRP Recovery image for Nokia 6.1
- TWRP Recovery image for Nokia 6.1 Plus
- Magisk 18.0 [source: topjohnwu] (Download and transfer the Magisk zip to your device’s storage)
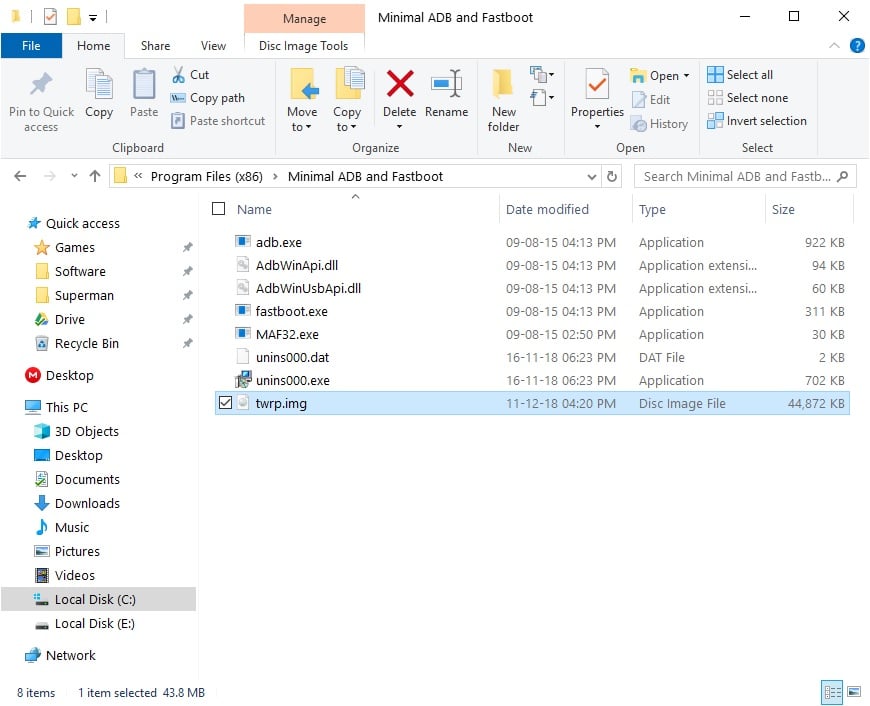
[Optional] Rename the downloaded recovery image to twrp.img and place it in the ADB folder.
Must read: TWRP Recovery Features Explained – Ultimate TWRP Guide
Install TWRP on Nokia 6.1 & Nokia 6.1 Plus
- Connect your Nokia device to your PC with a USB cable and launch ADB. On Windows, just go to the adb folder and enter cmd in the address bar. If you have Minimal ADB & Fastboot you can simply search for it and click on it to launch it. On Mac and Linux, you can simply launch a Terminal window to start using ADB.

- With your phone connected to the PC, enter the following command to reboot your phone into fastboot mode using the following command.
adb reboot bootloader
You may need to allow USB debugging permissions on your phone if you haven’t done this before.
- Now flash the downloaded TWRP image with this command.
fastboot flash boot twrp.imgIf you haven’t renamed the recovery file and placed it in the adb folder, you’ll have to enter the full path and the correct file name of the image file in the command.
fastboot flash boot /path/to/original_file_name.img
- Once the flashing is complete, reboot the device with the command given below.
fastboot reboot
Root Nokia 6.1 & Nokia 6.1 Plus
- With your device still connected to the computer, reboot to recovery using the following adb command.
adb reboot recovery
- Your device should now reboot into TWRP recovery. On the TWRP main page, select Install.
- Navigate to the downloaded Magisk zip file using the TWRP file explorer and select it.
- Swipe at the bottom to flash the zip file then tap on the Reboot system button that appears after the flashing is complete.
Done! You have successfully rooted your Nokia 6.1/Plus and installed TWRP recovery on it.
source: xda


Join The Discussion: