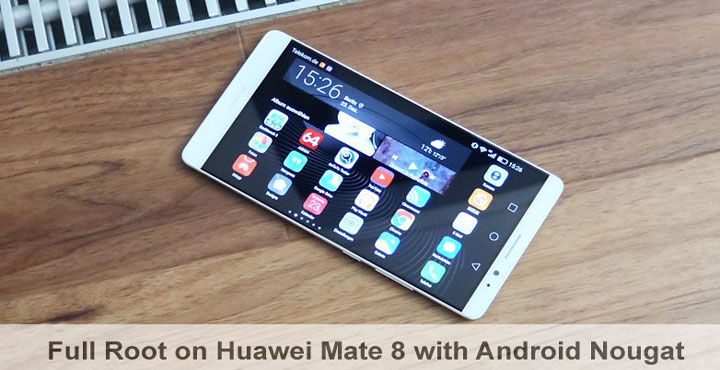
The Huawei Mate 8 was launched back in November 2015 with a 6-inch display and 1.8GHz octa-core HiSilicon Kirin 950 processor. The device received an official update to Android Nougat from Huawei in January 2017. With every official software upgrade, however, comes the problem of losing root access, if you previously had one on the older version of your device’s software. Luckily users of popular devices don’t have to wait very long to be able to root their devices again. Here we will show you how you can root Huawei Mate 8 running the Android Nougat firmware.
Disclaimer
DroidViews takes no responsibility for whatever happens to your device while following this guide. The procedure described below has been tried and tested by many users, and we make sure each and every step is as simple to understand as possible.
Prerequisites
- Unlocked Bootloader.
- Huawei Mate 8 USB drivers installed.
- Your phone should be running the stock Android 7.0 Nougat from Huawei on top of the stock kernel.
- Charge your phone’s battery up to at least 50 percent.
- Enable USB debugging under Settings>Developer Options. If you can’t find developer options, it’s probably because you haven’t enabled it. Go to Settings>About Phone and tap the build number 7 times to do that.
- The official update_data_*.zip for you device. You will need to find the file specific to your device based on Nougat firmware your device is currently running.
Downloads
- Latest TWRP Recovery for Huawei Mate 8
- phh’s Superuser (transfer this to your phone)
Get full root on Huawei Mate 8 running Android Nougat
- First off, you’ll need to flash TWRP recovery for Android Nougat. If you already have it, you can jump right to Step 7. To install the TWRP image downloaded above, set up ADB on your PC.
- Copy the TWRP image in the same folder where you installed ADB.
- Connect your Huawei Mate 8 to the PC via a USB cable and grant any permissions on your device if asked.
- In the ADB terminal window, type the following command.
adb reboot-bootloader
- This will boot your device into the bootloader mode.
- Now flash the recovery image using the following command.
fastboot flash recovery twrp-3.0.2-nougat.img
- Once the recovery is flashed, power off the device by holding the power button.
- Now press and hold the Power and Volume Down buttons simultaneously to boot into the newly installed TWRP recovery.
- We’d recommend taking a complete Nandroid backup at this point by selecting Backup from the TWRP menu.
- After that select Wipe> Format Data> Yes.
- From the main menu now select Install and browse to the superuser_noverify_nocrypt.zip file earlier downloaded and swipe to flash it.
- Flash the update_data_*.zip too.
- Reboot the device to system once that is done.
- When the device boots, install phh Superuser from the Google Play store.
You can also install Root Checker from the Play store to check if you managed to achieve root access. Be sure to check out the source link below if you run into any trouble, there may be others like you, and your problem may already have been solved.
Join The Discussion: