Google Pixel devices are one of the favorites amongst developers. They also run Android is its purest form. Combine the two facts and you have some of the easiest to root Android devices. This has been true for all the Pixel smartphones that have come before and apparently it is true for the Pixel 3 and Pixel 3 XL as well. topjohnwu, the developer of the popular systemless root tool Magisk has updated it to support both the Pixel 3 and Pixel 3 XL. There isn’t a TWRP recovery available for the devices yet. This means that you can root Pixel 3 and Pixel 3 XL but the method will be a little different.
Requirements
- Unlocking the bootloader will/should completely wipe all data from the device. This includes apps, settings and even the contents of the internal sd card (pictures, music, etc.). Copy all important files off the phone onto a PC or upload them to a cloud.
- ADB and Fastboot must be installed on your PC.
- Enable USB Debugging and OEM Unlocking on your Pixel 3/Pixel 3 XL.
- Make sure your phone is charged up to at least 50%.
Unlock bootloader on Pixel 3 and Pixel 3 XL
- Power off your phone.
- Connect it to your PC via a USB cable and make sure the connection isn’t loose.
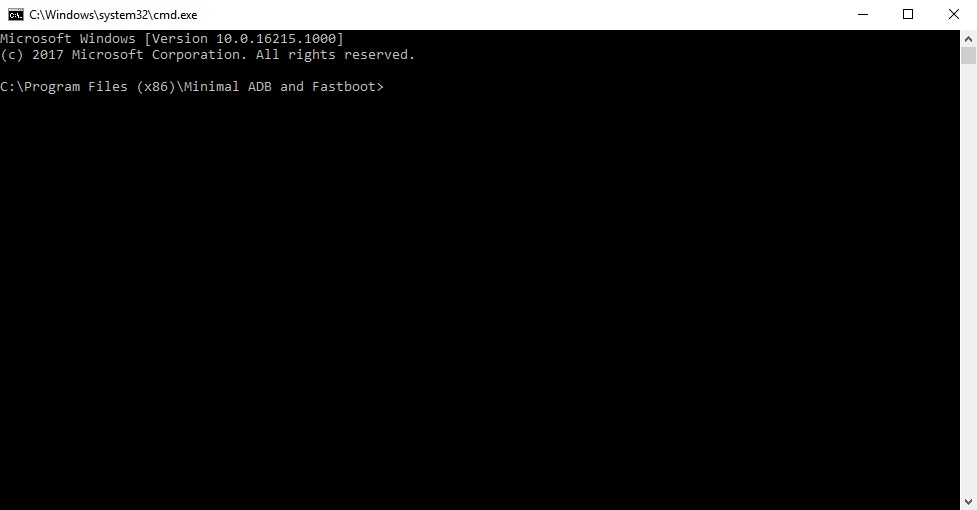
- Now go to the ADB installation folder on your PC. (C:\Program Files (x86)\Minimal ADB and Fastboot)
- Type in cmd in the address bar and hit enter to open a command prompt window in the folder.

- Now let’s see if your device is properly connected to your PC. To do this, type the command given below and hit enter.
adb devices
If you’re using Windows Powershell, the command will have to be this.
.\adb devices
Similarly, for macOS or Linux users, the command will be this.
./adb devices
- If your device is connected, you will see your phone’s serial number and if you don’t, you should check if you have installed all the required drivers.
- Reboot your Pixel 3 or Pixel 3 XL into fastboot mode using the following command. Change the syntax accordingly as done before.
adb reboot bootloader
- Type the command below to unlock your bootloader if your device is detected. Remember this will wipe everything on your phone.
fastboot flashing unlock
- On your phone, you will be warned about unlocking the bootloader, press the Volume Up button to highlight Unlock the bootloader and the Power button to select it.
- Your device will reboot again in bootloader mode but you will see the text “unlocked” along with a red warning sign. Use this command then to reboot back to your OS and set up everything again.
fastboot reboot
Get the stock boot image
As we mentioned, TWRP recovery isn’t yet available for either of the Pixel 3 siblings. So even though Magisk does support both the devices, you cannot simply flash it from the recovery. We can manually perform the actions TWRP would have done for us though, using fastboot. Magisk works by modifying the stock bootloader image and it does that when you flash it from TWRP. You will need the stock boot image for your device first and it can be found in your device’s firmware archive.
You can download it from Google’s firmware download page for Pixel devices. Make sure you download the appropriate firmware. For your convenience, we’ve included the latest firmware links for the devices below.
- Pixel 3 – 9.0.0 (PD1A.180720.030, Sep 2018), 9.0.0 (PD1A.180720.031, Sep 2018, Verizon)
- Pixel 3 XL – 9.0.0 (PD1A.180720.030, Sep 2018), 9.0.0 (PD1A.180720.030, Sep 2018, Verizon)
When you have the firmware, open it using any archive manager. You’ll find another folder inside it, so open that too. In this folder, look for an archive which has a name starting with image-crosshatch or image-blueline.
Inside this archive, you’ll find several image files (files with .img extension) and also a file named boot.img which is the stock bootloader image that we’re looking for.
Patch boot image
Now that you have the stock boot image, transfer it to your device’s internal storage. Next, download & install the latest Magisk Manager beta. Now launch the Magisk manager app and go to its settings. Tap on Update channel and select Beta.
On the Magisk Manager main screen, select Install > Install > Patch Boot Image File.
Now select the stock boot image file that you’ve moved to your device’s storage. Magisk will patch the file and when the process is complete, it will save the file as “patched_boot.img” in your Downloads folder.
Root Pixel 3 and Pixel 3 XL
Transfer the patched boot image file from your Downloads folder to the adb folder on your PC. With your phone connected to the PC via the USB cable, use the following adb command to reboot it into bootloader mode as before.
adb reboot bootoader
Now flash the patched boot image file to your device with this command.
fastboot flash boot patched_boot.img
Once flashed, reboot your Pixel 3/XL and you should be able to use Magisk Manager to install modules as well as grant root permissions to apps that request it.
Credit: Mishaal Rahman

Join The Discussion: