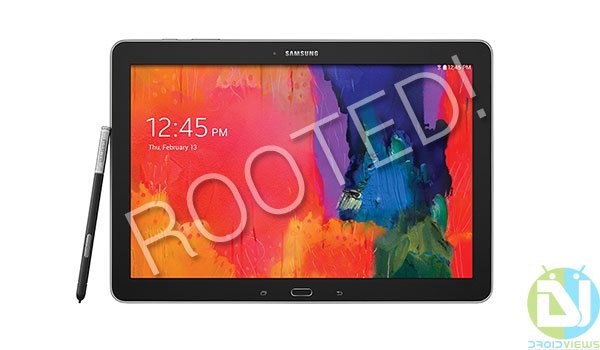
“Why should we root?” The first question that hits every new user’s mind, would it gain us anything? I would say “A lot!”. The question is how you put your rooted device to use, it could either be for OS development or for using Apps that require root permissions to access. Read the post linked below to understand everything about rooting. It all depends on your need, if you are ready to risk your official support and are confident, then you must proceed. Today, we’ll help and guide you to Root Galaxy Note Pro 12.2, both the WiFi (SM-P900) and LTE (SM-P905) variants.
To Root or NOT to Root, That’s the Question!
After the huge success of the Note series and its sale, the company decided to bring another one, but with a much more larger display and an unrivaled hardware for boosted performance. The Note Pro 12.2 carries a huge 12.2 inches multitouch super clear LCD display, Qualcomm Snapdragon 800 series 2.3 GHz Quad-Core Krait processor, Adreno 330 Graphical processing unit, KitKat 4.4 out-of-box, S-Pen stylus support and much more. The device bought a real deal of profit to its OEM and sold successfully. But if you’re not still satisfied with the stock firmware delivered and are a true Custom Firmware believer, you should learn to root first.
Disclaimer
Rooting voids warranty. DroidViews or any of its community members shall not be held responsible for any kind of damage to your device.
Prerequisites
» Install Samsung USB drivers: Click here
» Enable USB Debugging: Click here
» Charge your Note Pro to at least 60% battery level
» Backup your complete storage, SMS, contacts, calendars, etc
» Download CF-Auto-Root package for Note Pro SM-P900: CF-Auto-Root-v1awifi-v1awifixx-smp900.zip
» Download CF-Auto-Root package for Note Pro SM-P905: CF-Auto-Root-viennalte-viennaltexx-smp905.zip
Instructions to Root Galaxy Note Pro 12.2
- Extract the CF-Auto-Root package corresponding to your device.
- Open the extracted folder and double-click the Odin3-v3.07.exe to execute the Odin flashing tool.
- Make sure F.Reset Time and Auto Reboot are checked and everything else is unchecked.
- Power off your Note Pro. Press the Volume Down + Home + Power buttons until you see the warning screen and then press the Volume Up key to enter into Download mode.
- Connect the device to the PC now.
- The ID:COM port will display the corresponding device ID.
- Click on the PDA tab and select the CF-Auto-Root-v1awifi-v1awifixx-smp900.tar.md5 if you’re flashing for SM-P900 and CF-Auto-Root-viennalte-viennaltexx-smp905.tar.md5 if for SM-P905.
- Click on the Start button to begin the flashing process. It will take a few minutes to complete, so hold back.
Confirm your root by downloading this app from the Play Store and run it.
[googleplay url=”https://play.google.com/store/apps/details?id=com.jrummyapps.rootchecker”]Enjoy your rooted Samsung Galaxy Note Pro 12.2! Stay tuned, we’ll be back with more stuff on your Android. You can enjoy some other interesting titles till then.


I tried to root and I keep soft-bricking it. Is there an updated root?
Try this: https://www.droidviews.com/root-a-range-of-android-devices-in-just-one-click-with-this-universal-root-tool/
Thank you very much! I’m running to remove all the bloatware…
Glad to know it worked for you!