
Android was released by Google more than 10 years ago from today and since then, Android has been the most popular operating system which has been used by billions of people around the world. Also, Android is also the most developer-friendly operating system as it is an open-source OS due to it being based on Linux which is an open-source technology. Now, we have seen that many Android users around the world have been getting root access on their smartphones and this is sometimes gained as soon as they get the devices in their hands.
Now, the main reason to gain root access for many is to gain the ability to delete or uninstall the unwanted apps which are also known as bloatware. Apart from that, we can also get system-level access to different hidden directories after achieving root access. Other than that, we can unlock some features that have been locked with the help of root access. We can also install Custom ROMs on our smartphones with the help of root access. Thus, if you want to get all or any of the advantages above then you would want to get root access on your smartphone.
However, we have seen that gaining root access on smartphones is a bit complicated so we are going to tell you about one application named as dr.fone which can let you gain root access on any smartphone with just a few simple steps. We have added the tutorial to achieve root access on your smartphone with dr.fone below and you can learn more about the tool from here. dr.fone can root devices from major brands like Samsung, Motorola, LG, HTC, Sony, Google, Huawei, Asus and many others.
Prerequisites
- You should have the USB Debugging enabled on the smartphone for which you want to get the root access. To enable USB Debugging on your smartphone, you will need to follow the tutorial to enable USB debugging on any smartphone
- You should also have battery percentage above 50% on your smartphone or tablet which is powered by Android to continue with the rooting process below
- Also, it is not compulsory but we recommend you to take a full backup of all the important files on your smartphone or tablet and store it in an external drive to keep the files secure.
Downloads
Steps to Root Android Phone or Tablet using dr.fone
- We have mentioned the steps which are needed to be followed in the Prerequisites section above so you should proceed with this tutorial below if you have read and completed all the steps
- Once you have completed all the Prerequisite steps, you will need to download the application which we have mentioned in the Downloads section.
- After downloading the dr.fone application for your Windows PC or Laptop, you will have to install the .exe file on your PC as seen below.
- Now, you will have to click on Start Now button in the dr.fone application once the installation has been completed to start the application.
- After this, you will get the home screen of the dr.fone application where you have various different modules like Recover, Transfer, Repair, Erase, Switch etc. which can be seen from the screenshot attached below.
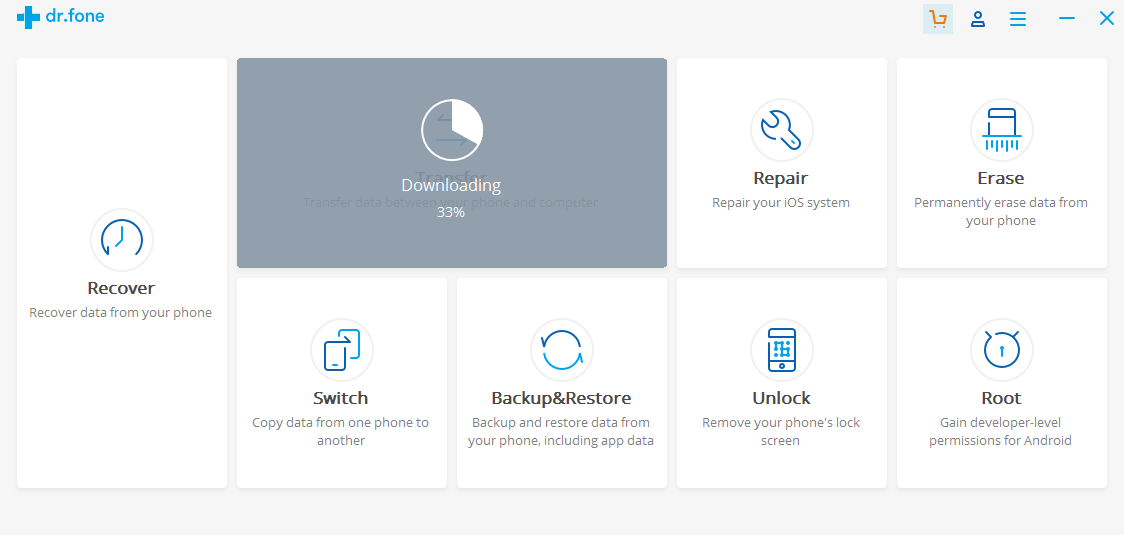 One thing you should keep in mind is that all the modules on the home screen of dr.fone apart from the Root module have to be downloaded separately and only the Root module will be installed during the installation process.
- Now, we have to click on the Root module which can be found on the bottom-right of the dr.fone application home screen.
- Once we click on the Root module, we will get a screen asking us to connect our phone or tablet to the PC or Laptop on which we want to get root access as seen in the image below.
 Now, you will have to connect your Android device to the PC via a USB cable so that the dr.fone application can automatically detect the device that has been connected.
- We have connected an Android device to the PC and the dr.fone application has automatically detected our device which can be seen in the image below
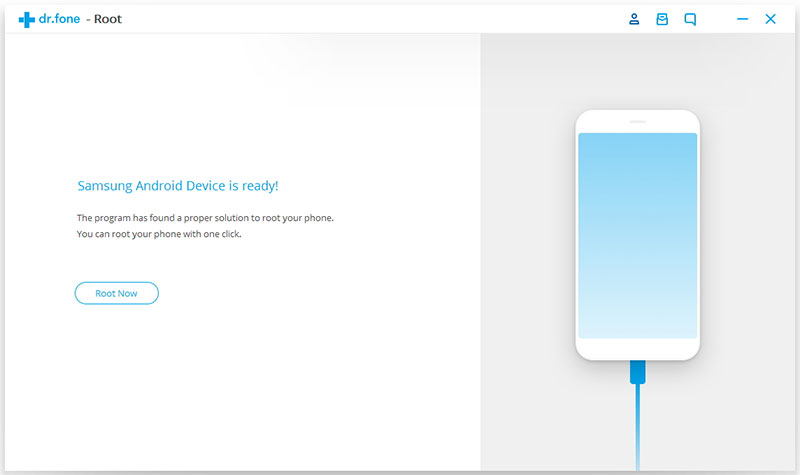
- In the above image, we have seen that the dr.fone app detected a Samsung Android device so we will have to click the Root Now button on that screen to proceed with the rooting process
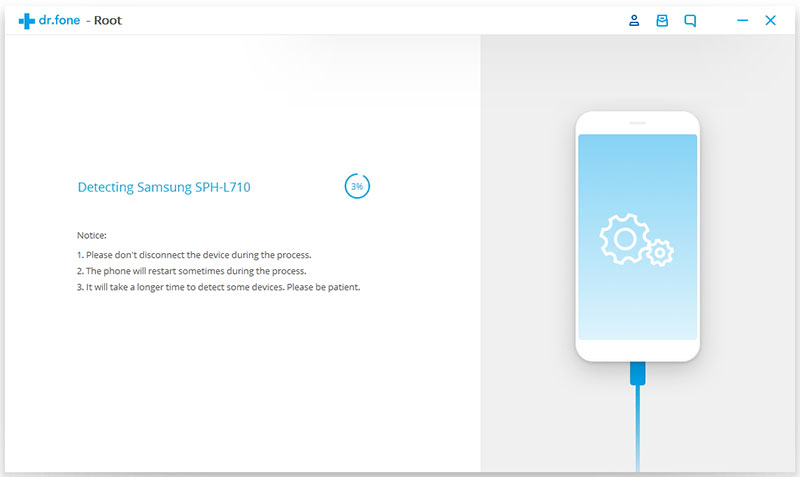
- On clicking Root Now, the dr.fone app will detect the specific model of the Samsung Android device. We have attached the image of the device which we used in this tutorial for rooting below
 Now, you will be asked for confirmation to root the Samsung device which we have connected and we have to click on the Start button to root our device
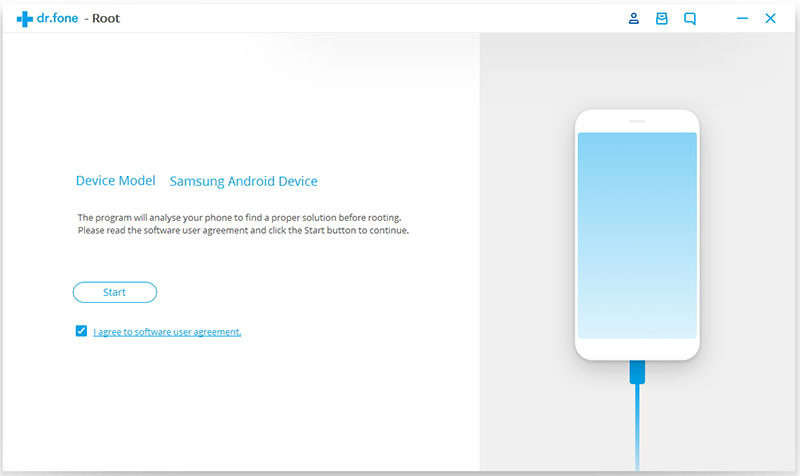 After clicking on Start button, the dr.fone application will start with the rooting process for the attached device and the process will take a few minutes to complete after which we will see a confirmation message on the application as seen below
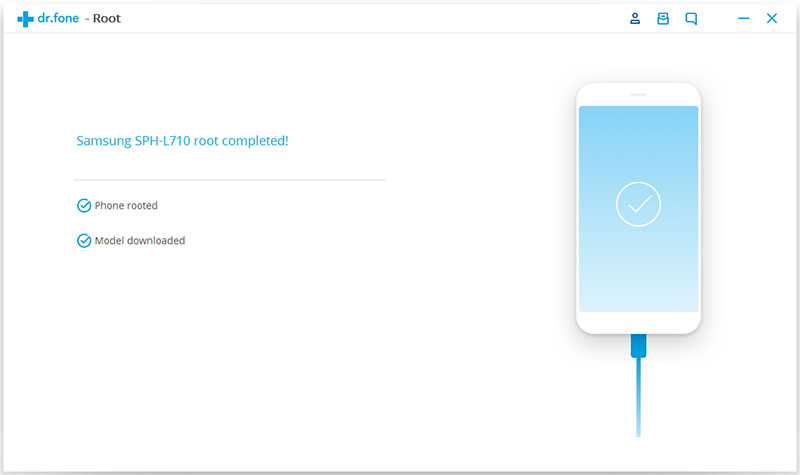 That’s it. You have gained root access on your smartphone
If you follow this tutorial properly, you can achieve root access on any Android-powered smartphone with the dr.fone application available for Windows with just a few simple steps.
Don’t miss: 5 Best Backup Apps to Backup Almost Everything on Android
In case that you have any problems using this application or following the steps, you can comment below with your query and we will get back to you with a reply as fast as we can.


Join The Discussion: