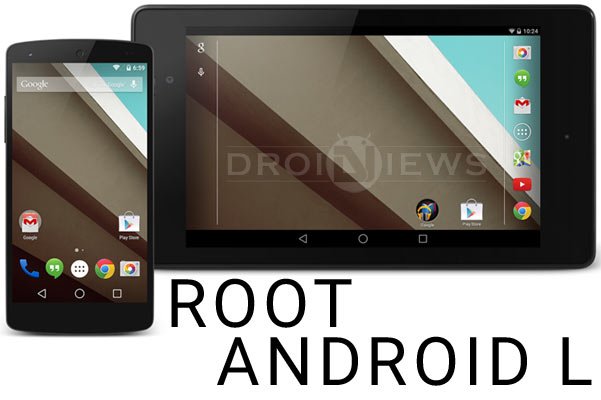
Google released the Android L Developer Preview test firmwares for two Nexus devices namely the current flagship Nexus 5 and Nexus 7 (2013) just the day before yesterday. We already have a detailed installation tutorial for the users of these devices and shared a host of Android L Developer Preview goodies, such as wallpapers, apps, fonts and tones for those who do not have a Nexus 5 or 7.
After the Android L Developer Preview was out for Nexus devices, there were rumors regarding its being unfriendly in terms of obtaining root access. However, it turns out now that the released firmware does not come with any tough measures from Google to block root script. A little modification in the installation path of Chainfire’s SuperSU flashable Zip can finally root Android L Developer Preview on Nexus 5 and Nexus 7 (2013).
If you have already been enjoying the Android L Developer Preview on your Nexus 5 or Nexus 7 2013 (Wi-Fi only) and are afraid that you’ll have to go back to stock Nexus firmware because there’s no working root for the test firmware, hold a little. You can now enjoy root access on the very Android L Developer Preview firmware! Thanks to savoca from XDA developers for his modified boot images that allow Chainfire’s SuperSU to do its magic. One thing to be noted here is that you might not be able to use backup apps Titanium Backup or Helium yet. For more illustration on the security issue, read this.
Prerequisites:
The rooting procedure for the Android L Developer Preview on Nexus 5 and Nexus 7 2013 (Wi-Fi only) is pretty easy but it requires a few preparations to be done beforehand.
- Download the latest version of CWM or TWRP recovery image file for your device and rename it as recovery.img
- Download modified SuperSU flashable Zip: SuperSU-v2.00-Android-L.zip
- Download savoca’s modified boot image for your device:
- Now download and set up ADB and Fastboot on your computer if you do not have them already. For detailed setup guide, click here.
- Enable USB Debugging on your Nexus 5/7 by going to Settings> Developer options. For more information, read these instructions.
- Charge your device to ensure at least 60% battery.
- Backup all your apps and data as a precaution.
Warning!
The rooting method described below might prove risky to your device. If you are smart enough to flash the Android L Developer Preview factory images to your device, I don’t think you’ll encounter any issues while rooting your device. Proceed at our own responsibility! You’ve been warned!
Root Android L Developer Preview
Well, if you are done with taking care of the preparations mentioned above, you can now proceed to root your Nexus 5 and Nexus 7 2013 (Wi-Fi only) running Android L Developer Preview. Just follow the steps given below:
- Copy the CWM/TWRP recovery image file to the ADB/Fastboot folder on your computer.
- Connect your Nexus 5/7 to your computer using the stock USB cable and reboot it into Bootloader Mode. Open the platform-tools folder where ADB and Fastboot files are located and launch a cmd window by pressing the Shift + Right-click on mouse and selecting the Open command window here option. Then type the following command:
adb reboot bootloader
- When your device gets into Bootloader screen with Start written on the top of it, type this and press Enter key:
fastboot flash recovery recovery.img
- When CWM/TWRP recovery is flashed to your device, issue the following command:
fastboot reboot
- Your device will reboot now. When it boots up, copy the SuperSU-v2.00-Android-L.zip and boot.zip files to your Nexus 5/7.
- Now type the following command in the cmd and hit Enter:
adb reboot recovery
- Your device will reboot into CWM/TWRP recovery mode, depending on which custom recovery you installed above.
- In TWRP/CWM mode, select the Install option, navigate to SuperSU-v2.00-Android-L.zip and install it.
- When SuperSU is installed, flash the boot.zip file too the same way.
- Having installed both the Zips, it’s time now to reboot your device using Reboot/reboot system now option.
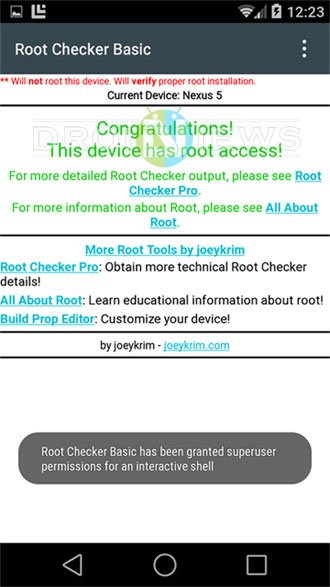
Done! Wait till your phone boots up. You now have a custom recovery and root access on your Nexus 5 or Nexus 7 2013 (Wi-Fi only) running the Android L Developer Preview. To verify successful root you can install Root Checker app from the market and run it:
[googleplay url=”https://play.google.com/store/apps/details?id=com.joeykrim.rootcheck”]


The boot.zip got me stuck in a bootloop.. How do I solve this?
do not rename to recovery.img
I recommended doing that because people sometimes make mistake in typing the names of .img files.
it didn’t worked for me renaming it.
I tried this with both CWM and TWRP, but every time I try to reboot into recovery (step 6), the tablet shows a bugdroid with a red exclamation mark. Android L boots fine, though. What’s goin’ on?
You are booting into fastboot (download mode), to reboot into recovery hold volume UP + Power
the recovery version on this web site doesn’t work. download a different recovery