This year has been the year for flagships. Not only that but flagships which are way too affordable for the average person to use. We’ve seen a lot of devices from Xiaomi, and Huawei, and also from OnePlus. We have seen how good these devices have done, devices like Xiaomi Mi4i have ruled the mid-range category of devices, while devices such as the OnePlus One, and Xiaomi Mi4 have taken our breaths away with top-notch specifications at an affordable price bracket.
Not long ago, Alcatel released their affordable flagship, the Idol 3 (One Touch Idol 3 to be precise), and it was a phone which could easily keep up to the standards of the users in today’s world. Amongst its various and awesome to-use features, the screen was a plus point. However, for an Android devotee (*cough*like me*cough*), the real fun starts once the device has been rooted.
For this, you’ll need an unlocked bootloader. Moreover, to make the most out of your rooted device, and to keep flashing ZIP files, a custom recovery is a must. The great developing team at xda has found a way to do so. DallasCZ, yet another xda developer has found a way to root the Alcatel One Touch Idol 3. While there isn’t any one-click tool to perform all the actions at once, there are manual CMD commands one can always use to do the following to their OneTouch Idol 3:
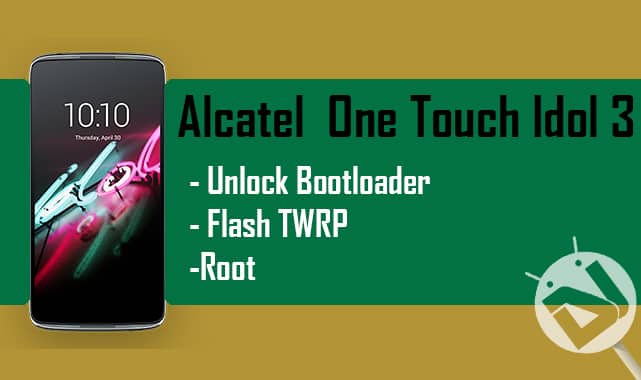
- Unlock Bootloader: A must task to do before actually flashing a Custom Recovery, or rooting your Idol 3.
- Flash TWRP: Best way to flash ZIP files for MODs, or for swapping ROMs.
- Root: The only way you can ever master your Android device.
Unlocking the Bootloader
For this, you need the following zip file, and a PC to work on. You can download the zip file by clicking here. Make sure you perform all the steps with proper caution.
- Download and unzip the file which we’ve listed above, to a location which is feasible on your computer.
- Ensure that you have all the required USB Drivers for your Idol 3. If not, install them right away.
- Make sure that USB Debugging on your Idol 3 is turned on. This is located in the ‘Developer Settings‘ tab in the Settings.
- Connect your Idol 3 to your PC, and open the folder where you’ve extracted the files. Hold Shift, and right-click your mouse, then select ‘Open command prompt here‘.
- Reboot to bootloader state by typing in the following command :
adb reboot-bootloader
- In order to ensure that your Idol 3 is recognized by your computer, type in the following code :
fastboot -i 0x1bbb devices
- You can even check your current device info (bootloader state) by typing in the following command :
fastboot -i 0x1bbb oem device-info
- To unlock your Idol 3’s bootloader, type in the following code, and give it some time.
fastboot -i 0x1bbb oem unlock
- Once you unlock the bootloader, reboot your Idol 3 by either holding down the power button, or by typing in the following code :
fastboot -i 0x1bbb reboot
Good going! You’ve successfully unlocked your Alcatel OneTouch Idol 3’s bootloader! Next is how to flash a custom recovery on it!
Flashing TWRP (Custom Recovery)
Below are the steps you need to follow in order to install a custom recovery on your Alcatel OneTouch Idol 3. In this case, we’ll be using TWRP, as it is easily the most feasible Custom Recovery for Android devices. Proceed with caution.
- The very first thing you need to do is obtain the TWRP file, and copy it to the same folder where you’ve downloaded and extracted the files previously. Download the TWRP recovery image: recovery.img
- Simply connect your Idol 3 to your PC, with USB Debugging on, and type in the following code to reboot to bootloader.
adb reboot-bootloader
- Once your Idol 3 is in the bootloader mode, now is the time to flash the custom recovery! Type in the following code to do so.
fastboot -i 0x1bbb flash recovery twrp-2.8.7.0-idol3.img
- This might take some time, so grab your coffee when you can!
Nice! You’ve now unlocked your device’s bootloader, flashed TWRP on it, and now’s the time for the real fun – Rooting it.
Rooting (SuperSU)
Now that you have TWRP custom recovery, you do not need to go back to the frustrating black screen of the CMD on your computer. This time, it is as easy as flashing a ZIP file.
- Obtain the Root file by clicking here, and transfer it to your Idol 3.
- Reboot into the recovery mode using a special application from the Play Store, or by using the fail-proof hardware button combo.
- Once into TWRP, tap on ‘Install‘, and search for the Root ZIP file you’ve just downloaded and transferred on your device.
- Swipe to confirm the flash, this might take a minute or so.
- Reboot your freshly flashed One Touch Idol 3.
Phew! While this was kinda a big and frustrating process to go with, it is all worth at the end. If you have any problems regarding this guide, feel free to refer us in the comments below. Till then, Happy Flashing!


Thanks for the tut. I have everything install within a few hours.
Cricket Alcatel Idol3 have been trying to unlock this for Tmobile carrier seems this device is a mad man, to allow code to work I have made over 3 tries, and the customer made to many attempts the device is now on 1 last attempt left, I am not going to try to find out what will happen we left it alone. But anyone has any ideas as to what can I do to fix this please post me a suggestion other then toss it in the river. LOL! Cricket Idol3 Model 60450
is compatible with idol 3 model 60450 because I try some many times and mark me error recovery file can you upload again the twrp file again plz
The download link for the bootloader file is down.
how long should it take to flash the recovery?
14 days