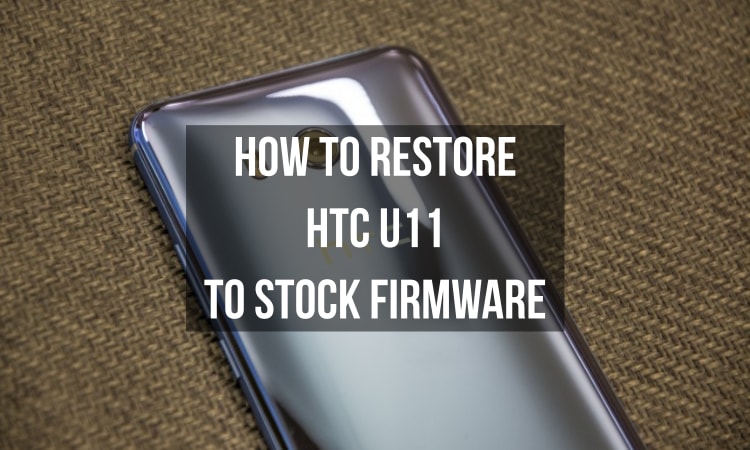
HTC launched the latest flagship smartphone in the newly-announced HTC U series and the smartphone has been named as the HTC U11. This smartphone is only the second smartphone in the HTC U series which was launched at the start of this year as the first smartphone from the HTC U series was the HTC U Ultra. The HTC U11 was also the flagship smartphone from HTC this year before the company decided to launch the HTC U11 Plus.
Talking more about the HTC U11, the smartphone has a standard design along with a front facing fingerprint sensor and capacitive buttons on both the sides of the fingerprint sensor. The smartphone has a 5.5-inch capacitive touchscreen along with an LCD display. Along with that, there is a single camera on the back of the phone. The back of the phone has a shiny coating on the back which is made out of glass and aluminum. Now, the smartphone is the flagship smartphone from HTC was launched with the latest version of Sense UI along with Android 7.1.1 Nougat on top of it. The smartphone has been scheduled to get the update to Android 8.0 Oreo which was released by Google a few months back.
Now, if you are a Custom ROM developer or a type of person who loves to tinker with your device then you will have obviously unlocked the bootloader and rooted your device to install Custom ROM on your device to get the latest version of Android or to get away from HTC’s Sense UI and install Stock Android on your device. Thus, you would have faced a situation where you would want to go back to Stock ROM which was pre-installed on your HTC U11 as you are either having problems with your Custom ROM or you want to sell your device and want to reset your smartphone in the factory condition.
Thus, we are going to share the exact procedure to restore your HTC U11 smartphone to the condition which it was when you bought the device on day 1. Now, this guide has been available to us thanks to an XDA Senior Member, 5m4r7ph0n36uru, who has provided all the files necessary for restoring the HTC U11 to Stock from any Custom ROM.
Prerequisites
- You need to have ADB and Fastboot folder installed on your PC before beginning this process. If you want to install this, you have to follow this tutorial to install ADB and Fastboot on Windows.
- Your smartphone should have a custom recovery like TWRP installed. If you do not have any custom recovery on your HTC U11, you have to follow this step by step guide to install TWRP and root HTC U11
Downloads
Restore your HTC U11 to Stock ROM using Nandroid backup
- First of all, you will have to Download Nandroid backup from the link mentioned in the Downloads section above.
- Once you have downloaded a Nandroid backup for your device, you will have to copy the backup to your device’s TWRP backup folder.
- There is one extra step you have to do before transferring this update which is to rename the path of the backup folder inside the TWRP folder available on your device. To do this, you have to find out your device’s serial number by looking at the back of your phone or on the box. After this, place the Nandroid backup inside TWRP/Backup/Serial no of your phone/name of backup [Note: the serial no of your phone field will be replaced by your actual serial number and the name of backup will be replaced by name of Nandroid backup]
- Now, you have to reboot your device into recovery mode by turning off the device and pressing Volume Down + Power button at the same time for 10-15 seconds until you see the TWRP logo.
- Now, click on Restore option inside TWRP and select the Nandroid backup that you have just transferred to your device and swipe to flash this backup.
- Once completed, your device will get restored to stock backup and you will have to download and install the updates that are available on your smartphone to get to the current version on your smartphone.
Restore your HTC U11 to Stock ROM using RUU
- First of all, you have to boot into Download mode on your device by powering off your device and pressing Volume Down + Power button on your device for few seconds.
- Once in Download mode, connect your smartphone to the PC and open a command prompt window inside the ADB and Fastboot folder. Now, type the following command inside the command prompt:
fastboot getvar all
- The above command will give output with the original software version which you have to note down.
- Now, download the latest RUU file which is available for the HTC U11 from the link available in the Downloads section
- After downloading, rename the zip file to 2PZCIMG.zip and transfer this zip file to the main directory on your SD card.
- You will have to boot into Download mode again same as mentioned in Step 1 above.
- Now, the zip file will automatically be selected for flashing and you have to press Volume Up button once to confirm flashing this file.
- Now, the flash will get finished in a few minutes and you will have Stock ROM on your HTC U11 once again.
You need to follow any of the two methods mentioned above properly and you will be able to restore Stock ROM on your HTC U11.


Join The Discussion: