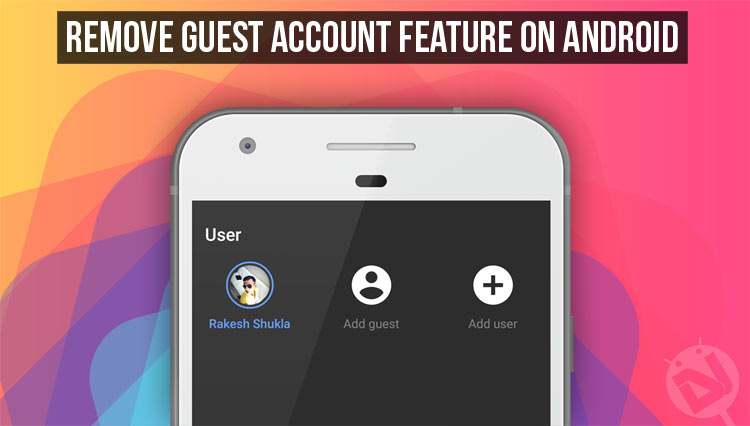
We all love Google products, features, and services… usually. There are those rare instances when the company introduces some random bizarre program and keeps shoving it in our faces until everyone boots it away. We were pretty excited when Google announced Android Lollipop with a brand new ‘material design’, faster performance, a different launcher; we just couldn’t wait to get our hands on it. And then the multi-user feature came in.
Unlike a desktop, a phone is a very personal device, the idea of a group-owned mobile is completely absurd. Apparently, Google didn’t realize that and went ahead to add a Guest User feature as well, accessible from the lock screen itself. Naturally, people started to look for ways to remove this feature completely, and it turned out, the process was really simple. In this post, we will describe some ways to remove the Guest Account feature from your device. The good news? Your device needn’t be rooted for these to work. Let’s get started.
Don’t miss: How to Add More Volume Levels to Volume Slider on Android
Downloads for your PC
- ADB and fastboot tools.
- Appropriate USB drivers for your device.
To Remove or Add Guest User Icon from Quick Settings
- In your device, go to Settings-> About Phone.
- Tap on build number 7 times, until Developer Options are unlocked.
- Go back to the main Settings page, and open Developer Options.
- Enable USB debugging and OEM Unlock.
- Now return to main Settings page once more and open Users.
- Make sure there is no second user account on your device.
- Connect your device to your PC via a USB cable.
- Now open a terminal window in your PC (press Windows key + R. In the window that opens up, type cmd and press Enter.)
- Now type in the following command:
adb shell settings put global guest_user_enabled 0
- Reboot your device.
Disabling Users Option in Settings
To remove User Options altogether, we will make use of android build properties. These properties are defined in a file named build.prop located in the /system directory. You cannot access this location through your normal file explorer, so here are two ways to do so:
Using ADB
For this method to work, you need your bootloader unlocked. Also, it is necessary to boot into a custom recovery, TWRP for example. Here is what you need to do:
- Download TWRP recovery img file to your PC from this link, and place it in the directory where Android SDK has been installed. Rename the file to twrp.img.
- Connect your smartphone to your PC via a USB cable.
- Now press Shift+Right-click on the Android SDK directory on your PC, and select Open Command Window here.
- To check whether your device is properly connected, type in this command and press Enter:
adb devices
- A long string should show up, along with your device name.
- Now type the following commands:
fastboot flash recovery twrp.img fastboot reboot - When the device shuts down, immediately hold down the device specific correct key combination to boot into recovery.
- You should now be in TWRP Recovery mode.
Once TWRP is successfully installed, you need to pull the build.prop file to your PC. These are the steps:
- Boot into recovery mode.
- Select Mount, and then select the System partition.
- Go back to the main screen.
- Connect your device to your PC via a USB cable.
- Open a terminal in your PC, and type the following command:
adb pull /system/build.prop - The build.prop file will appear on your Desktop.
- Edit the file (the exact modifications are described later), and save without renaming the file.
- To push back the modified file, type the following command in your terminal:
adb push build.prop /system/ - Next, you need to grant proper permissions for your file by typing the following commands:
adb shell cd system chmod 644 build.prop - Reboot your device by Pressing Reboot> System in TWRP.
Using BuildProp Editor
If ADB sounds like too much work, you can simply download the BuildProp Editor app from play Store. Open the app and tap on the pencil icon on the top left to make changes. When finished, tap ‘Save’ and reboot your device.
[googleplay url=”https://play.google.com/store/apps/details?id=com.jrummy.apps.build.prop.editor&hl=en”/]Build Prop Edits to Remove Guest Account Feature
You may also like: How to Hide Root Access from Apps that Detect Root
To Hide Users option in Settings
At the end of the build.prop file, create a new line and type:
fw.show_multiuserui=0
This command will still allow you to switch between users through ADB shell. Go to /data/system/users/ directory to obtain all existing user IDs. Connect your device to your PC via a USB cable and open a terminal window on your PC.
- To switch between users, type:
adb shell am switch-user USERID
(replace USERID with the actual user ID obtained from data/system/users).
- To create a new user, type:
adb shell pm create-user USERID
(replace USERID with the actual username).
- To remove an existing user, type:
adb shell pm remove-user USERID
(replace USERID with the actual user ID obtained from data/system/users).
To restrict the total number of Users to one:
At the end of the build.prop file, add a new line and type:
fw.max_users=1
This will also remove the Users option from Settings menu.
That’s all. We hope you find this article helpful. Cheers!


Join The Discussion: