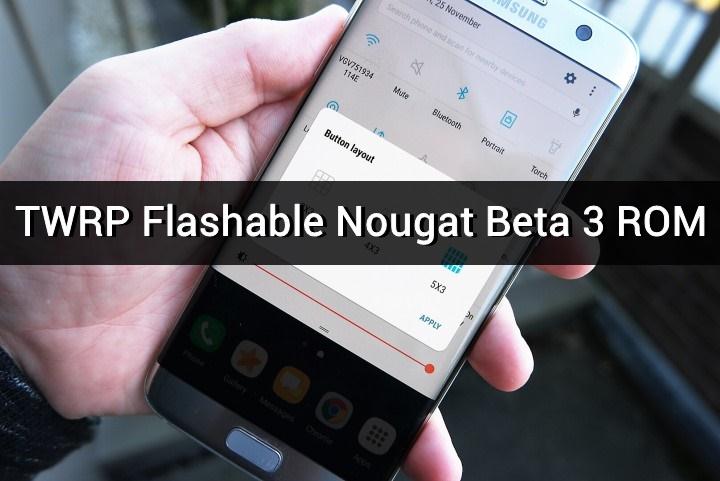
Samsung has released the Nougat Beta 3 update for Galaxy S7 Edge devices in the UK. The latest update brings minor improvements to the notification shade and grid layout for toggles. The update is rolling out via OTA but it might take some time before it reaches your device. The pre-rooted Nougat Beta 3 build is already available for Galaxy S7 Edge, thanks to XDA member geiti94 for his efforts. The pre-rooted Galaxy S7 Edge Nougat Beta 3 ROM can be easily flashed from TWRP.
The Nougat beta 3 ROM is pre-rooted with the Magisk systemless interface and the developer also removed KNOX completely. This doesn’t mean Knox is disabled, flashing this ROM will trip Knox.
Some of the bloatware apps like Microsoft apps, Knox are also removed to make the stock ROM smoother. If you want these apps, you can flash them from Google Play Store. This ROM is compatible only with SM-G935F/FD and shouldn’t be flashed on any other device unless you want to brick it. You can find the complete firmware information from below:
Model name: Galaxy S7 Edge
Model: SM-G935F/FD
Version: Android 7.0
Changelist: 9866924
Product code: BTU
PDA: G935FXXU1ZPKK
CSC: G935FOXA1ZPKH
MODEM: G935FXXU1ZPKH
Odin Package: NO
TWRP Flashable: YES
Pre-rooted with magisk: YES
Stock ROM: Yes and no. It is Stock but Deknoxed and Microsoft and Google apps removed
Tweaked: NO
Prerequisites
- Make sure that you have at least 60% charge on your S7 Edge smartphone.
- Install TWRP recovery on your S7 Edge smartphone.
- Make a complete backup of important files on your device to a secure location.
Downloads
How to Install Pre-rooted Galaxy S7 Edge Nougat Beta 3 ROM
- Download the pre-rooted Nougat ROM & the Modem/BL Zip files. Transfer them to the internal storage of your device.
- Boot into recovery mode on your Galaxy S7 Edge.
- Power off your device and wait until it’s completely turned off.
- Press and hold Power + Home + Volume Up buttons together and release them as soon as you see the Galaxy logo on the screen.
- As you’re in the TWRP recovery, make a complete nandroid backup of your device. You can follow our definitive guide for nandroid backup from here.
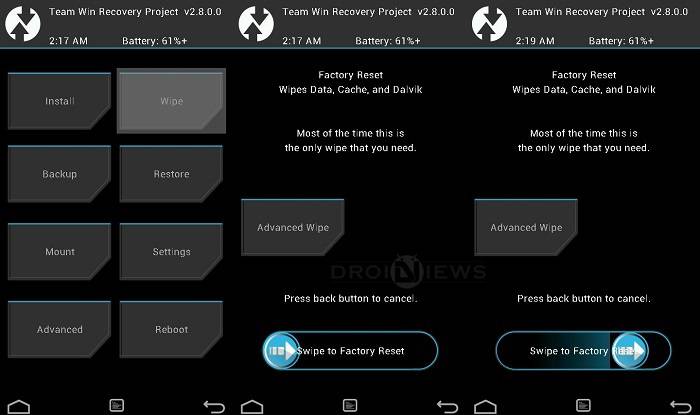
- Now, make a complete wipe of the device as we want a fresh installation. To make a clean wipe, just do a complete factory reset and also wipe the Dalvik cache.

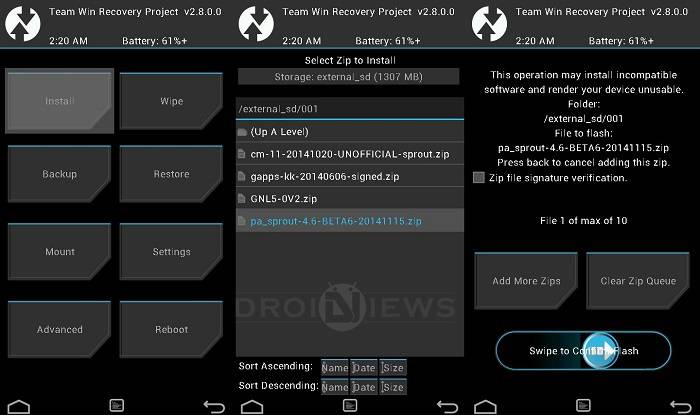
- Flash the ROM now. Choose the Install option from the recovery menu and choose the ROM zip from the file manager. Similarly, flash the Modem/Bootloader zip.

- After flashing both the Zips, wipe cache/Dalvik cache. You can do this from the Wipe menu.
- Reboot the device.
Don’t worry if you don’t see the signal on your device after first boot. Reboot the device once again and it will be fixed.


Join The Discussion: