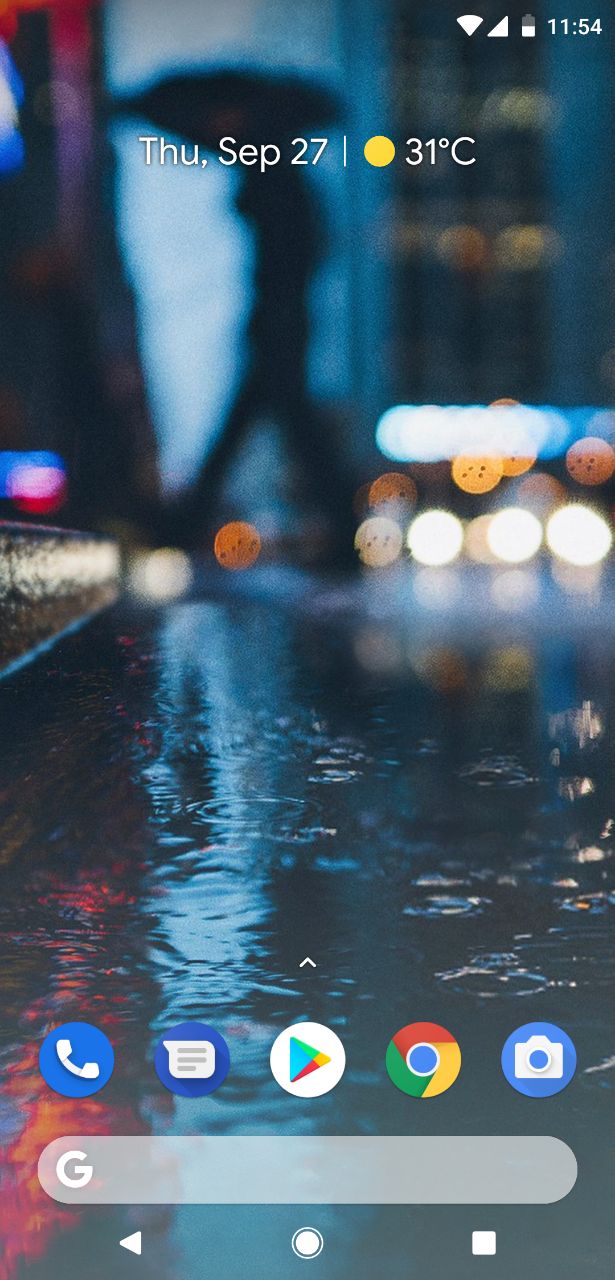
Xiaomi Poco F1 has been all over the news following its launch, at least in the consumer technology sector. The device offers amazing hardware for the price and that has lead to comparisons with OnePlus. However, a major drawback with the Xiaomi Poco F1, depending on who you ask, is the software it runs on. Unlike the OnePlus One which ran on Cyanogen OS, a very stock Android like ROM with extra features, the Poco F1 runs a customized version of MIUI. For some, MIUI is just what they need while for others it’s an ugly headache. If you fall into the latter category, you can now install an Android Oreo-based Pixel Experience ROM on Xiaomi Poco F1 to get a more stock and fluid experience.
Disclaimer
The procedure described here has been tried and tested by the developer, as well as many other users. By following our post, you agree that you understand the risks involved and will take full responsibility for whatever happens to your device. We have been extremely careful in describing the procedure below and we hope you follow it carefully. We, at DroidViews, are not responsible for anything that happens to your device as a result of following the procedure incorrectly. If you are okay with this, then go ahead with the tutorial. Do remember that this procedure will void your warranty.
Pixel Experience ROM for Xiaomi Poco F1
The Pixel Experience Android Pie ROM for the Poco F1 by siva1234 is an AOSP based ROM. Which means it’s built directly on top of Android 8.1 Oreo instead of being built on Lineage OS like most ROMs these days are. It has all the Google Pixel goodies which include Google apps and all Pixel stuff such as the Pixel launcher, wallpapers, icons, fonts, bootanimation, etc. The developer mentions their goal is to provide “maximum possible stability and security, along with essential features for the proper functioning of the device.”
This is still very much a work in progress like most custom ROMs are. Bugs are expected but so far most things seem to be working. The only known issue so far is the IR camera which does not work at the moment. Everything else such as Wifi, RIL, Mobile data, GPS, Camera, Flashlight, Camcorder, Bluetooth, Fingerprint reader, VoLTE, etc. all seem to be working fine.
Working
- Wifi
- RIL
- Mobile data
- GPS
- Camera
- Flashlight
- Camcorder
- Bluetooth
- FMRadio
- Fingerprint reader
- Lights
- Sound/vibration
- VoLTE
Not Working
- IR camera
Requirements
- Unlocked bootloader.
- Charge your device up to at least 50% before starting the procedure. It’s not a set rule but better safe than sorry.
- Enable USB Debugging and OEM Unlock from Developer Options.
- Backup all your important data to your SD Card or PC.
- Make sure you have TWRP recovery already installed. If not, you can take a look here.
How to install Pixel Experience ROM on Xiaomi Poco F1
- Download the Pixel Experience ROM from the download link provided above. Transfer the downloaded zip to the internal storage on your Poco F1.
- Reboot your device into recovery mode.
- Power off your device.
- Press and hold the Volume up button and Power on the device again using the Power button. Release the keys when the Mi logo appears on your screen. You should see the TWRP splash screen in a couple of seconds.
- Before you install the ROM, you should create a complete NANDroid backup of your current ROM. It’s not necessary but you’ll be very thankful that you did create a backup in case things go south. To do a backup, select Backup from the main menu and then select all the partitions that you want to back up. Swipe at the bottom and the backup process will begin. It can take some time.
- When you’re ready, select Wipe > Advanced wipe and then select the cache, system and data partitions. Swipe at the bottom to wipe them clean.
- Next, select Install from the TWRP main menu.
- Navigate to and select the downloaded zip file and swipe at the bottom to flash it. Pixel Experience ROMs already come with GApps pre-installed so you don’t need to flash them separately.
- Tap on the Reboot system button when the flashing is complete.
Source: xda


Join The Discussion: