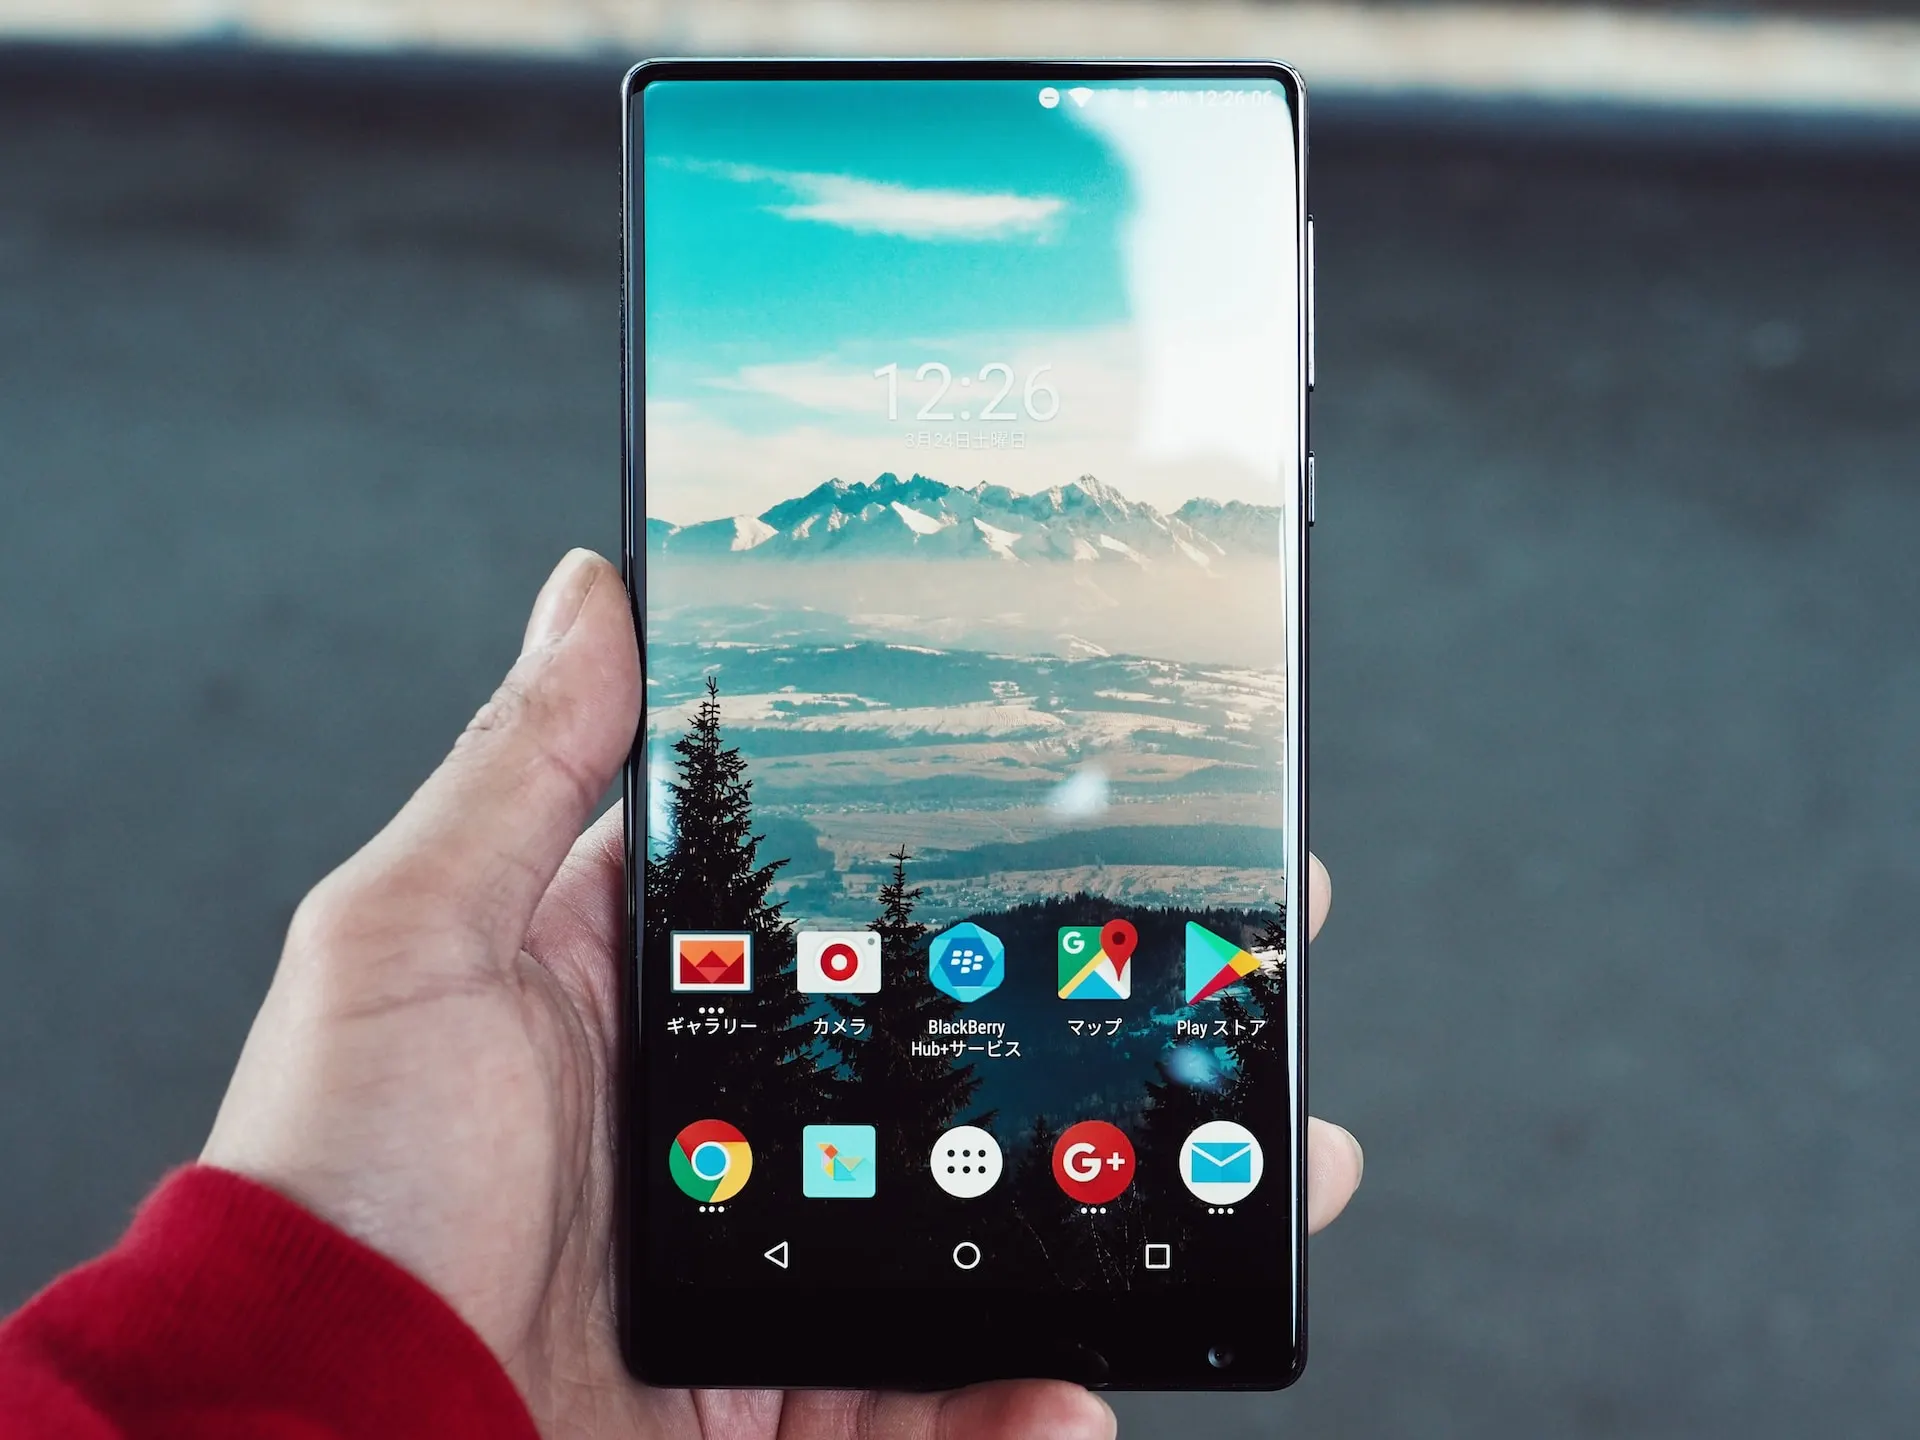
Android 13 is the most recent Android version of the well-liked mobile operating system, and it includes a number of new features and enhancements. Nonetheless, some have voiced concerns over Android 13’s lack of the “preferred SIM” feature. Users could choose which SIM card they wished to use for calls, texts, and data by default with this setting.
Users are unable to designate which SIM they prefer to use without this feature, which might be annoying for people who use dual-SIM phones. We will examine potential fixes for users who are having this issue as we go more into this subject in this article.
Accessing a Hidden Menu
Fixing the missing Preferred SIM Setting in Android 13 involves accessing a hidden menu through the phone dialer. To do this, you need to open the dialer app on your phone and enter the code *#*#4636#*#*. This code will open up a menu with a variety of diagnostic tools for your device.
- Once you’ve entered the code, you should see a screen with several options. Select “Phone Information” from this menu to access the settings related to your phone’s network.
- Choose “Phone Information” and then “set preferred network type” making sure to avoid selecting “NR” because this is 5G. NR stands for “New Radio” and is the 5G network standard.
- You can make sure that device has been linked to LTE by choosing a network type that excludes NR, which should solve the problem of the missing Preferred SIM Setting.
It’s worth noting that if you want to reset to the default type of network, which is GSM/WCDMA/NR/LTE, you can do so easily by selecting that option from the drop-down list.
While this method may work for some users, it’s important to keep in mind that it’s not a guaranteed fix. If you’re still experiencing issues with the Preferred SIM Setting after trying this method, you may need to explore other solutions, such as contacting your device manufacturer or waiting for a software update.
Booting Your Device in Safe Mode

Fixing the missing Preferred SIM Setting in Android 13 involves booting your device in the Safe Mode to troubleshoot any issues. Safe Mode disables all services and third-party applications, which helps you determine whether any of them are causing the issue.
- To boot your device in the Safe Mode, you need to open the Power menu.
- To do this, hold the Power button until the Power menu appears.
- When it does, select Power Off and keep the button down until a pop-up window displays.
- To start your device in Safe Mode, select “OK” on the “Reboot to Safe Mode” pop-up.
- Once your device is in Safe Mode, check to see if the SIM card is being identified correctly.
- If it is, you can restart your device to operate it in its standard condition. If the issue persists, it may be caused by a recently installed app.
- To determine which app is causing the issue, it’s recommended that you uninstall apps that are installed newly until the issue is resolved.
It’s also crucial to mention that you should check to see if your device‘s SIM card identification issue has been fixed by the Android 13 upgrade. Overall, booting your device in Safe Mode can be a useful way to troubleshoot any issues you’re experiencing, including the missing Preferred SIM Setting in Android 13.
By isolating potential issues caused by third-party apps and services, you can determine the cause of the issue and take appropriate action to resolve it.
Disabling Dual SIM Dual Standby
Another method for fixing the missing Preferred SIM Setting in Android 13 involves disabling Dual SIM Dual Standby (DSDS) if both SIM cards are from different carriers. Although DSDS can be useful for accessing two different SIM cards simultaneously, it’s important to note that network signals from different carriers may interfere with each other, causing issues with SIM card detection.
- To disable DSDS, you need to access the Phone Information settings on your device. To do this, dial *#*#4636#*# on your phone and follow these steps:
- Choose “Phone Information” from the available options.
- Once you’ve accessed Phone Information, look for the option to deactivate the DSDS switch. This will disable the Dual SIM Dual Standby feature on your device.
- Verify whether the SIM card detection issue on your 5G running Android 13 device has been resolved after disabling DSDS.
- Disabling DSDS can be a useful solution if you’re experiencing issues with SIM card detection and have two different carriers for your SIM cards.
Resetting the Access Point Name
Resetting the Access Point Name (APN) settings is method 4 for resolving the missing Preferred SIM Configuration issue in Android 13. A damaged APN can interfere with your SIM and network connections because it is a crucial component of your network.
To allow your carrier to start over, you can reset your APN settings as follows:
- Open Network and Internet from the Settings menu on your Android 13 device to begin.
- After choosing the SIM card you want to change, select Access Point Names.
- From this point, you can choose the active Access Point Name, click the overflow symbol in the upper right corner, and then select the Delete APN option. The present APN settings will be removed.
If your Android 13 device running on 5G isn’t detecting a SIM card, restarting the device will get your carrier to restore the APN profile.
Conclusion
In this article, we have discussed four effective methods to resolve the issue. You can troubleshoot and resolve the SIM card detection issue on your 5G Android 13 device by using these approaches. To maintain the best performance and functionality, keep your device up to date with the latest software and security patches. You may resolve the SIM card detection issue and experience the benefits of the latest Android 13 update by following the correct steps.
Join The Discussion: