I recently bought a Moto G 3rd generation and after using it for two weeks I can say that it’s one heck of a device – especially considering the price. Although it’s specs are not as good as the competition, it does provide an amazing user experience and that is what matters the most.
This year Moto G has gotten a huge camera bump from 8 megapixels to 13 megapixels. The camera is seriously improved and it is capable of taking crispy and amazing photos – especially in natural light.
In this article I’m going to explain the Moto G camera app and share some tips and tricks to make the most out of your photos.
The Basic Settings
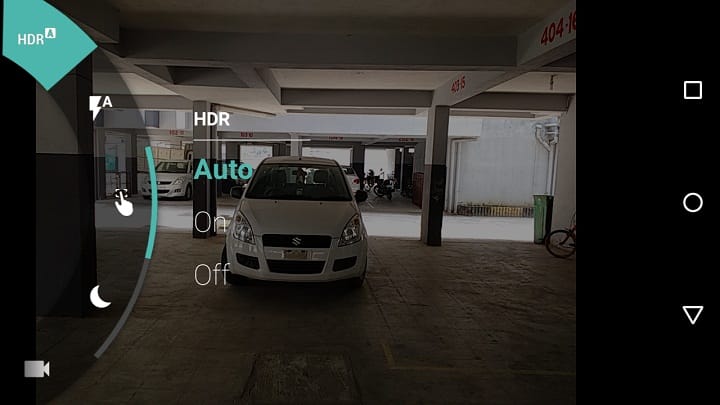
The camera UI is pretty basic and neat. Upon swiping to the left when the camera app is open you’ll find the following camera settings:
- HDR : Enable or disable HDR mode
- Flash : Enable or disable flash
- Control focus and exposure : Enable or disable the ring that lets you control focus and exposure
- Night mode : Enable or disable low light option
- Video settings : Choose whether to record videos in 1080p or 780p
- Photo : Adjust between 16:9 9.7MP images and 4:3 13MP images
- Timer : Set timer for 3 seconds or 10 seconds
- Panorama : Enable or disable panorama mode
- Storage : Choose either to store photos in internal storage or external storage
- Location : Enable or disable geo-tagging function
- Shutter sound : Turn on or off the camera sound
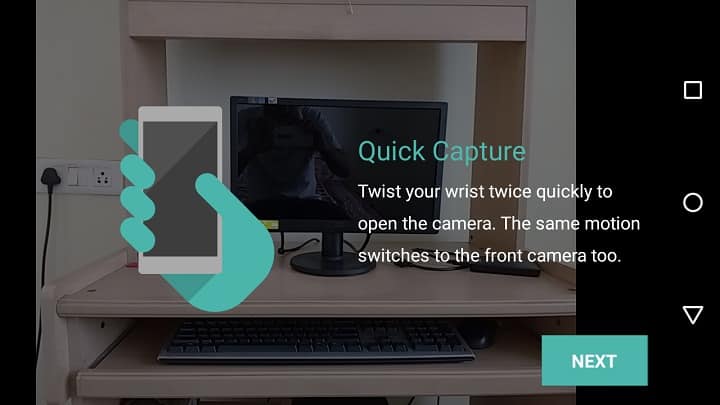
- Quick capture : Twist your wrist twice to launch camera. Twist it again to switch between camera’s
HDR Mode
HDR stands for High Dynamic Range. What it does is it takes multiple pictures at different exposure settings and than joins them together so that more light can be captured in the photo and shots look more clear and crisp.
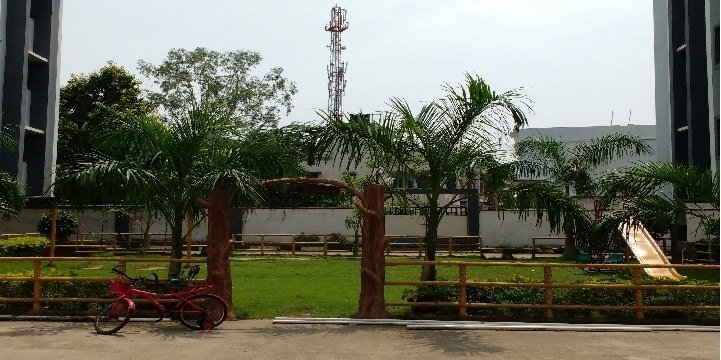
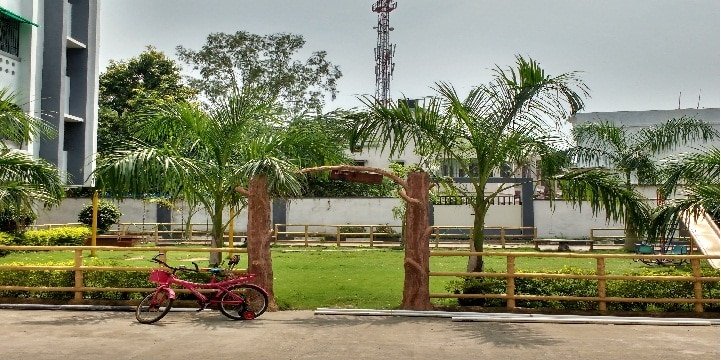
HDR mode in Moto G works quite good. You can keep it on all the time, set it to auto, or turn it off automatically (which is not advisable). I will advice that you set the HDR to auto so that it can automatically decide when to take multiple images at different exposures and create an HDR image.
Quick Capture
Motorola is well known for providing stock Android with some added goodies. Moto actions is one of them. Moto action senses various gestures and trigger actions. Quick capture is one such action.
Quick capture lets you open the camera by quickly twisting your wrists twice. Twist it twice again to switch between rear and front cameras. It also works when the phone is in sleep mode.
It comes in handy when you want to capture a moment quickly. Instead of pressing the power button, entering the pin-code, and tapping the camera app on your homescreen you can just twist your wrist twice – and boom- camera is activated. It works fast.
Focus And Exposure
If you have enabled focus and exposure option from the settings, you will see a yellow ring on your screen. That ring helps you set focus and exposure in an image. Simply drag the ring to your focus point to set the focus. You can also set the exposure by dragging your finger around the circle.
Night Mode
Night mode makes the camera suitable for taking images in low light. To be frank, that’s all I know about the night mode.
Quick Tip – If you like to take multiple photos of same thing and choose the one which looks better, you’ll be glad to know that Moto G’s camera can take multiple shots if you press and hold the screen instead of releasing it after one tap. It works very good. I took around 150 photos in just 15 or so seconds.


Join The Discussion: