With Android Lollipop around the corner, no OEM manufacturer, including Google could focus on anything different than Lollipop updates for their respective devices. We have seen Samsung pull off the custom version of Lollipop in its flagship devices, and LG offering a sweet new skin on top of Lollipop to the G3 and G4. However, the only way these different OEMs manage to pull off the latest and sweetest Android Lollipop updates is by using a patch from Google’s Stock Android.
Google has been working day and night to release the Android 5.1 update, and with it around the corner, Google released Stock firmware images for the Nexus 4, Nexus 5, and the Nexus 9. This new patch runs on top of the latest Android Lollipop, 5.1.1, which we users have been anticipating for a long time.
Android 5.1.1 brings about a whole lot of improvisations in the UI, and narrows down the various bugs, including the battery drain issues. However, as we know, the latest updates are not directly pumped Over The Air, and hence users will be required to manually flash them.
Luckily, we are here to share with you all the Factory Stock Android 5.1.1 images for Nexus 4, 5, and 9. Note that these patches are directly from Google, so there is no fear of bloatware or soft brick issues. Also, you will be required to manually sideload these firmware files to your respective Nexus device(s). Ensure that you read this guide thoroughly before actually trying it out.
Prerequisites
- Make sure you are using one of these Nexus devices – Nexus 4, Nexus 5, or Nexus 9. Flashing the respective OTA.zip file to any other device might cause a bootloop.
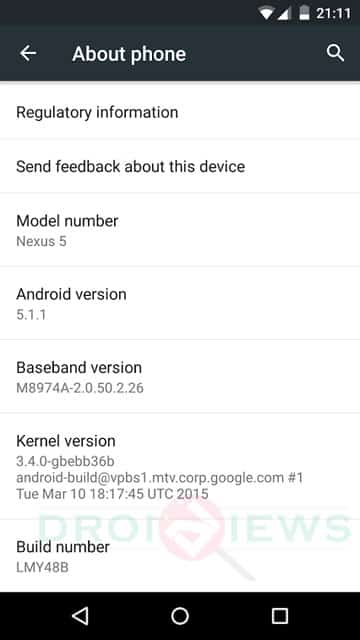
- Ensure that you have USB Debugging enabled from settings. To do so, hop into Settings> About Phone, and tap Build Number 7 times. Once enabled, go to Settings>Developer Options, and enable USB Debugging from the menu.
- Also, to apply and sideload the update files, your Nexus device should be Stock, without any modification or without any Custom ROM installed. Long story short, your device’s system directory needs to be stock in order for the flash to do you any good.
- You need the latest version of ADB installed on your Computer. You can grab the verified ZIP package by clicking here.
- You will need the correct OTA.zip file for your respective Nexus device. You may refer to the Downloads section below to find the file most suitable to your device(s).
Downloads
-
Nexus 4
-
Nexus 5
-
Nexus 9
Note that you will need to flash the Android 5.0.2 update first on your Nexus 9 in order to flash the 5.1.1 update. We have provided the 5.0.2 ZIP file as well.
Procedure
- Make sure you have the latest ADB version installed on your Computer. If not, quickly download the ZIP file from above.
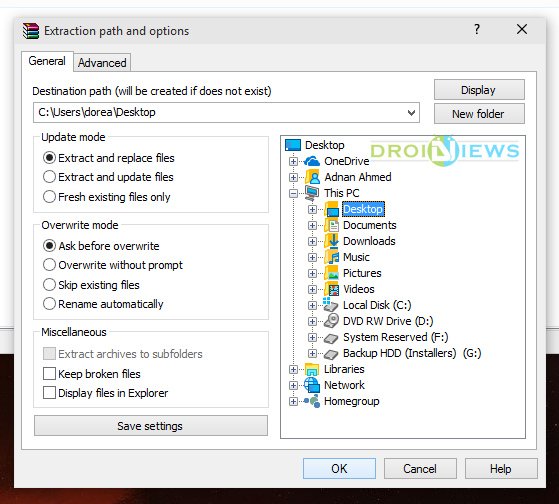
- Extract the platform-tools xx.x.x.zip anywhere on your desktop.
- Now, according to your Nexus device, download one of the OTA.zip files from the above download links provided. Ensure you have downloaded the correct ZIP file once again. Once downloaded, change the name of the ZIP file to “Update.zip” for your convenience. Also, copy the “Update.zip” file to the same folder in which “platform-tools xx.x.x.zip” has been extracted.

- Now, with USB Debugging still enabled, connect your Nexus device to your Computer, and launch command prompt from the extracted folder.
- To boot your Nexus device into the recovery mode, simply type in the following command :
adb reboot recovery
- Once your Nexus device boots into the Recovery mode, you will be able to see an Android robot. Now, all you have to do, is press Volume Up for a second, and release it.
- You will be greeted with a menu. Select “apply update from adb” from the different options.
- On your command prompt window on the Computer, type in the following code :
adb sideload Update.zip
- This process might take some time depending on how big the update file is. Once done, reboot your Nexus device, and unplug it from your Computer.
Voila! You can now enjoy Android Lollipop, 5.1.1 on your freshly flashed Nexus device! If you have any queries regarding this guide, sure do refer us in the comments section below.


Join The Discussion: