Motorola’s partnership with Google was probably the best thing that has ever happened to us, Android enthusiasts. One, we didn’t exactly know what Google and Motorola were up to when they first combined. We heard rumors of an ‘X’ smartphone from Motorola. The ‘X’ phone was hyped so much and started to gain so much of popularity over the internet, and in the hearts of us geeks, that Motorola came up with their first device in the Moto range – the Moto X.
At the time of its release, the Moto X wasn’t packed with all the internals we expected, besides, it was the perfect Android device for a casual human being. Later, Motorola released yet two new devices in the same range, the Moto G, and then the Moto E. Now, we have three new successors to all three of the devices, the Moto X2, the G2, and the E2.
With the coming of the Motorola Moto G (2015), people started to prefer it over any other low-end mobile. Soon, the popularity of its predecessor started to go down the lane. Developers started porting ROMs to the second generation of the same device.
However, Motorola had sworn that the Moto range of devices would be the first to acquire the latest Android incremental updates, right after the Nexus range of devices. Due to this, Motorola had to update the Moto G (1st Gen). Today, at DroidViews, we would like to share with you all a simple How-To guide on updating the newly released OTA from Motorola manually on your Moto G (1st Gen).
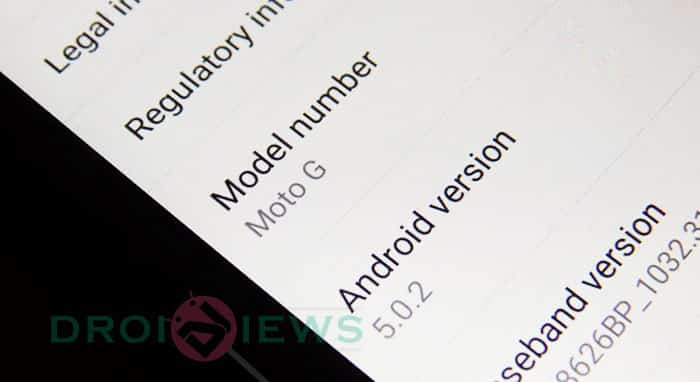
This time, Motorola released the Android 5.0.2 update for the Moto G (1st Gen). This update fixes a lot of issues, and treats the user with a sweet Materialized UI. Also, some of the System applications will also be tampered with the coming of this update. So, if you want to taste the latest update on your Moto G (1st Gen), go ahead and follow our guide below.
Pre-Requisites
- To apply the update file, your Moto G (1st Gen) should be Stock, without any modification or without any Custom ROM installed. Long story short, your device’s system directory needs to be stock in order for the flash to do you any good.
- You need to enable USB Debugging to let the computer recognize your Moto G. To do so, hop into Settings> About Phone, and tap Build Number 7 times. Once enabled, go to Settings> Developer Options, and enable USB Debugging from the menu.
- Grab the Android 5.0.2 OTA zip file: Blur Version.210.12.61.falcon umts.Retail.en.US.zip
Procedure
- Download the OTA update file from the above link provided.
- Simply connect your Motorola Moto G (1st Gen) to your Computer, and transfer the OTA Update ZIP file.
- Now, unplug your Moto G (1st Gen), and totally shut it down.
- Reboot into recovery. To do so, press and hold the Volume Down button and Power button for approximately 3 seconds, then release. From the “Boot Mode Selection Menu” screen, select Recovery.
- You now must use the Volume keys to navigate, and the Power key to select.
- Simply select “Apply ZIP From SD Card“, and then find and locate the Update ZIP file that you’ve downloaded and transferred earlier on your Moto G (1st Gen).
- Now, select “Yes”, and give the flash some time.
- Once the process is done, reboot your Motorola Moto G (1st Gen)
Good going! Now you can enjoy the sweetest ever version of Android on your Moto G (1st Gen). If you have any queries regarding this article, simply refer us in the comments below.
source: xda


So did the reboot as described and my Moto G (1st Gen) shows me a little “anroid guy” lying on the ground with the message “No command”. None of the buttons work any more. Only a Power down gets me out of this and able to restart. In other words: nothing happens. I have tried all manner of methods of upgrading to Android 5, nothing seems to work.