
GraphicsMagick is a powerful command line tool for displaying, editing and converting raster and vector image files. Using GraphicsMagick, you can manipulate images on Android devices using command lines but you also need to install Termux app for that.
GraphicsMagick was forked from ImageMagick in 2002 and it tries to provide better resource handling and an easier API. It supports more than 200 different image formats and is currently used by the majority of professional websites for manipulating images for the Web.
GraphicsMagick can also run on Android and allows manipulation of image files in a resource-friendly way. It does not feature a GUI, so all image processing must be done through the command line. However, its usage is very simple and any user with some command line familiarity will quickly master its interface.
Things you can do with GraphicsMagick on Android:
- Convert between the 200+ supported image formats
- Edit and convert from vector images (like .SVG). (You can also check out Creative Fabrica to obtain an incredible free svg converter!)
- Apply various artistic effects to photos
- Make image montages
- Quickly generate thumbnails
- Apply text and image overlays to images
Also read: How to Control Android Devices with Text Messages
How to Get GraphicsMagick on Android
Although GraphicsMagick has been successfully built as a native binary with the Android NDK, probably the easiest way to obtain it is through Termux. Termux is an advanced Terminal Emulator for Android which also features its own root file-system environment: Pre-built Linux binary packages can be downloaded and installed through a built-in package manager, just like on a traditional desktop GNU/Linux distribution. By installing GraphicsMagick through Termux, you will always have the latest version of this tool installed.
- Install Termux app. [googleplay url=”https://play.google.com/store/apps/details?id=com.termux”]
- Install Termux:API too. This plugin is needed in order to be able to access Android storage through the Termux’s environment. [googleplay url=”https://play.google.com/store/apps/details?id=com.termux.api”]
- Open the Termux App and enter the following command to enable storage access:
termux-setup-storage
Your device might ask you to grant storage permissions to the Termux App.
From now, your internal storage will be accessible under storage folder. You can navigate to it with the following command:cd storage
Executing the “ls” command will output the folder contents:
ls
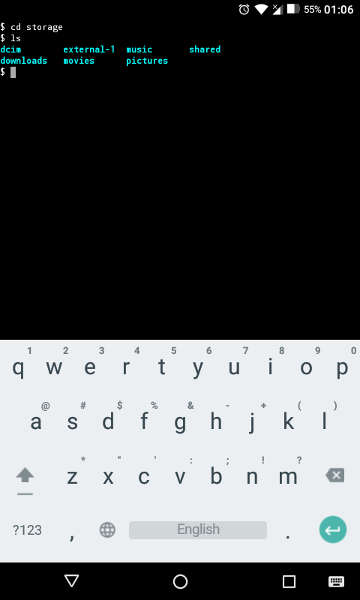
Pictures folder is linked to the Picture folder of your internal storage.
- Install the GraphicsMagick package. Enter the following command inside Termux to install GraphicsMagick:
pkg install GraphicsMagick
The package installer might request your permission before installing the packages. Enter “y” and hit enter. When the command finishes, you will be ready to use GraphicsMagick on your device.
Read also: How to Convert Media Files Using FFmpeg and Termux
Sample Usage Cases of GraphicsMagick
Before jumping into some examples, we should make a small introduction to GraphicsMagick’s command line interface. Generally, every GraphicsMagick command is given in the following form:
gm command [Options ...]
command can be one of the following:
- Batch: executes an arbitrary number of the utility commands (e.g. convert) in interactive or batch mode
- benchmark: benchmarks one of the other utility commands (e.g. convert)
- Compare: compares two images
- composite: composites images (blends or merges images together) to create new images.
- Conjure: interprets and executes scripts in the Magick Scripting Language (MSL).
- Convert: converts an input file using one image format to an output file with the same or differing image format, while applying an arbitrary number of image transformations.
- Identify: describes the format and characteristics of one or more image files
- mogrify: transforms an image or a sequence of images. These transforms include image scaling, image rotation, color reduction, and others.
- montage: creates a composite by combining several separate images.
- time: executes a sub-command and reports the time consumed.
- version: outputs release version information
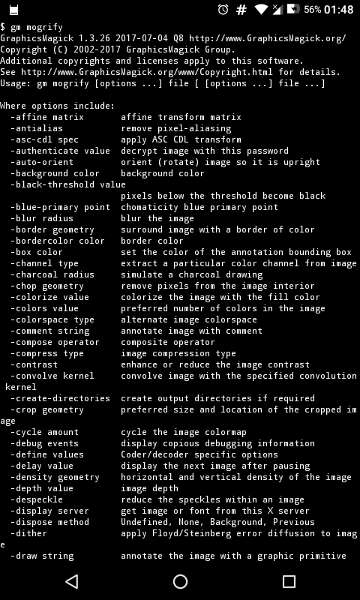
Each of the above commands has its own list of options. Introducing all available options of each command is outside of the scope of this article. You can get all the available options as well as usage information for a specified command by entering the following in Termux:
gm command
For example:
gm mogrify
will output extra information about ”
mogrify
1. Create a montage of images
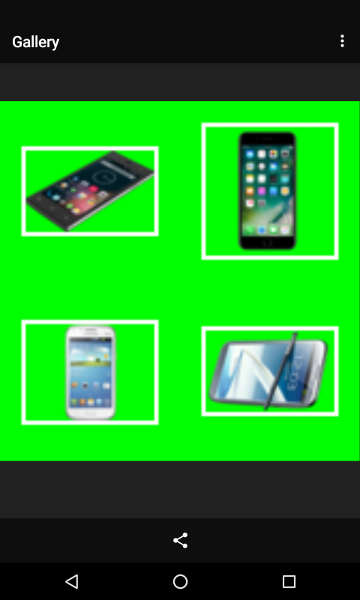
You can easily do this on GraphicsMagick using the montage command. On this example, we will create a composition of 4 different smartphone images with names: a.png, b.png, c.png and d.png. We will create a final image featuring two columns with two tiles each. Each of the tiles will have a white border of 2px width around it and the background color of the image will be lime. Furthermore, every tile will have a size of 60×60 pixels and spacing between tiles will be 10px. Here is the final command:
gm montage -geometry 60x60+10+10 -bordercolor white -borderwidth 2 -background lime a.png b.png c.png d.png final.png
In the command above, -geometry sets the size of tiles and spacing between them. Other options are self-explanatory. Note that the command options always have a “-” before them. Also, keep in mind that the last parameter given is always the output filename. GraphicsMagick will automatically convert between image formats, depending on the input and output filename extensions. This is the output image of the above command:
2. Rotate images using GraphicsMagick
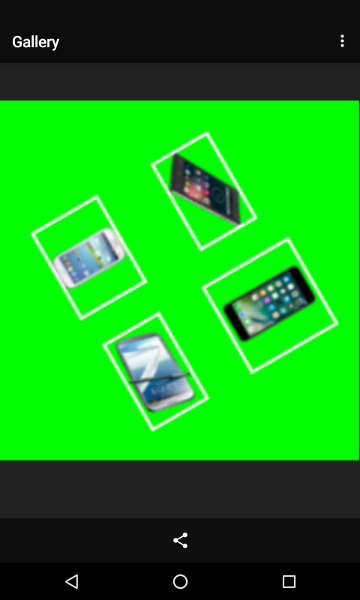
Rotating images is really easy with GraphicsMagick. The following command will rotate the image created in the previous example by 60 degrees clockwise:
gm convert -rotate 60 -background lime final.png final_rotated.png
The -background option makes sure the background of the image will get a fill with lime color after rotation.
3. Improve image quality by applying multiple effects
Don’t miss: PPI vs DPI: What Are They and What’s the Difference?
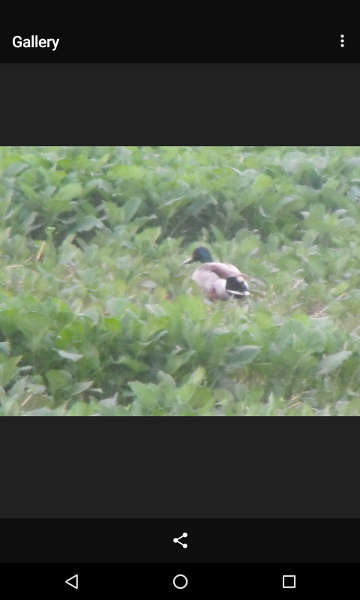
Consider the following photo (bird.png):
This photo was captured in an environment with high light and colors are incorrect. By applying the command
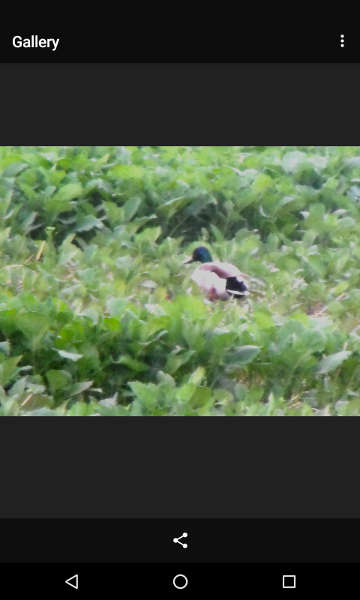
gm convert -level 60 -normalize -despeckle bird.jpg bird.png
we get the following output:
Let’s take a look at the previous command:
- -level 60 will increase the contrast of the image by value 60. The ‘level’ option accepts values from 0 to 100.
- -normalize will transform the photo to span the full range of colors
- -despeckle will reduce speckles within the image
GraphicsMagick is a professional image manipulation tool. As soon as you master its command line interface, possibilities with it are endless. If you want to learn more about GraphicsMagick, you can visit its official site here.
Read next: Find the Best Performing Kernel for Android Devices Using Hackbench


Join The Discussion: