KWGT Pro or Kustom Widget Pro is a must-have app if one is into home screen customization. It is literally the most powerful app for tweaking and customizing home screens on Android devices. As the name suggests, it is a widget maker. Not just any other one but the best one. It is above the likes of its competition.
Whether or not you are into home screen customization you might have come across widgets. A widget is basically a small and simple interface that allows the user to access some of the features of the apps associated with it. For example, the clock widget that tells the time or the weather widget that tells the weather.
Widgets are really useful and are designed for a purpose. However, they look sort of ugly on the home screen unpleasing to the eye. In 2018, the design is as important as functionality. If there is an option to make that weather widget look good while retaining its functionality then the chances are that users will probably do it. That is exactly what Kustom Widgets allow them to do.
Must Read: How to Customize Samsung Devices Without Root – Oreo Edition!
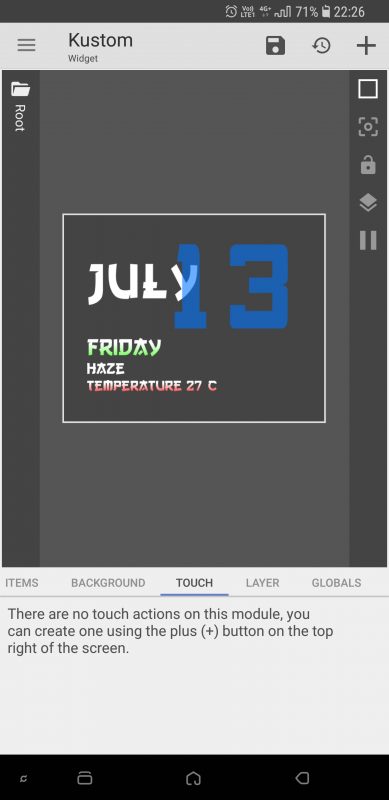
Here is an example of what KWGT can do. This is a homescreen that I created by modifying a preset. Using KWGT can get tedious and frustrating at times, especially for new users. So, I decided to create a guide as to how to use KWGT to create a homescreen. In this post, I would be jotting down the steps to create and modify the home screen attached above.
Prerequisites
- KWGT Kustom Widget Maker [googleplay url = “https://play.google.com/store/apps/details?id=org.kustom.widget”]
- KWGT Kustom Widget Pro Key [googleplay url = “https://play.google.com/store/apps/details?id=org.kustom.widget.pro”]
- Moon KWGT (Required for this tutorial) [googleplay url = “https://play.google.com/store/apps/details?id=moonkwgt.kustom.pack”]
- Dynamic Komponents for KLWP [googleplay url = “https://play.google.com/store/apps/details?id=com.baconbits.dynamic.klwp”]
- Nova Launcher [googleplay url = “https://play.google.com/store/apps/details?id=com.teslacoilsw.launcher”]
- An Android Phone
Import a Widget from KWGT
- Long press on the home screen»Widgets» Scroll down to KWGT.
- Tap and hold the widget to pick it up.
- Then, place it on the home screen.
Resize a Widget
- Click and hold the widget.
- Then, click on Resize.
- Use the white points to resize the widget best suited for your customization.
Restore Point
Restore point is a crucial feature of the app. The app does not have an undo button. Instead, it has this restore button. Using this would create a restore point. After this, any changes made to the widget can be rolled back up to the point where the restore point was created. It is a great and cleverly implemented feature. It’s really good if one wants to try different modifications in a widget.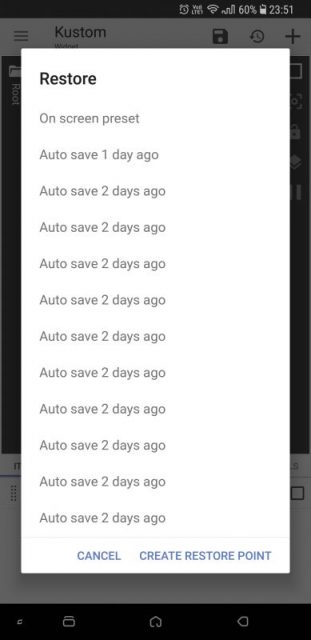
Steps to Create the Date and Weather Widget
- Import a widget from KWGT.
- Resize the widget.
- Click on it and head over to the Installed tab.
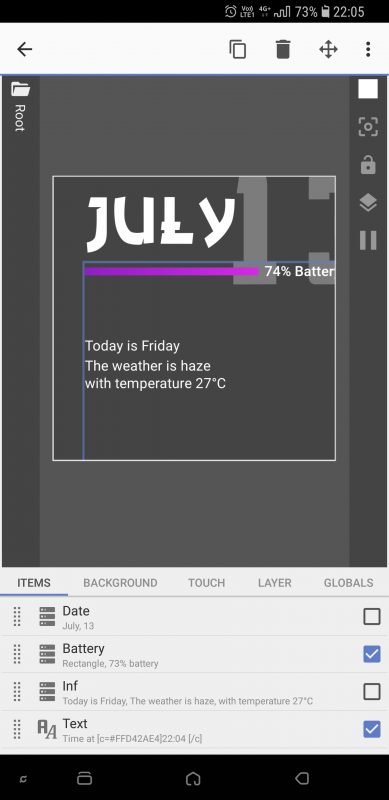
- Scroll down and select the Moon 039 widget.
- Next, remove the Battery and Text items (We won’t be needing it for the current setup).
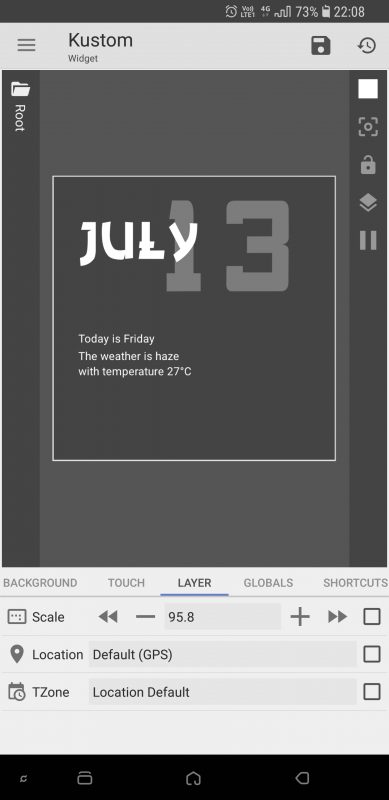
- Then, head over to the Layer tab and scale it down to fit the size of the widget.
- Under the Items tab, select Date» Text» Paint» Color» Select the color according to your preference.
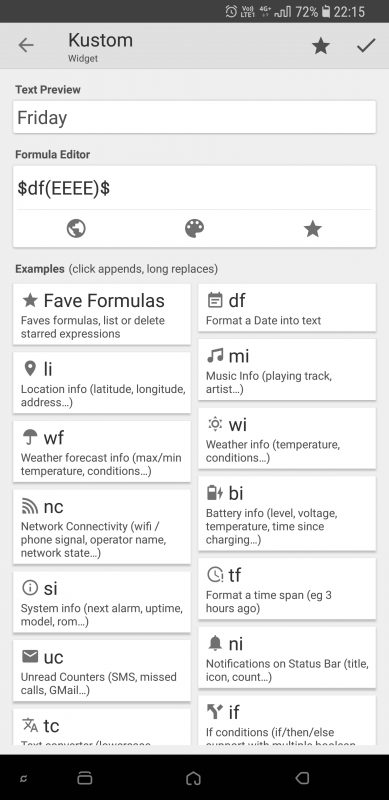
- After that, go back to the Root folder and under the Items tab, select Inf» Morphing Text» Text» Formula Editor and remove everything instead of the formula itself and hit the done button on the top right corner.
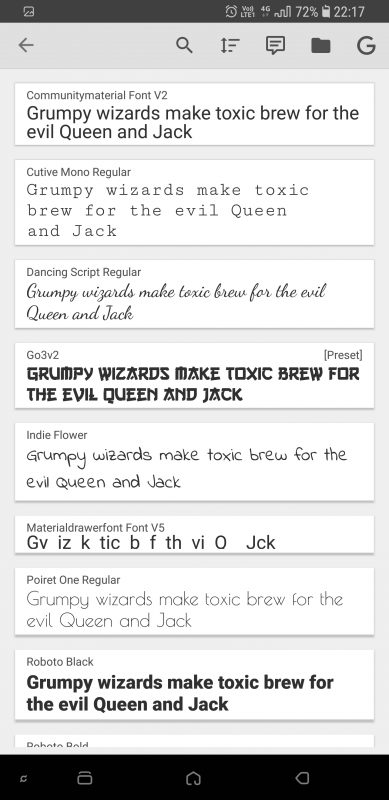
- Next, under the Text tab select Font and change it to Go3v2.
- Adjust the size using the size tool according to your preference.
- Then, under the FX tab select Texture» Vertical Gradient.
- Adjust the width and offset according to your preference.
- Repeat the steps 8 to 12 to change the weather information and temperature.
- Finally, under the Touch section make sure to remove the Advanced Editor action.
Don’t miss: How to Replicate Google Dialer’s Floating Bubble on Any Dialer App
Steps to Create the Status Bar Widget
The status bar is trickier to make than it looks. In order to ease the complexity, I divided the status bar into two parts. That’s right, the status bar is two widgets and not one.
Part I of the Status Bar Widget
- Import a widget from KWGT.
- Resize the widget.
- Click on it and head over to the Installed tab.
- Then, click on the New icon located in the top-right corner.
- Click on the + icon.
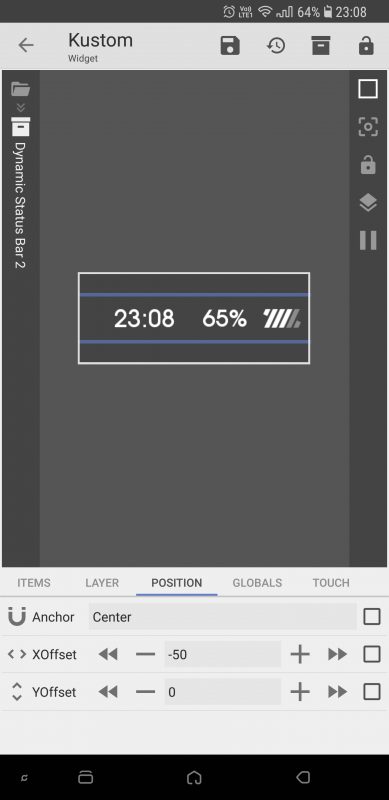
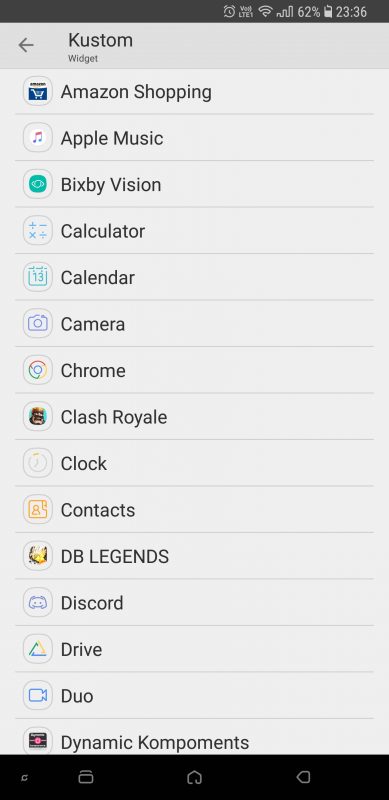
- Next, select the Komponent» Dynamic Status Bar 2.
- Navigate to Items» Dynamic Status Bar 2» Style 1.
- Then, select and remove Charging Icon, Battery Percentage, Time and Battery.
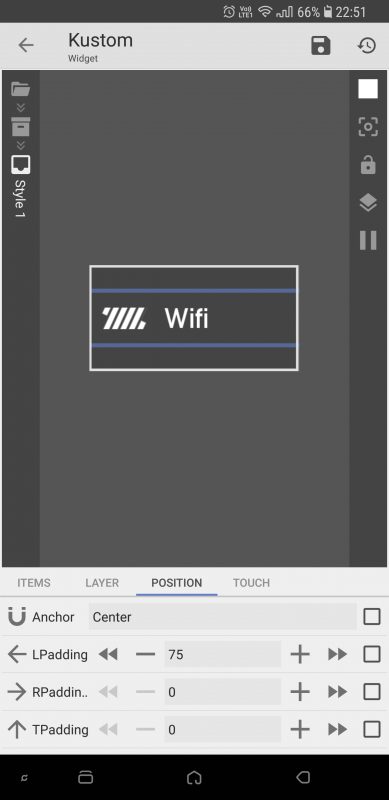
- Under the Position tab, change the padding according to your preference.
- Finally, under the Touch section make sure to remove the Advanced Editor action.
Part II of the Status Bar Widget
- Import a widget from KWGT.
- Resize the widget.
- Click on it and head over to the Installed tab.
- Then, click on the New icon located in the top-right corner.
- Click on the + icon.
- Next, select the Komponent» Dynamic Status Bar 2.
- Navigate to Items» Dynamic Status Bar 2» Style 1.
- Then, select and remove Data, Wifi and Data Connection.
- Navigate to the Dynamic Status Bar 2 folder and hover over to Position tab and change the offset to fit the items in the widget.
- Finally, under the Touch section make sure to remove the Advanced Editor action.
Steps to Create Apps Widget
- Import a widget from KWGT.
- Resize the widget.
- Click on it and head over to the Installed tab.
- Scroll down and select the Moon 073 widget.
- Under the Items tab, select Stack Group.
- Navigate to the Layer tab and change the Stacking to Vertical Center.
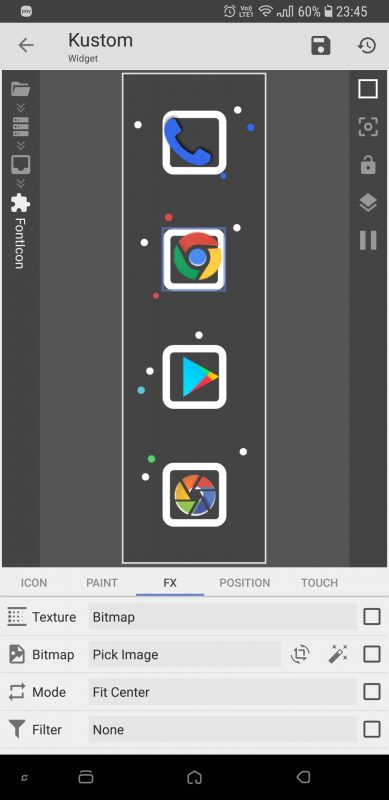
- To change the icon, navigate to Stack Group» 2» FontIcon» Icon and select the icon according to your preference.
- Head back and under the Touch tab, click on Single» App and change it to the desired app.
- To make the icon look more real download the logo of the icon from the web.
- Then, navigate to Stack Group» 2» FontIcon» Icon.
- Under the FX tab select Texture and change it to Bitmap.
- Next, pick the image you downloaded from the web.
- Finally, under the Touch section make sure to remove the Advanced Editor action.
The Moon 073 widget has global variables so in order to change the scale or the color of the icons navigate to the root folder. Now head over to the Globals tab and change or create any variables according to your preference.
Worth Reading: Battery Meter Overlay Gives Elegant Battery Meter on The Status Bar
Conclusion
This post was written in order to help users to understand the various features of the app. Don’t try to mimic everything. Try to implement and change some of the aspects. Give it your own twist. Let’s see what you guys can come up with. Make sure to share your Kustom home screen in the comments section down below. I would really like to see them. Till then, sayonara.





Join The Discussion: