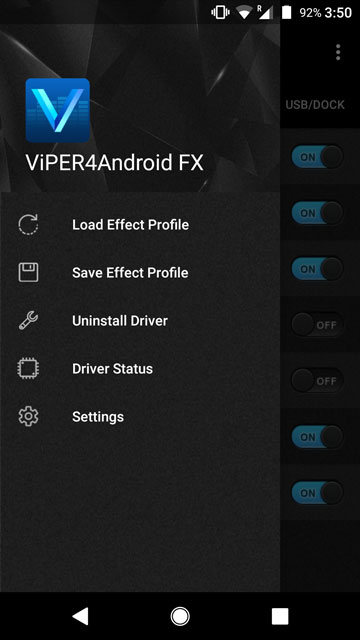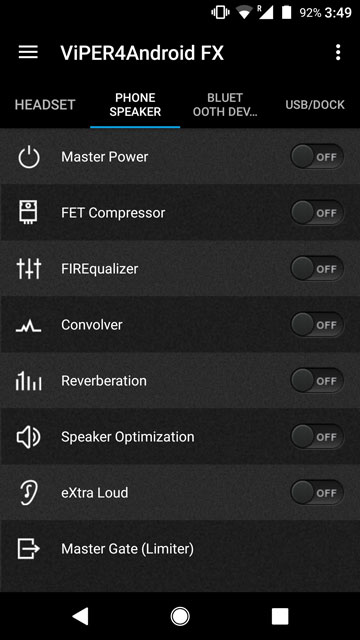
In case you haven’t been following, the last time we saw how easy it was to install Viper4Android (V4A) on Android 7.0+ Nougat. There are many reasons why you would want to install it if you are interested in a sound mod. The granular control over almost every aspect of your device’s audio experience being one. Even though the popular sound mod is universal, it tends to only work with AOSP based ROMs usually or ROMs that are close to stock Android. The Huawei Mate 9’s software is definitely one of the least stock Android-ish software there are in the smartphone world. But you can still install Viper4Android on Huawei Mate 9.
Prerequisites
- Obviously, you would require a rooted Huawei Mate 9 with a custom recovery installed. If you don’t have those, you can follow our guide to install TWRP recovery and root Huawei Mate 9.
- In case you already have root, we hope you rooted through Chainfire’s SuperSU as explained in our guide. But don’t worry if you rooted your Mate 9 via phh’s SuperUser. All you will need is to install SELinux Toggler.
In case you want to know..
This is mainly because on the Huawei Mate 9, Viper4Android doesn’t yet work with SELinux set to Enforcing, which is the default setting on Android Kitkat and above. Chainfire’s SuperSU copies the 00selinux script included in the V4A zip directly to /system/etc/init.d/ and runs at boot thus changing the SELinux to Permissive automatically. Users of phh’s SuperUser have to do this manually.
Disclaimer
Installing Viper4Android requires meddling with system files, and it can be a risky affair. DroidViews takes no responsibility whatsoever if you brick your device while following the procedure. You must understand this and proceed at your own risk. That said, the method below has been tried and tested successfully by many users, and you shouldn’t find any difficulties.
Download
Install Viper4Android on Huawei Mate 9
- The first thing you have to do is simply flash the downloaded zip file from recovery. To do this, transfer the file to your phone and turn it off.
- Press and hold the Power and Volume Up buttons together until you see the Huawei logo. Release the keys as soon as the logo appears.
- You should now be in recovery. If you’re using TWRP recovery, simply select Install and then select the ViPER4Android_2.5.0.5_MATE9.zip.
- Swipe to flash.
- Reboot.
For those of you rooted via Chainfire’s SuperSU, that’s all. You can now enjoy your own customized sound audio experience using the Viper4Android app that should now be installed. Just open the app and allow it to install the drivers if prompted.
If you use phh’s SuperUser, simply open the SELinuxToggler app, grant it Superuser access when asked, and tap on the button that says “Permissive.” In case it is grayed out, it means the app has already done its job.
That’s all folks. We hope you managed to get by and now have a working Viper4Android. Do let us know in the comments below.


Join The Discussion: