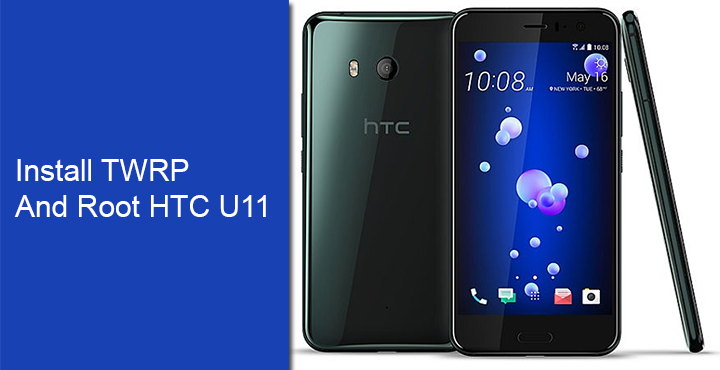
It hasn’t really been that long since HTC released the HTC U11. But the good folks over at the TweanWin Recovery Project have already released a working TWRP recovery for the device. With a custom recovery like TWRP, usually, come along methods of rooting a device. So is the case here with the HTC U11. If you intend to root or install TWRP on your HTC U11 though, the bootloader needs to be unlocked. That will, of course, void any warranty on your shiny new device.
Most Android OEMs officially allow unlocking the bootloader of their devices and HTC is no different. However, before you jump aboard there are a few things to consider.
Prerequisites
- Installing the TWRP recovery requires the use of ADB and fastboot commands so you will need a working Windows PC, a USB cable and of course an HTC U11.
- You must make sure that USB debugging is enabled on your phone. If you don’t know how to do that, check out our guide.
- Either make sure that your phone’s battery is above at least 50% or keep it plugged into the charger during the process. Keeping the battery charged is generally a safer process.
- Since you will be using ADB and fastboot commands, you will first need ADB and fastboot drivers installed on your PC. You can download and install Minimal ADB and Fastboot from here.
- To make sure your device is properly connected, HTC USB drivers are also required, and you can download these from here.
- Unlocking the bootloader can potentially wipe your entire device, including your internal storage unless specified otherwise. So make sure you have everything backed up.
Downloads
How to install TWRP Recovery on HTC U11
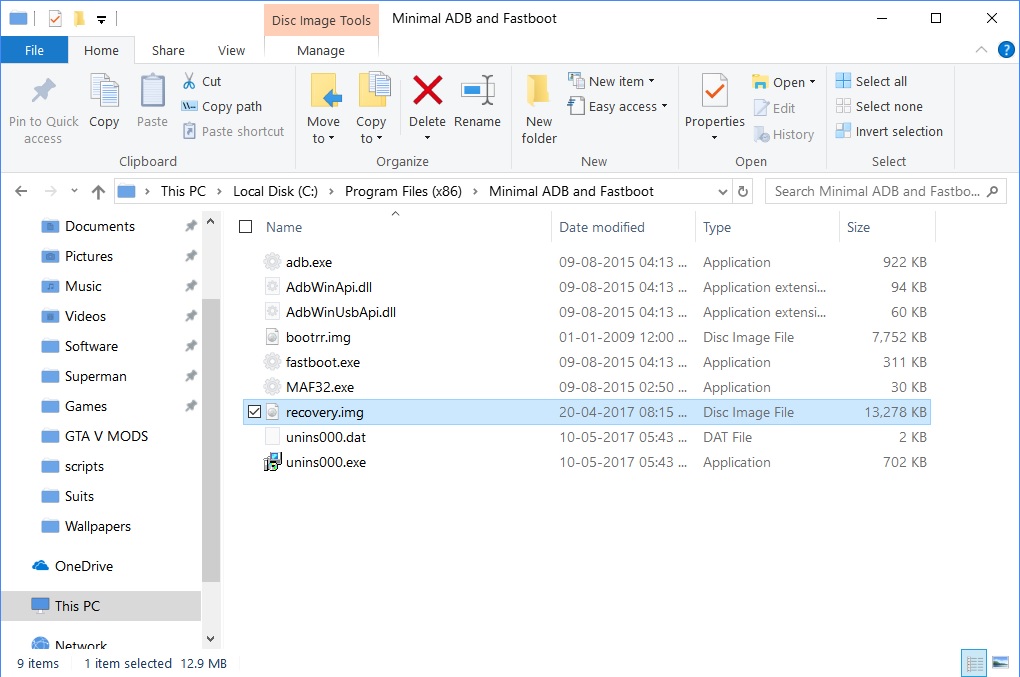
- Download the TWRP image for the HTC U11 from above and rename it to recovery.img for ease of installation.
- Move the recovery image to your ADB installation folder. This is usually C:\Program Files (x86)\Minimal ADB and Fastboot unless you changed it during installation.

- Connect your phone to your PC with a USB cable and grant any permissions on your phone if asked for.
- On your PC right click on an empty space in the adb folder and select Open command window here. Alternatively, you can type cmd in the address bar and press enter.
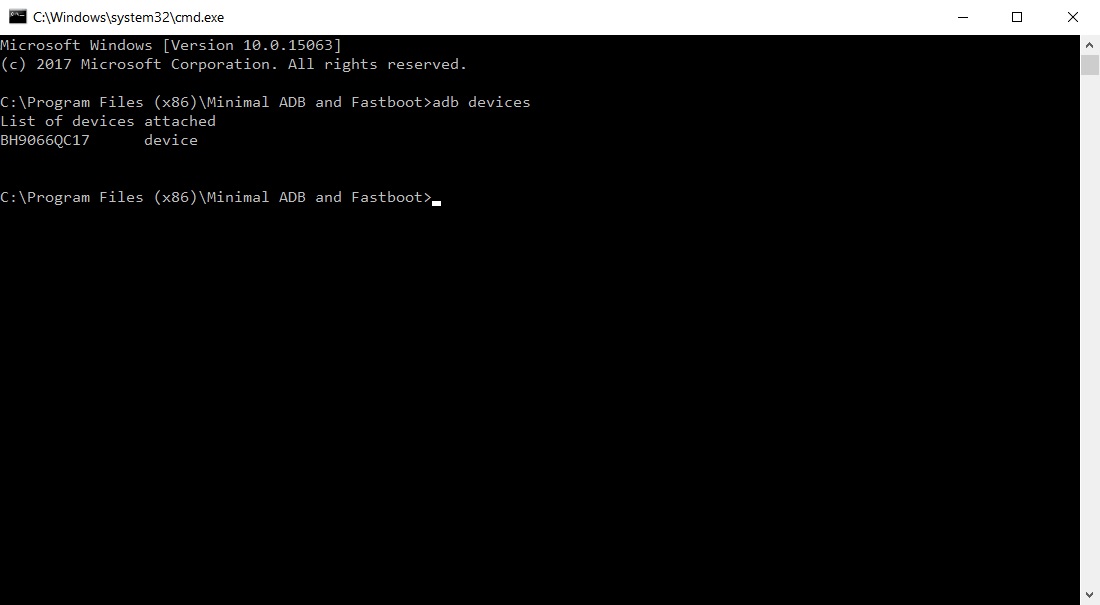
- In the ADB command window, type in the following command and hit enter to see your device listed.
adb devices
- If you see a response that is similar to the one shown below, your device is found. This means you can proceed further.

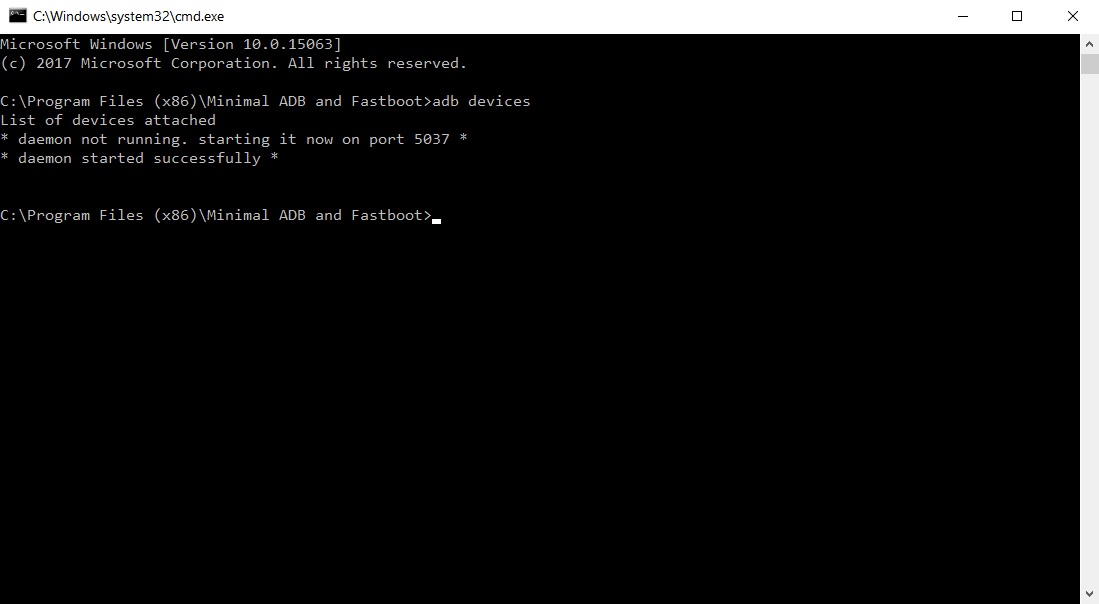
- If your device is not found, you will see something like the screenshot below. In this case, you should check your USB connection and the drivers.

- Type in the following command to boot your phone is fastboot mode.
adb reboot download
- At this point your device should reboot into fastboot or download mode. It’s a good idea to check again if the device is now connected in fastboot mode. To do this enter the command given below.
fastboot devices
- If your device is found, simply enter the command below to flash the TWRP image file.
fastboot flash recovery recovery.img
- The process shouldn’t take longer than a couple seconds. Once completed, you can reboot your phone with a simple command or unplug it and reboot it manually.
fastboot rebootf C U11
How to root HTC U11
Now that you have a custom recovery installed, you can root your HTC U11. It is probably a good idea to root it with Magisk Systemless Root if you want to continue enjoying apps like NetFlix, Snapchat, Android Pay, etc.
- Download the Magisk flashable zip from the download section above and transfer it to your HTC U11.
- Connect your phone to the PC and open an ADB command interface as before and push the command given below to boot your device into TWRP recovery.
adb reboot recovery
- When in the TWRP recovery, select Install.
- Browse to the Magisk zip and select it.
- Swipe right to install it.
- Once Magisk is flashed, you’ll get Reboot System option, select it.
- Now install the Magisk Manager APK and enjoy your rooted HTC U11.
If you’re new to Magisk, make sure you check out our Magisk Manager guide.


Join The Discussion: