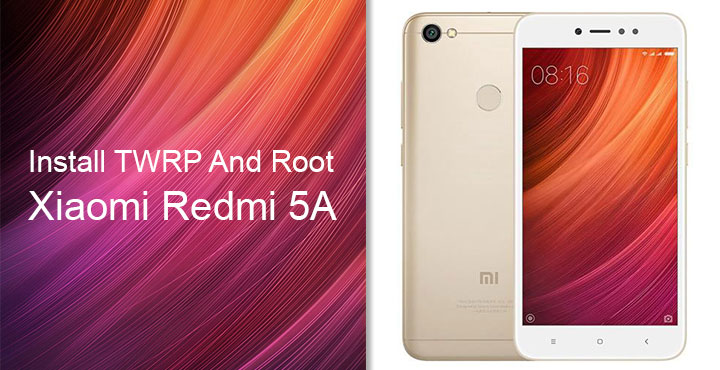
For a long time now Xiaomi has been the uncrowned king of budget smartphones in India, and China. These are the company’s two biggest markets and its Redmi series sell especially well in India. The Redmi 4 and its variants broke previous sales records for the company until the Redmi Note 4 shattered those too. In December 2017, Xiaomi launched the successor to the Redmi 4A as Redmi 5A. To say the device is selling like hotcakes wouldn’t be wrong. It has sold about a million units a month after launch. If you’re one of the owners of the Redmi 5A and are hoping to install TWRP and root the Redmi 5A, here’s how you can do that.
For the uninitiated, Xiaomi Redmi 5A sports a 5-inch 720p display and houses the Qualcomm Snapdragon 425 processor with Adreno 308 underneath. Powered by a 3000mAh battery the device ships in 2GB and 3GB RAM variants. Regardless of the amount of RAM, both variants feature a 13MP rear camera with dual flash and a 5MP front camera. If you’re a frequent modder add to this the availability of official TWRP 3.2.1 for the device. There are a few things we should let you know, although you may have read or heard this a million times already.
Warning
Rooting your Android device and/or installing custom images and other mods or pieces of software will void your warranty. Furthermore, you are trusting tools and software provided by third-party sources who mostly won’t take any responsibility. Android is complex and with so many devices and different variants, it is hard to promise something will work on every device. These third-party developers work for free after all. You must understand the risks and take responsibility, in case unexpected things happen. Although quite unlikely, you may even end up bricking your device. DroidViews cannot be held responsible if you do manage to harm your device in any way while following this guide.
Requirements
- A Xiaomi Redmi 5A, of course, with an unlocked bootloader.
- Ensure that your device has at least 50% charge left.
- Install ADB and Fastboot on your PC.
- Windows users will need to install Xiaomi USB drivers as well.
- Enable USB debugging on your device.
Downloads
- TWRP 3.2.1 for Redmi 5A (source: darshan1205 @xda)
- Latest Magisk (source: topjohnwu @xda)
- lazyflasher-no-verity-opt-encrypt.zip
Install TWRP on Xiaomi Redmi 5A
- Download the TWRP image from the link provided above and rename the downloaded file to twrp.img. Transfer it to your adb installation folder. Both renaming and moving the file into the adb folder are optional but recommended.
- Connect your device to the PC and launch the adb command interface. On Windows, you can do this by going to the adb folder and entering cmd in the address bar. On Linux and Mac systems, simply launch a Terminal window.
- If this is the first time you’re using ADB with your phone, you may be asked to grant USB debugging permissions on your phone’s screen. If not, use the following command to make it appear. This command is used to check the devices connected to adb.
adb devices
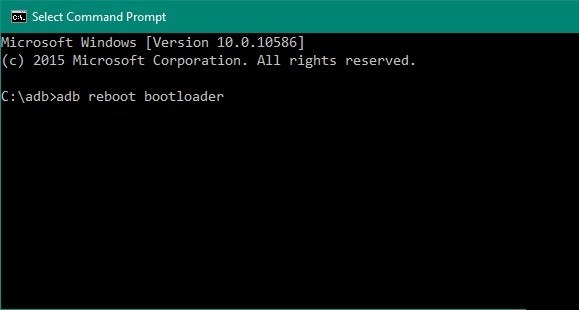
- Boot your device into fastboot mode with the following command.
adb reboot bootloader

- Once in fastboot mode, flash the TWRP image using this command.
fastboot flash recovery twrp.imgIf you haven’t renamed the file to twrp.img, use the original filename, and if you haven’t moved the image file inside the adb folder, add the full path to the twrp file before the name. For instance, if the file is on your desktop, the command you should use will be:
fastboot flash recovery C:\Users\username\Desktop\twrp-3.2.1-0-riva.img - Reboot your Redmi 5A using this command.
fastboot reboot
Root Xiaomi Redmi 5A
- Connect your device to the PC again and use the adb command given below to boot it into the newly installed TWRP recovery.
adb reboot recovery
- Once in TWRP recovery, it’s wise to first take a full NANDroid backup of your device, just in case you may want to revert your device back to a working state. To do this, go to Backup and select all the partitions. Swipe at the bottom to begin the backup process.
- Download and transfer the Magisk and lazyflasher-no-verity-opt-encrypt.zip files to your Redmi 5A.
- Go back to the TWRP main menu once the backup is complete and select Install.
- Browse to and select lazyflasher-no-verity-opt-encrypt.zip, then swipe at the bottom to install it.
- Go back to the main TWRP menu and select Reboot > Recovery.
- Similarly now, install the Magisk zip and then tap on Reboot system button that appears at the bottom.


Join The Discussion: