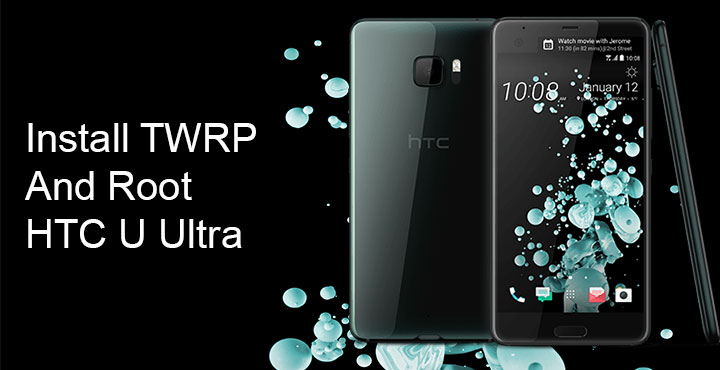
The HTC U Ultra has been in the market for a while and as expected, it now has a custom TWRP build ready to be installed. You will, of course, need to unlock the bootloader first. Once the bootloader is unlocked, you are free to install the TWRP recovery and flash away some sweet ROMs or mods and even root it. There are other custom recoveries out there too but if you’ve ever used custom recoveries you probably know the advantages TWRP offers.
This TWRP build for the HTC U Ultra comes from XDA developer Captain_Throwback. You can expect some minor bugs here and there which shall be ironed out in time. Currently, the only known bug is that you can’t Reboot to recovery from the Reboot menu of the recovery. The only possible reboot is rebooting to the system.
Warning: Rooting and installing custom recoveries are risky procedures, however simple they seem like. If things don’t pan out as planned you might end up bricking your device. It’s very much possible to bring it back up by flashing the stock firmware by HTC again. In any case, DroidViews or the developer don’t take any responsibility if you choose to install this recovery on your device. Thus, can not be held responsible. The procedure described below voids your warranty.
Prerequisites
- Unlocked Bootloader.
- Enabled USB Debugging and OEM Unlock.
- Sufficient battery. (Preferably above 75%)
- TWRP image file. (Download from below)
- Flashable SuperSU. (Download from below)
- ADB and Fastboot setup on your PC. (How to set up system-wide ADB and Fastboot on Windows)
- HTC USB Drivers installed. (Download HTC USB Drivers)
Downloads
Don’t miss: List of 50 Best Apps for Rooted Android Devices
Install TWRP on HTC U Ultra
- Download the TWRP image for the HTC U Ultra from above.
- Rename the TWRP image file to recovery.img for ease of installation and transfer it to your ADB installation folder.
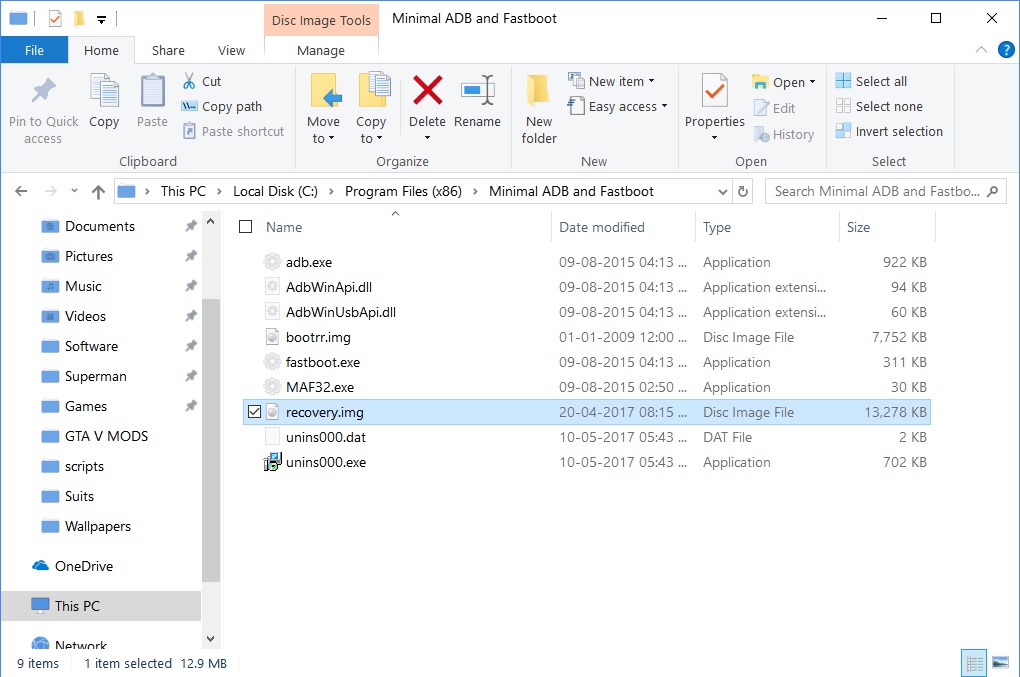
- Connect your phone to your PC with a USB cable and grant any permissions on your phone if asked for.
- On your PC, hold the Shift key and right-click on an empty space in the ADB installation folder and select Open command window here.
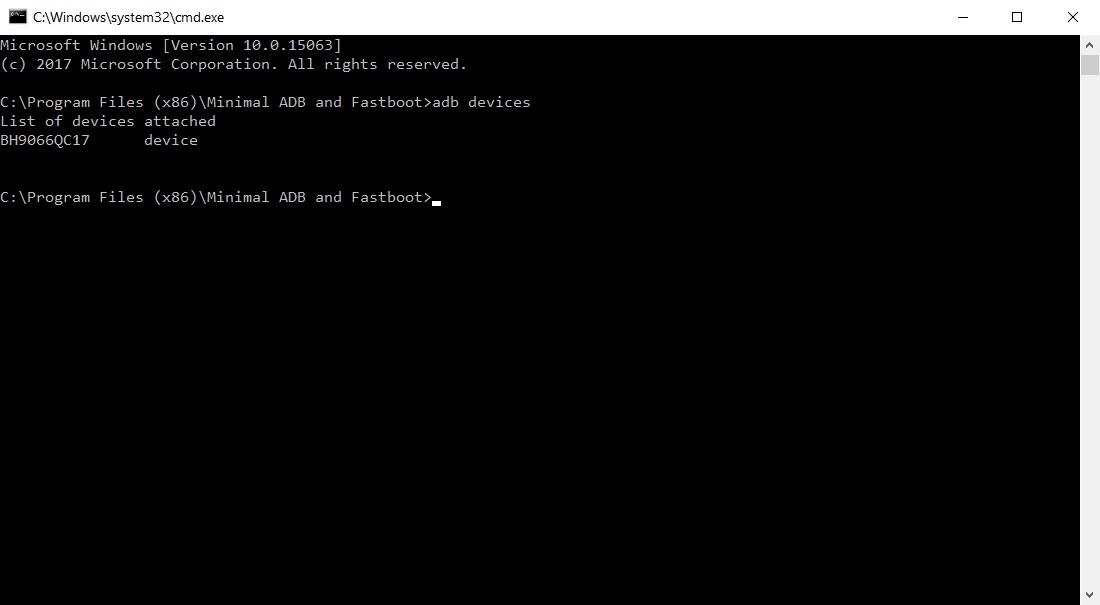
- In the ADB command window, type in the command given below and hit enter to see your device listed.
adb devices
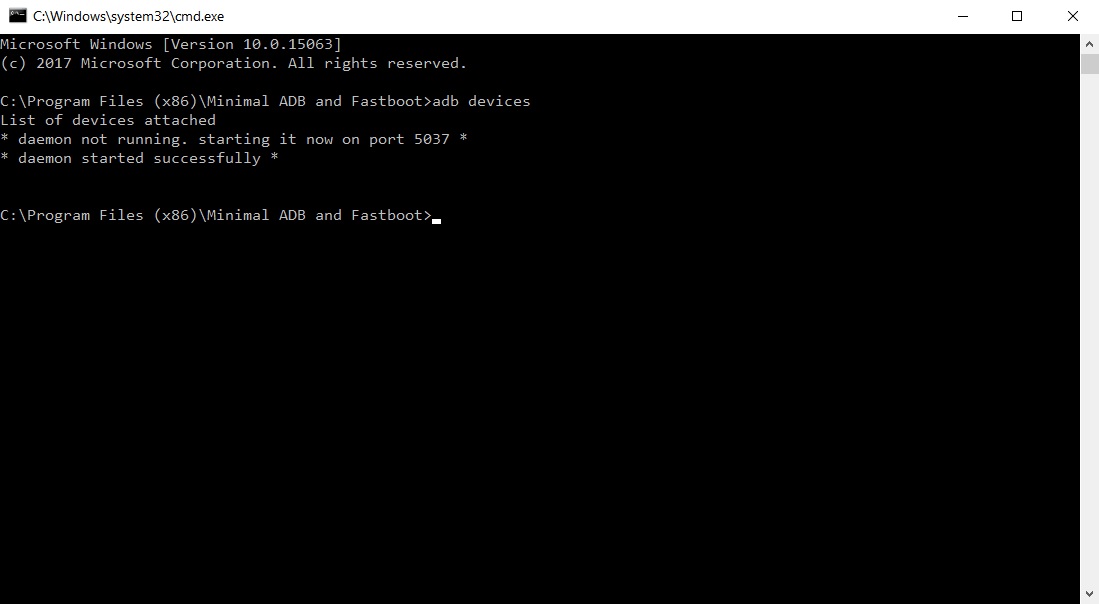
This means your device is connected. If you don’t ee anything, you should probably go back and check your drivers.
Device found No device found - Type the following command to boot your HTC U Ultra to download mode.
adb reboot download
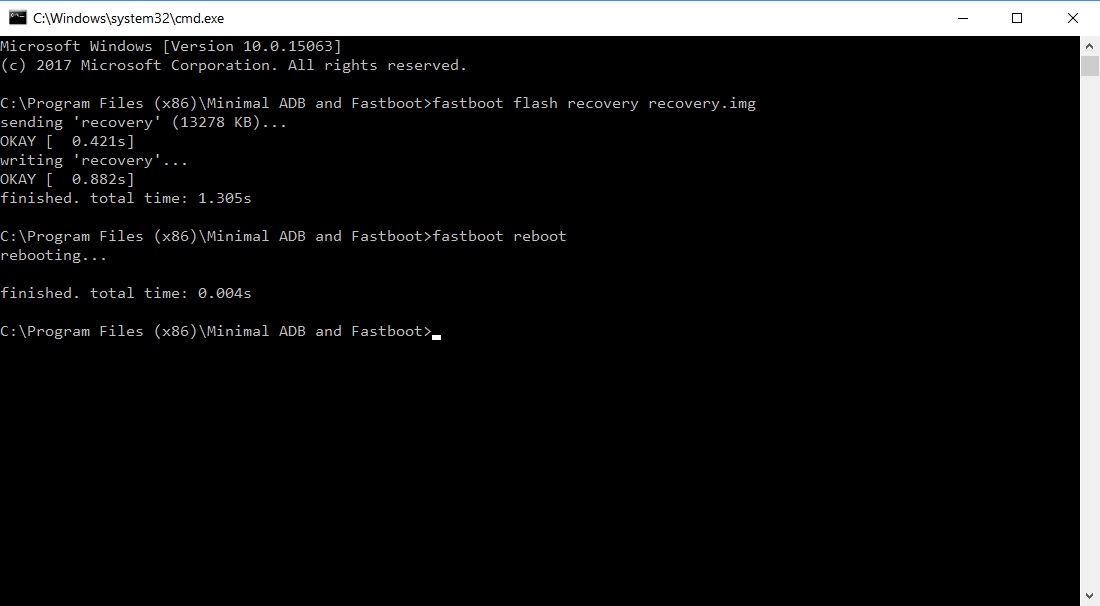
- With your device connected to the PC in download mode, enter the command below to flash the TWRP image
fastboot flash recovery recovery.img
- Once done, disconnect and reboot your HTC U Ultra or just enter the following command
fastboot reboot
Before we go ahead and show you how to root your HTC U Ultra, there’s something you should consider. Rooting with SuperSU 2.79 shouldn’t, in theory, trip the SafetyNet meaning you should still be able to download and use NetFlix, Snapchat, Android Pay and any other such apps. That is as long as you don’t install any mods or make any changes to the system partition, including removing system apps. If you want to do all of that, you should root your HTC U Ultra using the MagiskSU instead.
Must read: 5 Android Apps Worth Rooting For
Root HTC U Ultra
- Download the SuperSU zip from the downloads section above.
- Transfer the SuperSU zip to your phone.
- Connect your phone to the PC and open an ADB command interface as before and push the command given below to boot your device into TWRP recovery.
adb reboot recovery
- When in the TWRP recovery, select Install.
- Browse to the SuperSU zip file and select it.
- Swipe right to flash it.
- Tap Reboot System.
This should root your device. Your device may restart a couple times before fully booting and its normal. When it does boot up you should find the SuperSU app in your app drawer waiting for you to exploit a world of new possibilities.


Join The Discussion: