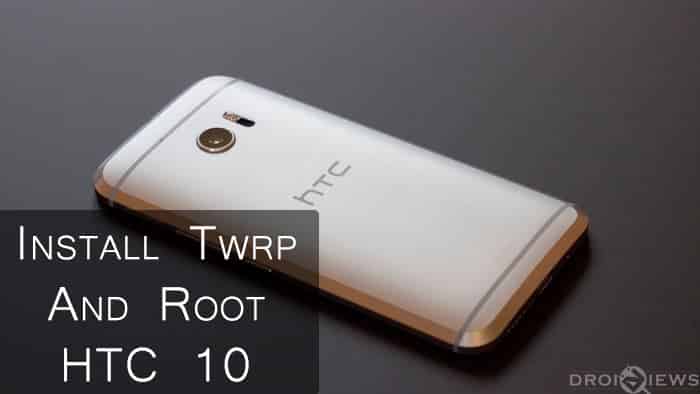
HTC 10 is the latest offering by HTC. With the failure of HTC M9 and M9 Plus, HTC decided to let go the M series for HTC 10. The new HTC 10 comes with all the latest specs that you would expect from the 2016’s flagship device. The design of the phone is simply amazing, HTC has never disappointed us with the design of their phones since the M series devices have been launched. One department where the HTC M series phones lacked the most is the camera, but this time, they have left no stones unturned to provide the best flagship device to the users. The camera is upgraded to 12 MP, f/1.8, with 1.55µm pixel size and is supposed to provide good quality images.
On the software front, HTC has trimmed down its SenseUi and has brought the software experience closer to stock Android. Many of the Sense apps and other bloatware have been removed and have been replaced by the Google ones. But there is so much a device manufacturer could do to provide better with Android experience. As they say, the true power of an Android smartphone is unleashed only after rooting it. Here is the guide to Install TWRP on your HTC 10 and rooting your device.
Backup
Before proceeding with this guide you must backup all of your data to a secure location. Backup all the application, photos, music, and all other important data you might have on your device. You may transfer the data to your PC or use an application that will backup everything to your external storage or to the cloud.
Use the links given below to backup your applications and data.
[googleplay url=”https://play.google.com/store/apps/details?id=com.koushikdutta.backup”/]Things You Will Need
- HTC 10 with an Unlocked Bootloader | Htcdev.com
- TWRP Custom Recovery | Link
- Modified SuperSU zip File | BETA-SuperSU-v2.74-2-forceencrypt.zip
- Minimal ADB and Fastboot | Link
You will require ADB and Fastboot installed on your PC. Follow the guide linked above to setup ADB and Fastboot within seconds before starting with the steps given below.
Steps To Follow
Step 1. Charge your phone to at least 75% to avoid your phone dying while the rooting process.
Step 2. Visit HTCDev.com, follow their directions to unlock your bootloader. Keep in mind this step will wipe the data on your device, so make sure you backup all your data as advised above.
Step 3. Download the latest version of TWRP from the link given above. Copy this file to Minimal ADB and Fastboot folder which you installed using the guide linked above (usually C:/Program Files/Minimal ADB and Fastboot). Also, rename the file to “twrp.img“.
Step 4. Enable Developer Options on your phone. To do so, open Settings app> scroll down to About Phone, then tap the Build Number 7 times. This will enable Developer Options on your device.
Step 5. Go into Developer Options and enable Usb Debugging and OEM Unlocking options. Then connect your device to your PC using aUsb cable.
Step 6. Now open Minimal ADB and Fastboot on your PC nad type the following command to reboot into download mode:
adb reboot download
Step 7. Now type the following command to flash TWRP
fastboot flash recovery twrp.img
Step 8. Now type the following command in the ADB and Fastboot window:
fastboot reboot-bootloader
Step 9. Put an SD card into the device for backing up your current system files and data. This step is optional, you may skip the backup but it is recommended to take one in case you mess something on your device.
Step 10. Now once your phone has booted into bootloader mode, select Recovery and reboot into recovery.
Step 11. Now TWRP should boot up on your device. If TWRP asks for your encryption password just hit Cancel. Then run TWRP in Read only mode.
Step 12. Now go into Backup option of TWRP and select all the partitions except Data and then swipe to make a backup of these partitions.
Step 13. Once the backup is complete, do not reboot your device just go back to main/home screen of TWRP and select Reboot> Recovery.
Step 14. Now once again cancel the prompt for the encryption password. This time, Allow System modifications as we will be now rooting the device. Then select Advanced > ADB Sideload > Swipe to start ADB sideload.
Step 15. Make sure your phone is connected to your PC and you are running the Minimal ADB and Fastboot window on your PC. Type the following command on the window
adb sideload <SuperSU-File Path>
Replace <SuperSU-File Path> with the path/location of the modified SuperSU (modified by topjohnwu as to not decrypt user data, important if you want your radio to work) file that you downloaded from the link given above. You may simply drag the file to the command prompt to make sure right path appears in the command window. Then press enter and wait for the process to finish.
Step 16. Reboot your device to System.
Congratulations! You have successfully rooted your HTC 10. Enjoy your rooted HTC 10 by customizing the device according to your needs. You may check if your device is successfully rooted using the Root checker application available on Play Store.
[googleplay url=”https://play.google.com/store/apps/details?id=com.joeykrim.rootcheck”/]Need help? Leave your queries and questions in the comments section below. We will try our best to resolve your issues as soon as possible.


Join The Discussion: