Xiaomi’s first-ever smartphone from its sub-brand Poco has shaken up the smartphone industry in a way that the OnePlus One did all those years ago. With the increasing cost of OnePlus devices every year, Xiaomi was smart enough to see the gap OnePlus was leaving behind. If you remember, the OnePlus started out at a similar price 5 years ago with the OnePlus One. Today OnePlus is one of the most enthusiast and developer-friendly brands. The Xiaomi Poco F1 may have started something here too. It’s already received a working build of TWRP and if you’re interested you can also root Xiaomi Poco F1.
Warning
Installing a custom recovery on your device requires unlocking the bootloader which will void its warranty. If you’re here though you’ve probably already made up your mind about it. We can assure you that the method mentioned below has been successfully tested and that it works perfectly fine. What we can not assure you of is that everything that you do (even if you follow this guide exactly) will produce the desired result. That is to say, there’s always a risk that something can go wrong. In which case, you must understand that you were warned, and you still went with it anyway. Therefore, DroidViews cannot be held liable for any damage to your device.
The process requires you to format your device so make sure you have backed up everything important, including files and folders on your device’s internal storage.
Requirements
- A Xiaomi Poco F1 with an unlocked bootloader.
- You’ll need a Windows, Mac or Linux computer with ADB and fastboot installed and set up. We do have dedicated, detailed guides on how to do just that for all the three platforms. You can check them out by following the links below.
- Enable USB debugging and OEM unlock.
- Make sure the device is charged at least 50%.
- Windows users will need to install the latest Xiaomi USB Drivers.
Downloads
- TWRP recovery image for Poco F1 (beryllium) (source: Shivam Kumar Jha)
- DisableForceEncryption_Treble.zip
- Magisk v17.1
Install TWRP on Xiaomi Poco F1
- Download all the required files from the Downloads section above. Move the DisableForceEncryption file to your Poco F1’s internal storage. Move the TWRP recovery image to your adb folder or in an easily accessible place on your computer.
- Connect your Poco F1 to the PC with a USB cable and launch the ADB command-line interface. Grant ADB debugging permissions to the PC on your phone if asked.
- Use the following ADB command to reboot your device into fastboot mode.
adb reboot bootloader
- When in fastboot mode, use this command to flash the TWRP recovery image.
fastboot flash recovery /path/to/twrp-3.2.3.0-beryllium-20180831.imgIn the command above, replace /path/to with the actual path to the twrp file. You don’t need to type a path if the twrp file is already placed in the adb folder. You’ll also need to type the correct file name of the image file in case you changed it.
- Once the recovery is flashed, use the following command to boot your device directly into TWRP recovery instead of rebooting it.
fastboot boot twrp-3.2.3.0-beryllium-20180831.img
Once again, keep in mind that you enter the correct path and file name.
- In TWRP recovery, when asked to Keep System Read-only?, tap on the Keep Read Only button to not allow for system modifications.
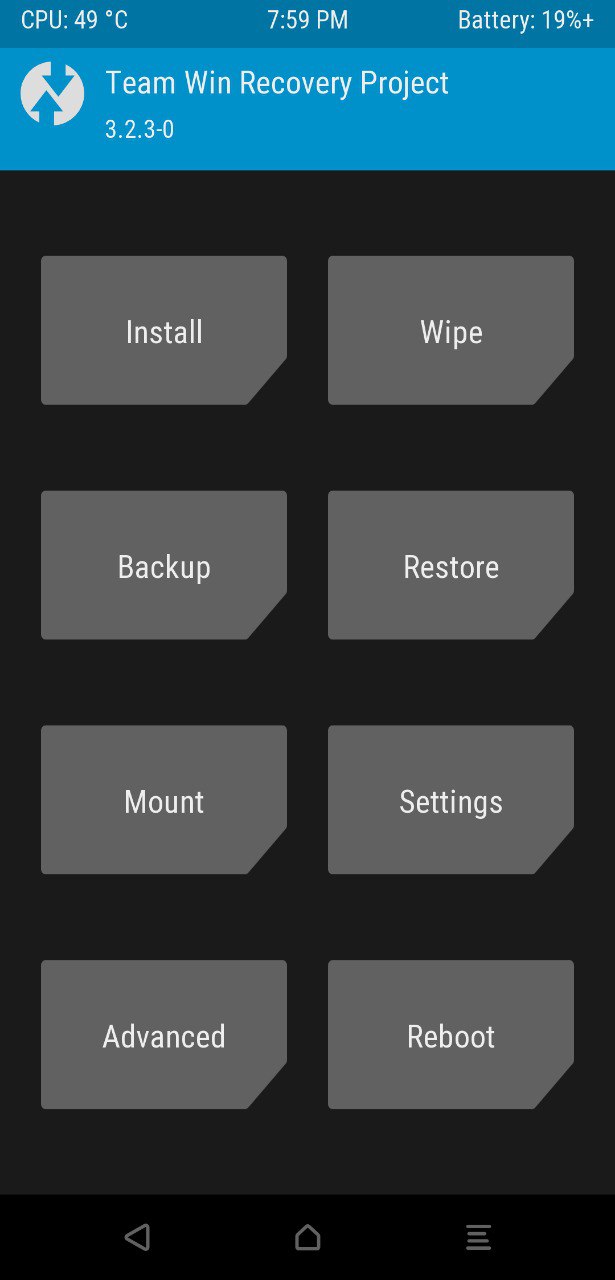
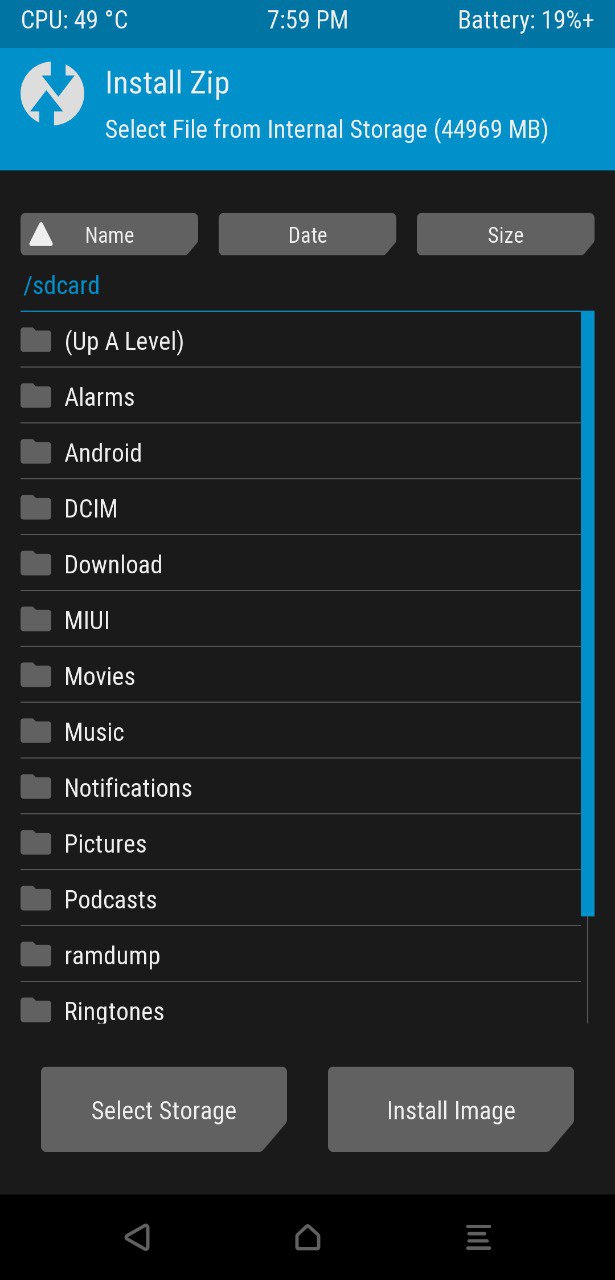
- Go to Install on the main menu and select DisableForceEncryption_Treble.zip. Swipe at the bottom to flash the zip and disable encryption.
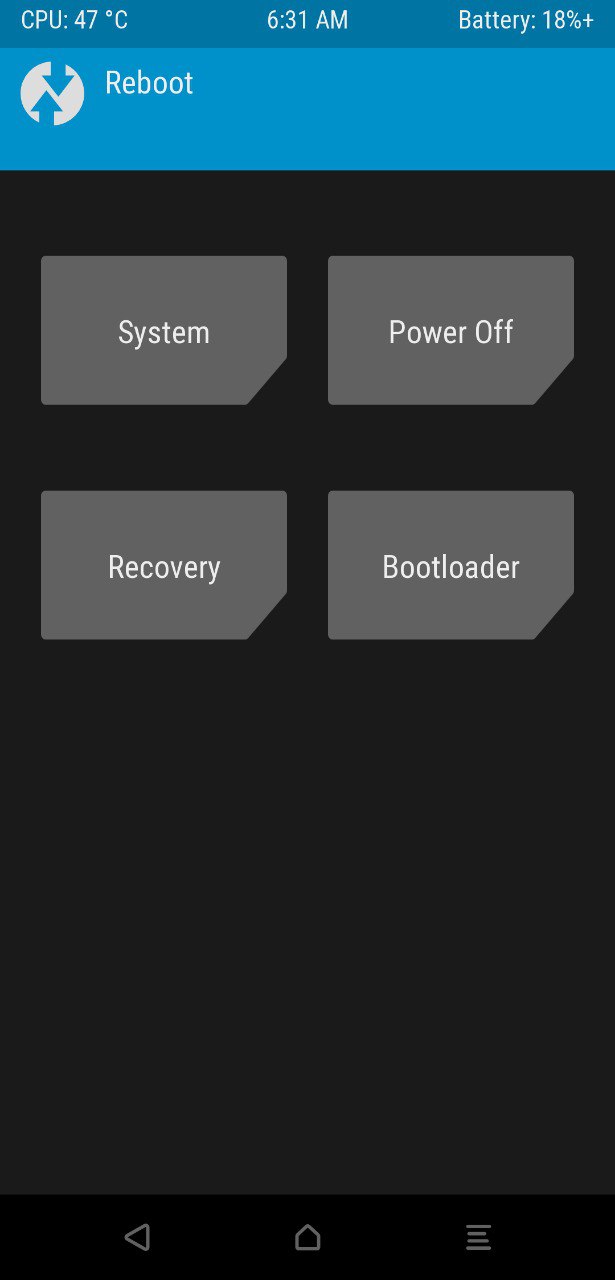
- Go back to the main menu and select Reboot > Recovery.
Root Xiaomi Poco F1
- When your device boots up into TWRP again, select Wipe > Format data and then type yes. This will wipe your device entirely.
- Using the MTP connection (USB cable) transfer the Magisk zip file to your device’s storage.
- Once again, select Install in the TWRP main menu and this time select and flash the Magisk zip.
- Once it is flashed, tap on the Reboot system button that appears at the bottom.
When your Poco F1 comes back on you should find the Magisk Manager app in your app drawer.


Join The Discussion: