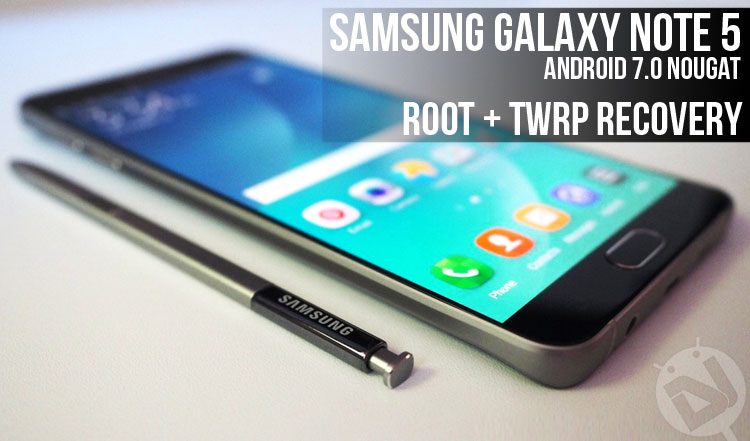
It has now been almost a month since the Android 7.0 Nougat update has been rolling out for the Samsung Galaxy Note 5. If you have not yet received the official OTA, you can use our tutorial to update your Note 5 to Nougat manually.
While Android Nougat is a pretty big update that brings a host of new features and changes to the Note 5, you can enjoy more features and mods by rooting your device on the new software. If you have been looking for a 100% working method to install TWRP recovery and root Galaxy Note 5 on Android 7.0 Nougat firmware, just follow our detailed and step-by-step guide.
Disclaimer
Please note that installing a custom recovery and rooting your Galaxy Note 5 will void its warranty. Follow the tutorial carefully
Confirmed working on the following Note 5 variants:
- Samsung Galaxy Note 5 (SM-N920C)
- Samsung Galaxy Note 5 (SM-N920G)
- Samsung Galaxy Note 5 Duos (SM-N9208)
Don’t miss: Install Samsung Galaxy S8 Plus ROM Port on Galaxy Note 5
Downloads and Preparations
If you have made up your mind to get your Galaxy S7 or S7 Edge rooted and install TWRP recovery on it, here’re a few thing you need to do beforehand.
- Download Odin3_v3.11.1.zip.
- Download the TWRP recovery image file for Note 5: twrp-3.1.0-0-noblelte.img.tar
- Download SuperSU zip: N920_Nougat_Root_SuperSU_No_kernel_included.zip | Mirror
- Make sure you have Samsung USB Drivers installed on your computer.
- Go to Settings> About device> Software info and tap Build number 7 times to enable Developer options. Now enable OEM unlocking and USB debugging in Developer options.
- Backup data and apps stored on your Note 5’s internal storage.
- Charge your Galaxy Note 5 to ensure at least 60% battery level.
Install TWRP and Root Galaxy Note 5 on Android 7.0 Nougat
Now here’re the steps to install TWRP and root the Galaxy Note 5 (SM-N920C/SM-N920G/SM-N9208).
Must read: How to Enable Dual Speaker Stereo Audio on Galaxy Note 5
- Extract the downloaded Odin zip to your desktop.
- Copy the twrp-3.1.0-0-noblelte.img.tar file to the Odin folder.
- Copy N920_Nougat_Root_SuperSU_No_kernel_included.zip file to your Note 5.
- Now turn off your Galaxy Note 5 and press and hold the Volume Down + Home + Power keys at the same time for 2-3 seconds to boot your phone into the Download mode. Release the keys as soon as you see a blue screen with exclamation sign and press the Volume Up key to continue to the Download Mode.
- When your phone gets into the Download or Odin mode, open the Odin folder and launch the Odin v3.11.1.exe as administrator.
- Now connect your Note 5 to your computer using a USB cable.
- The ID:COM port on Odin will turn blue when your device is detected.
- Click the AP button in Odin and add the twrp-3.1.0-0-noblelte.img.tar file to it.
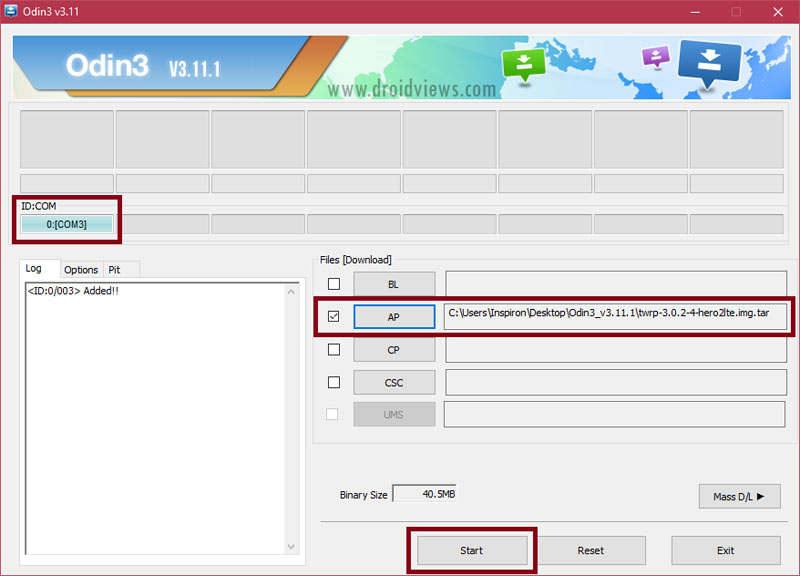
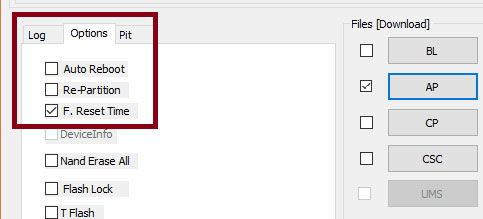
- Now click the Options tab in Odin and uncheck Auto-Reboot.
- Then click the Start button to initiate TWRP installation.
- When TWRP recovery is installed, you’ll get PASS! message in Odin.
- You can now disconnect the USB cable.
- Now press and hold the Volume Down + Home + Power buttons at the same time. As soon as your Note 5’s screen goes black, immediately swap to Volume Up while still holding other 2 buttons. Keep the 3 keys pressed until you get into TWRP Recovery.
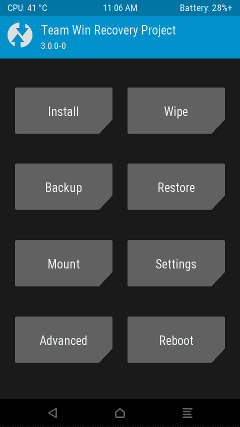
- Now tap the Install button in TWRP main menu.
- Navigate to N920_Nougat_Root_SuperSU_No_kernel_included.zip and select it. Swipe the installation confirmation slider.
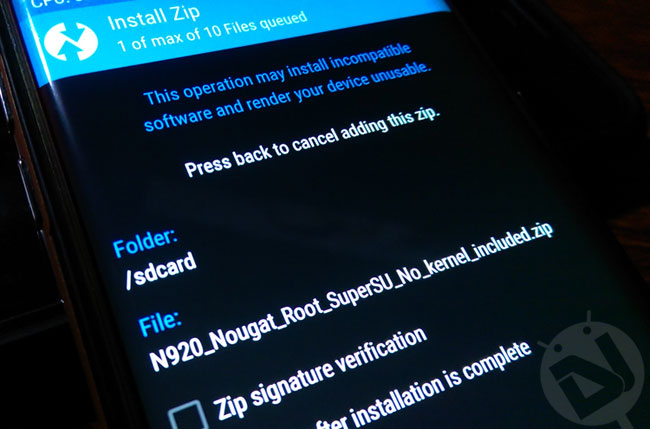
- When the SuperSU is flashed, go back to TWRP main menu and tap Reboot System.
Done! Your Galaxy Note 5 will reboot and it might take a few minutes before it boots up normally, so don’t panic and wait patiently. In case you want to verify root privilege on your device, install the following app and run it.
[googleplay url=”https://play.google.com/store/apps/details?id=com.jrummyapps.rootchecker”/]


It works. Thank you a lot!
Glad to know!
Does it work for sm-n920i
Thanks so much!
sir sm n920a marshmalow any root method
hi