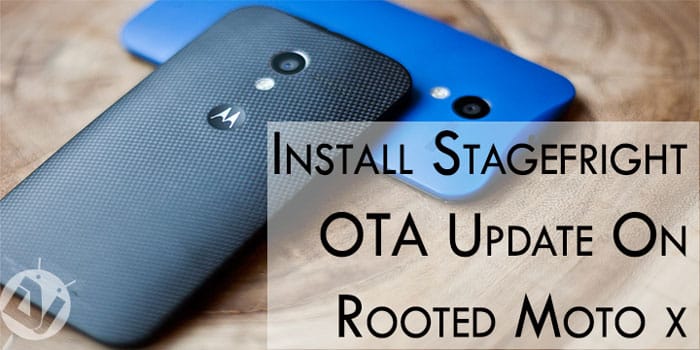
Moto X 1st gen recently recieved an OTA update which fixes the Stagefright bug that was discovered recently in the Android source code. The new update patches the bug making your device secure from the vulnerabilities of Stagefright bug.
Must Read: All You Need to Know About Stagefright Bug on Android
If you are rooted have installed a custom recovery you won’t be able to install the OTA update directly on your device. You would have to install the stock firmware or stock recovery first to install the OTA update successfully on your device. Follow this guide if you are rooted and have installed a custom recovery on your Moto X.
Things You Will Need
- Moto X 1st Gen.
- GHOST_RETAIL_5.1_LPA23.12-15_cid9_CFC.xml.zip 1.0.0
- windows mfastboot.zip or linux mfastboot.zip or osx mfastboot.zip
Steps To Follow
There are two methods for updating your device, first one is a bit complicated compared to the second one. In first method we will flash the stock firmware first which will install the stock recovery on your device and then you will be able to install OTA without any issues. The second method is the easy method in which you just need to flash a zip in the custom recovery, like installing any other ROM.
Method 1
- Boot into the custom recovery(TWRP) installed on your device and make a full backup, then connect your phone to your computer and transfer the backup files to your computer.
- Reboot your phone into the bootloader, by using the physical key combination (power off your device and then press and hold the power and volume down key for ~4 seconds).
- Download the Stock 5.1 Image from here, do NOT use Motorola’s Recovery Image to do this procedure, it will fail, and extract the contents to a folder on your computer.
- Download the attached mfastboot zip according to your PC’s operating system and unzip the contents to the same folder on your computer (if you are having issues with mfastboot try mfastboot-v2.zip reefuge’s version and see if it helps!).
- Open up a command prompt in the directory (Right click while holding down Shift Key> Open Command Window here) and use the following commands to flash the Android 5.1 Stock Image, erasing the partitions is not required but it is highly recommended, as you can easily restore the TWRP data partition after doing these steps if you want your personal data back.
Code:not required, but recommended!mfastboot erase userdatamfastboot erase cachemfastboot erase customizemfastboot erase clogorequiredmfastboot flash partition gpt.binmfastboot flash motoboot motoboot.imgmfastboot reboot-bootloadermfastboot flash logo logo.binmfastboot flash boot boot.imgmfastboot flash recovery recovery.imgmfastboot -P flash system system.imgmfastboot flash modem NON-HLOS.binmfastboot erase modemst1mfastboot erase modemst2mfastboot flash fsg fsg.mbnmfastboot reboot - Reboot your phone and do your initial 5.1 phone setup, and then immediately check for System Updates.
- Download the OTA update, once its downloaded install it.
- Congrats! you have successfully updated your device.
Method 2
- Download the zip file from here.
- Reboot your device into recovery.
- Make a nandroid backup.
- Perform factory reset. (Not necessary but recommended).
- Wipe Cache/Dalvik Cache.
- Install zip.
- Reboot
- Done!
Well the method two is recommended as it is easy to follow and does not require a PC. You can consider any method of your choice both should work fine. Let us know any troubles you face while updating your device in the comments section below.


Join The Discussion: