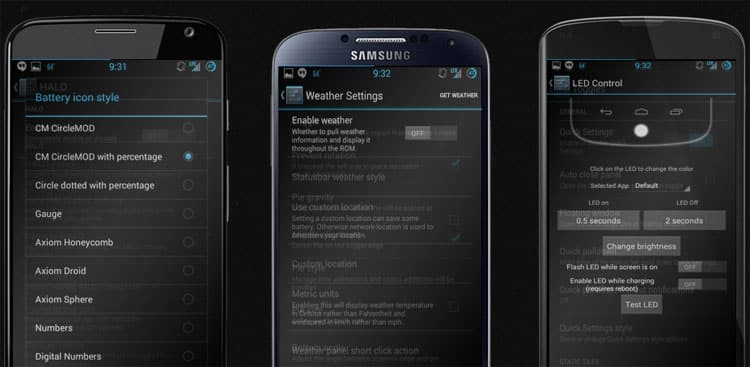
Welcome everyone to another one of those mesmerizing guides where we test the limits of gadgets of modern day. That is if you can call a 2-year-old device modern (pun intended). So today as the headline suggests, we’ll tinker with the Xperia Z2 by installing an aftermarket version of stock Android called PAC-ROM.
PAC ROM
Well PAC stands for Paranoid AOKP CyanogenMod. You already know what ROM is. The names sound relevant, don’t they? That’s because they are the most popular custom ROM’s out there. So point is, PAC ROM is a combination of features from the ROM’s released by the above developers. Long story cut short it’s awesome and has been one of my favorite custom ROM till date. So before we start some conditions need to be met:
In case you’re wondering this is Android 6.0 or Marshmallow.
Note: You need to have D6503 model of the Xperia Z2.
Warning
This ROM is in the Alpha Stage of development so Bugs are inevitable. But it is a custom Rom so bugs are kinda normal. I will not be responsible if your Phone blows itself up in the process. Don’t worry it won’t blow up literally but if anything out of the blue happens I shall not be responsible.
Things You Need
- A working PC
- Xperia Z2 with an Unlocked Bootloader
- Working Recovery
Files You Need
Backup
It is highly recommended that you have a Backup stored somewhere safe in case you encounter any problems and want to revert to Stock. Plus it only takes a couple minutes so there’s that.
So if you’ve done all that let’s begin:
Step 1: Copy the ROM zip and GApps to Internal Storage of Xperia Z2.
Step 2: Reboot to recovery. To do so:
Power on the Xperia Z2 and when the LED Notification lights up you need to press several times Volume Up or Volume Down, which ever works for you.
Step 3: Factory Reset.
Step 4: Install the ROM zip
Step 5: Install GApps
Step 6: Wipe Dalvik & Cache
Step 7: Reboot and Enjoy
So you’ve successfully installed PAC-ROM. Now that wasn’t too hard. Let us know in the comments section, what do you think about this ROM.


Join The Discussion: