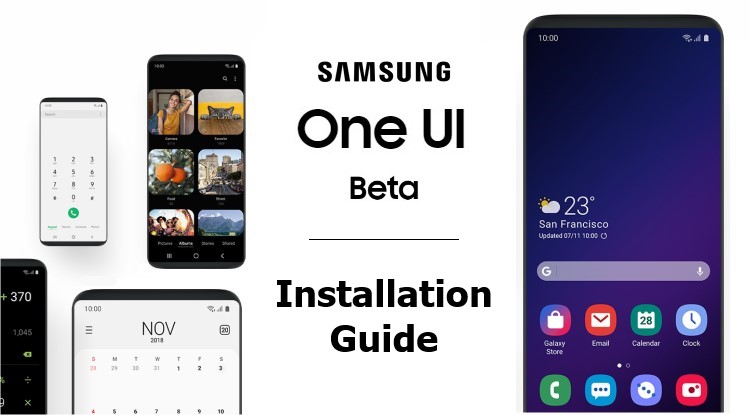
Samsung has officially opened the One UI Beta to the public, allowing some lucky users to experience the long-awaited update. As a result, whoever has access to this program can immediately try Android Pie on his S9 or S9+. Unfortunately, the program is limited to certain selected countries, which inevitably cuts off a lot of enthusiasts. For the moment, this beta has only been launched in Korea, USA, and Germany. Luckily, the XDA community comes to the aid by sharing the official update package. Here are the requirements and the guide to manually install One UI Beta on Samsung Galaxy S9 and S9 Plus.
What is Samsung One UI Beta Program?
Starting from January 2019, the latest Samsung flagships will receive the official Android Pie update. To be precise, several Samsung smartphones from the last two years will update to Pie with Samsung Experience 10.0. However, only a few selected devices will experience the all-new One UI, with a completely redesigned interface. Now, two months before the initial release, Samsung has decided to open up the testing program. The goal is collecting feedback from the users, which will allow the final release to be free of bugs and glitches.
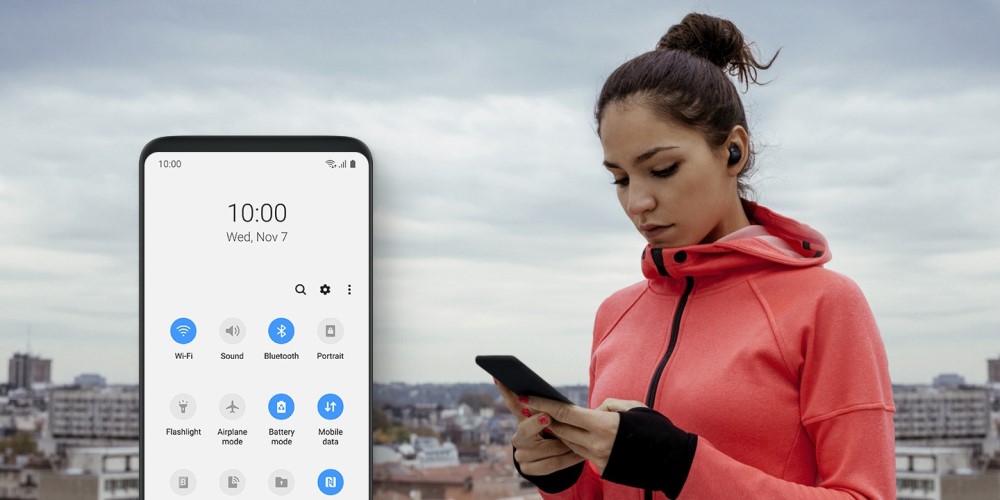
As shown above, the One UI Beta Program has started in Korea, USA and, most recently, in Germany. During the next weeks, the beta will also reach China, France, India, Poland, Spain, and UK. Enrolling the program is very simple: first of all, you need to open Samsung + (USA) or Samsung Members (other countries). Then, from the app, you’ll be able to send the request. When you receive the confirmation, you can install One UI Beta as a regular update.

If you want to learn more about One UI, we recommend checking out our original article:
Unofficial Update Method
As mentioned, One UI Beta is only available in selected countries. However, these restrictions are applied as a strategical choice, which means that smartphones sold in other countries may be compatible. Because of this, in case Samsung won’t bring the beta to your country, you may still be able to obtain it unofficially. The process we’re describing is very similar to installing a regular OTA update, but it removes Samsung from the equation. As a result, you can install the update without prior approval by the company. Of course, your device has to be compatible, otherwise you could cause irreversible damage to it.
Update Requirements
As we have indicated in the beginning, the Samsung One UI Beta Program is only available for the S9 and the S9+. The main requirement is having an international model, which means SM-G960F (S9) or SM-G965F (S9+). Make sure to check your model before proceeding, in order to avoid any kind of issues. In case you have a Duos model (F/D), all steps and downloadable software will remain equally relevant. The second important requirement is making sure to have a backup of all your data. You never know what could happen during the update process, so it’s better to be prepared. If you have an SD Card, you can move all your important data there.
Make sure your device is fully charged before proceeding!
Important Disclaimer
The software we’ll be using for the update process is official, but the sources are not. Consequently, in case anything goes wrong, your warranty may not cover it. Even though what we’re doing is very similar to the system updates you receive regularly, there is always some risk involved with flashing your device. Additionally, keep in mind that you’re installing beta software, which could compromise certain functionality on your device. By proceeding, you understand that the choice is yours, so you have full responsibility over the outcome. We have applied the described process to install One UI Beta on our S9+ and the update was successful.
Reverting back to Oreo requires a full factory reset!
Recommended: How to Fix Bootloop on Android Devices
Step 1: Preparation & Downloads
The first thing you’ll need is the latest official firmware for your device. Since the source of the beta update is Germany, we’ll be installing a German one. The best way to download it is by using SamFirm, you’ll find the explanatory article below. The alternative is downloading it via SamMobile, but the download speed will be limited for basic users. Regardless of the option you choose, the needed firmware version is BRJ6 with the German country code DBT. Its size will be approximately 4.07 GB.
Flashing this firmware requires a program called Odin. You’ll find the downloads, as well as a comprehensive introduction guide, in the resources section. In order to avoid any issues, the version we’ll be using is 3.13.1. Odin doesn’t require to be installed, just unzip the package and run the application from the folder. It’s important that you read the full guide, since there are some important steps to take before proceeding.
The last thing you need is the One UI Beta update package. It’s been shared on XDA by the developer SoLdieR9312, who has extracted it from the official beta firmware. You’ll find the respective packages for both S9 and S9+ at the link below. All you need to do is pick the correct one and wait for it to download though MEGA. Its size will be approximately 1.64GB.
Resources & Downloads
- Introduction & Download: Odin (All Versions)
- Download: SamFirm 0.3.6
- Download: One UI Beta Update Package
- Guide: Install Stock Firmware on Samsung Galaxy Devices Using Odin
Step 2: Flash the Firmware Using Odin
First of all, we need to update the system to the BRJ6 version (November Security Patch). Go back to the package you have downloaded through SamFirm or SamMobile, which should look like this:
G960FXXS2BRJ6_G960FOXM2BRJ3_DBT.zip (Galaxy S9)
G965FXXS2BRJ6_G965FOXM2BRJ3_DBT.zip (Galaxy S9+)
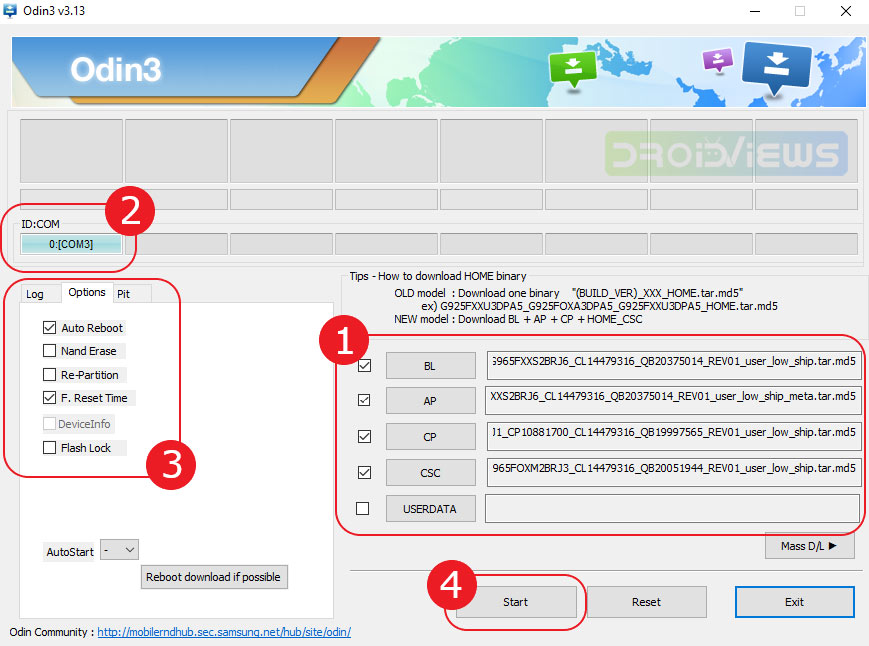
Before proceeding, make sure you have read the Odin guide, as recommended in the previous section. Then, you need to unzip the firmware package. If you don’t know how, we recommend using 7zip. Inside of it, you’ll find 5 files starting with AP, BL, CP, CSC and HOME_CSC. Now, launch Odin and load AP, BL, and CP in the respective slots. The AP one may take a couple minutes, don’t worry if your PC seems frozen. Regarding the CSC field, we’ll choose CSC to reset the device, or HOME_CSC to keep our data.
Once you’re done, reboot your device in download mode and connect it to the PC with a USB cable. Make sure it appears in the console, just as shown in the screenshot below. Then, go to the Options tab and ensure that only Auto Reboot and F Reset Time have a check mark. Lastly, if everything looks good, click on the Start button and wait. The process usually takes about 7 minutes and the device will restart itself twice. If HOME_CSC gives you an error, you’ll need to use CSC instead, thus resetting the storage. That’s all for this part, you’re updated to BRJ6.
Now let’s see how to install One UI Beta!
Step 3: Install One UI Beta on Samsung S9 / S9 Plus
This last part allows you to install One UI Beta on your device. The process is fairly simple, and there are two ways of doing this. You can either sideload the update via ADB, or flash it from the SD Card. Here is how to proceed.
Method 1: SD Card
First of all, move the BRJ6 to ZRKA update package to your SD Card as it is. Then, restart the device into Recovery Mode: turn it off, and hold Power, Bixby and Volume Up for about 10 seconds. By navigating with the volume and power buttons, select the option to install an update from the SD Card. Now navigate to the update package, select it and let the device install One UI Beta. It shouldn’t take more than 10 minutes, so be patient. Once it reboots, you’ll find the new interface ready to use. If it’s not a problem, a factory reset is recommended at this point.
Method 2: ADB Sideload
This method may seem a bit complicated, but the hardest part is the preparation. In order to have everything set up, check the two articles linked below. Then, restart the device into Recovery Mode: turn it off, and hold Power, Bixby and Volume Up for about 10 seconds. Use power and volume buttons to select the option to install and update via ADB. Once you do this, go to the BRJ6 to ZRKA update package on your PC and rename it to ota.zip. Now, run the ADB CMD console and navigate to the folder where you have left the OTA package. For example, if the file is on the desktop, you need to launch the command:
cd C:/Users/YOURPROFILE/Desktop/
Then, connect your device to the PC with a USB cable and run the following command:
adb sideload ota.zip
Let your device install One UI Beta, which should take less than 10 minutes. The device will reboot itself and the new OS will be ready to use. Just as we have recommended in the SD Card method, it’s a good idea to factory reset the device at this point.
Congrats! you have successfully installed One UI Beta on Samsung S9 or S9 Plus. Enjoy!
- Guide: Download Latest ADB and Fastboot SDK Platform-Tools
- Guide: How to Authorize ADB Commands on Android Devices
One UI First Impressions
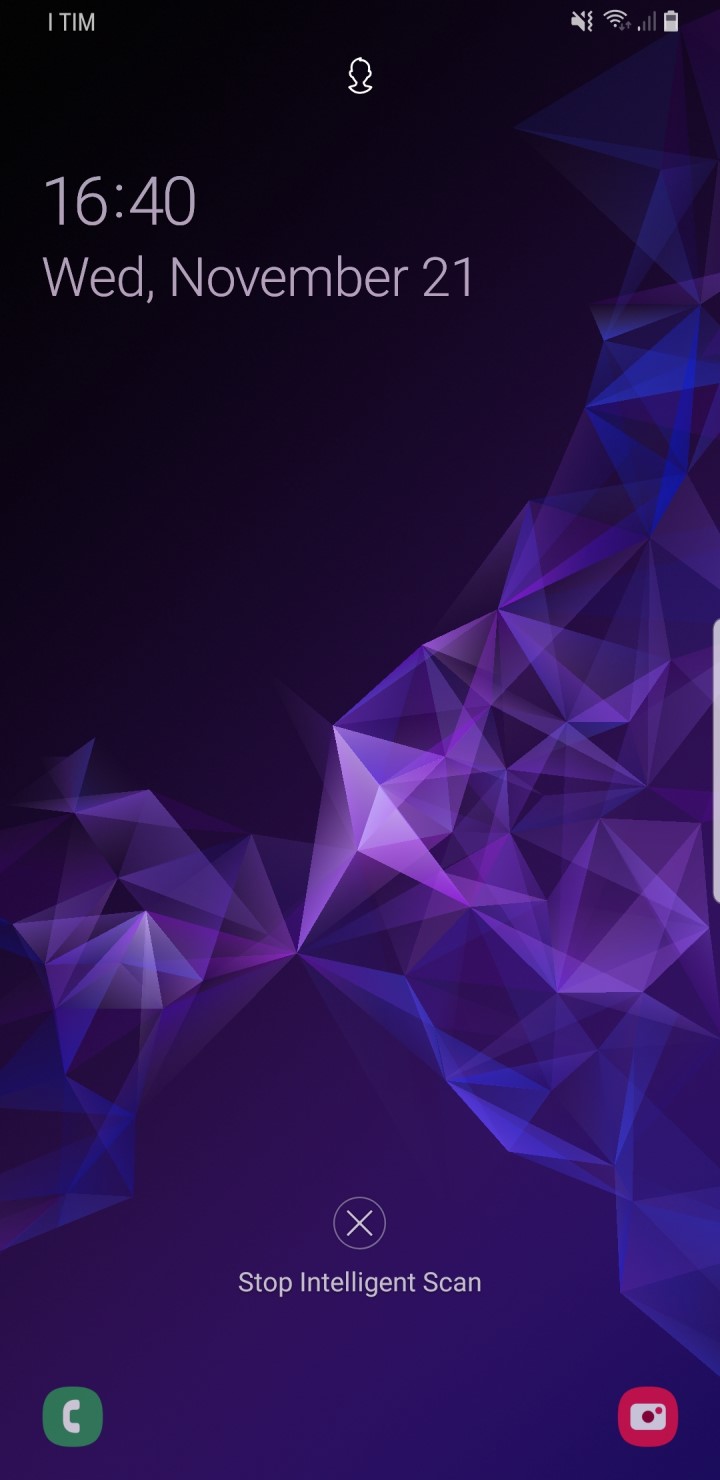
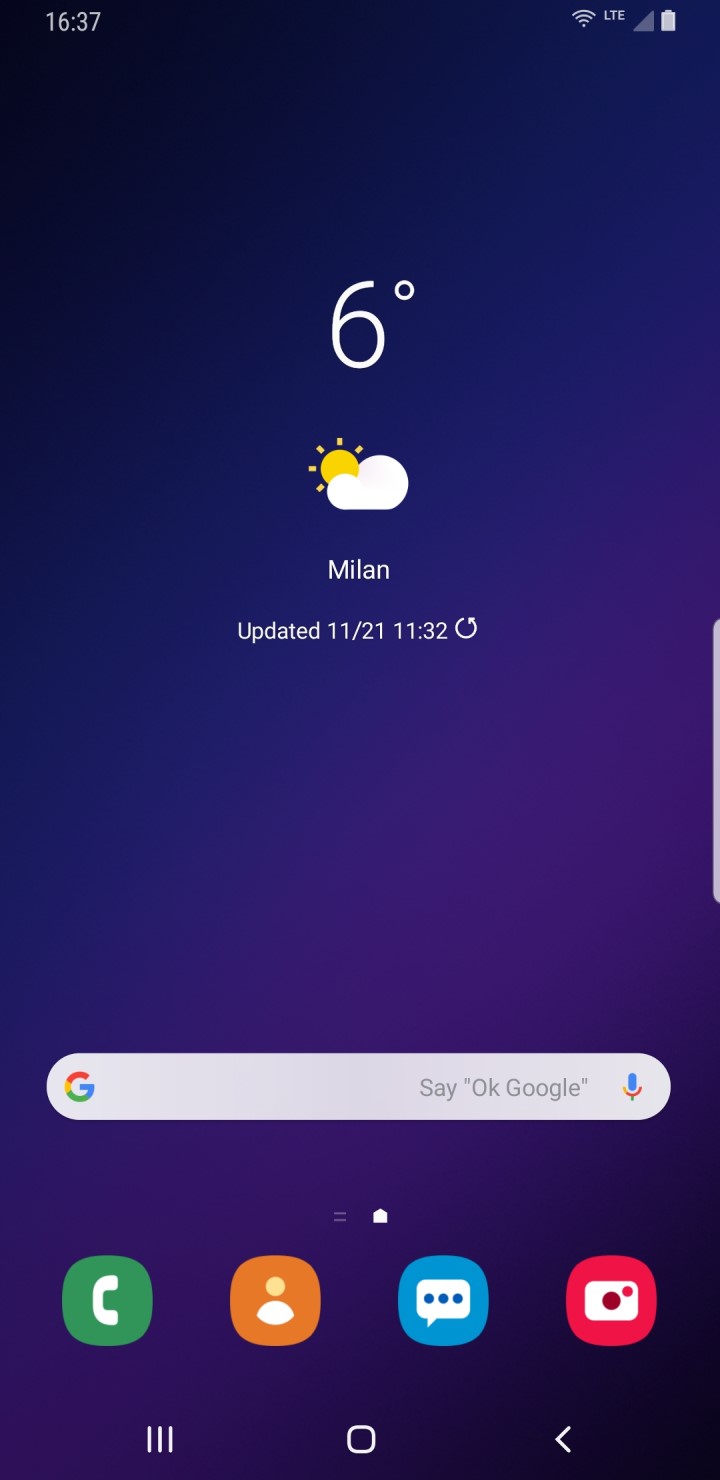
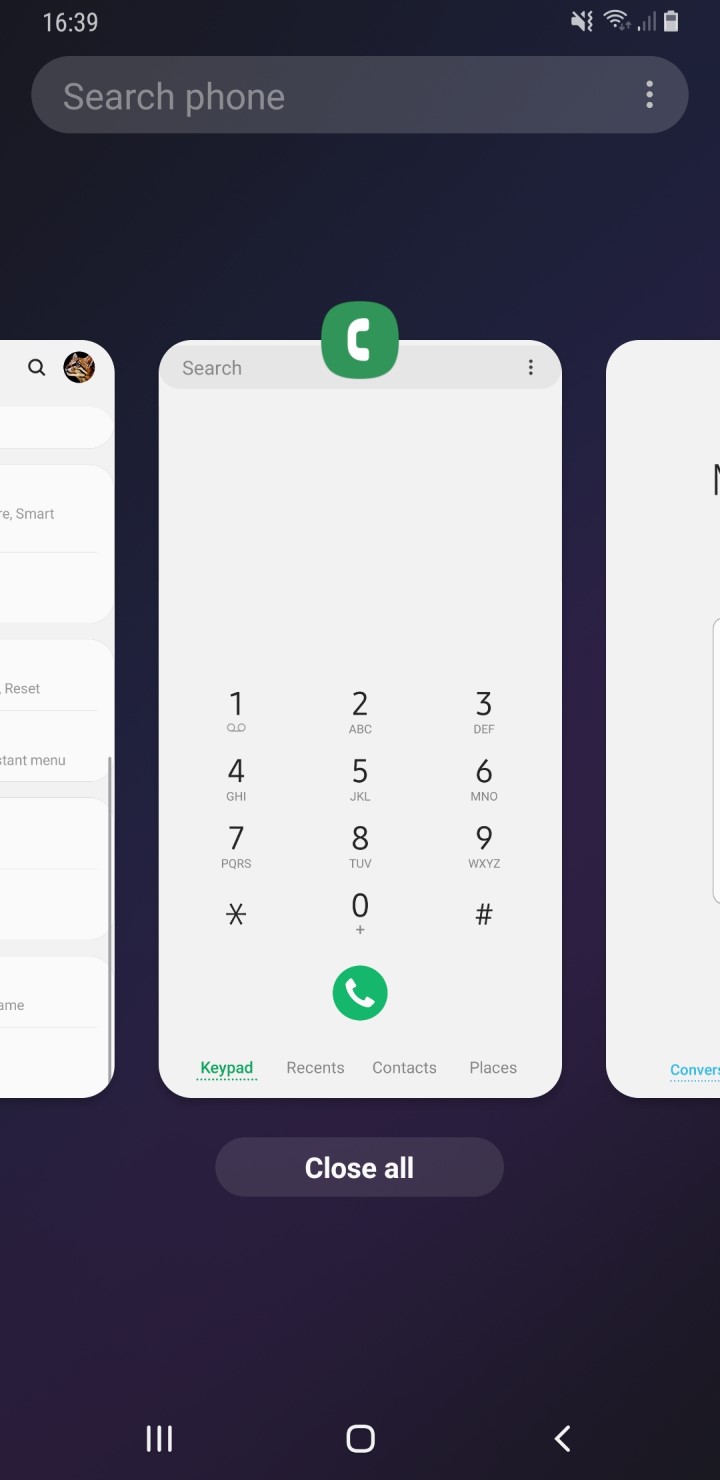
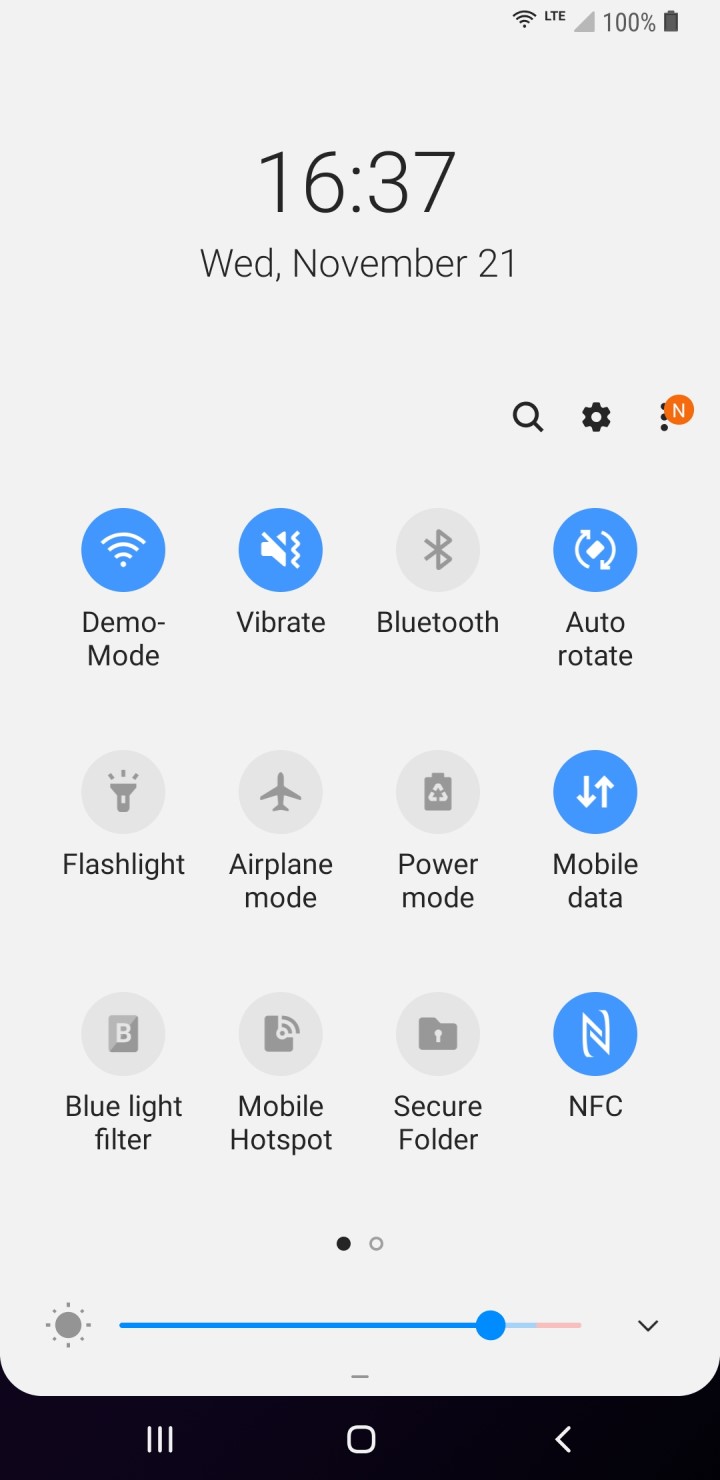
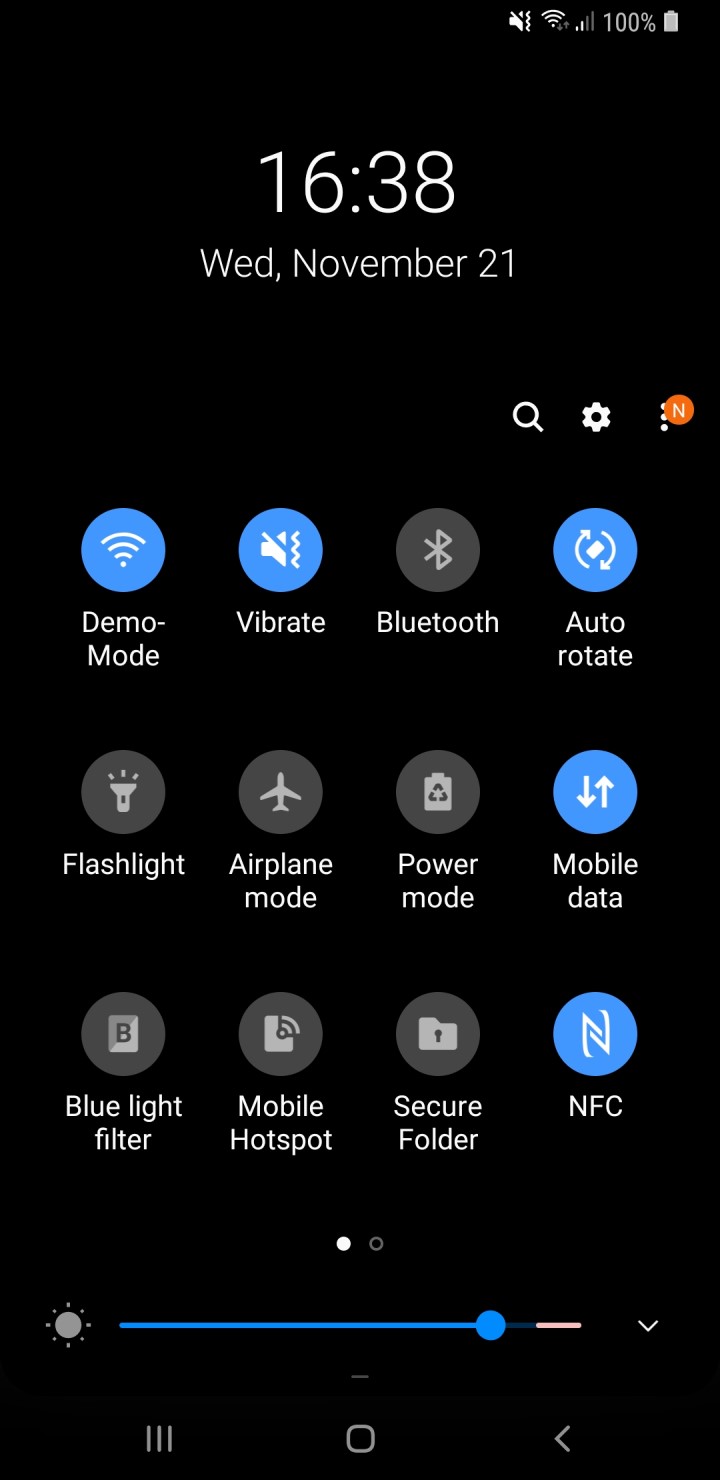
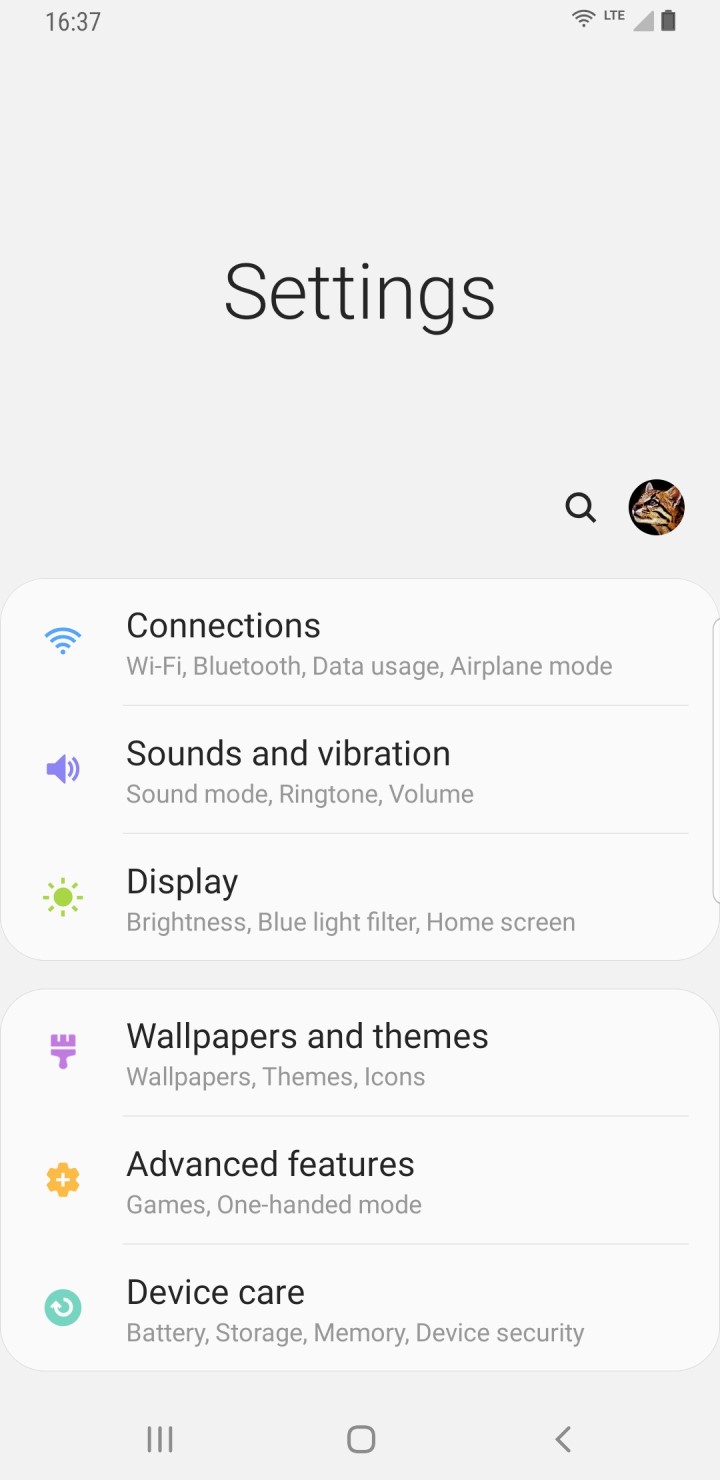
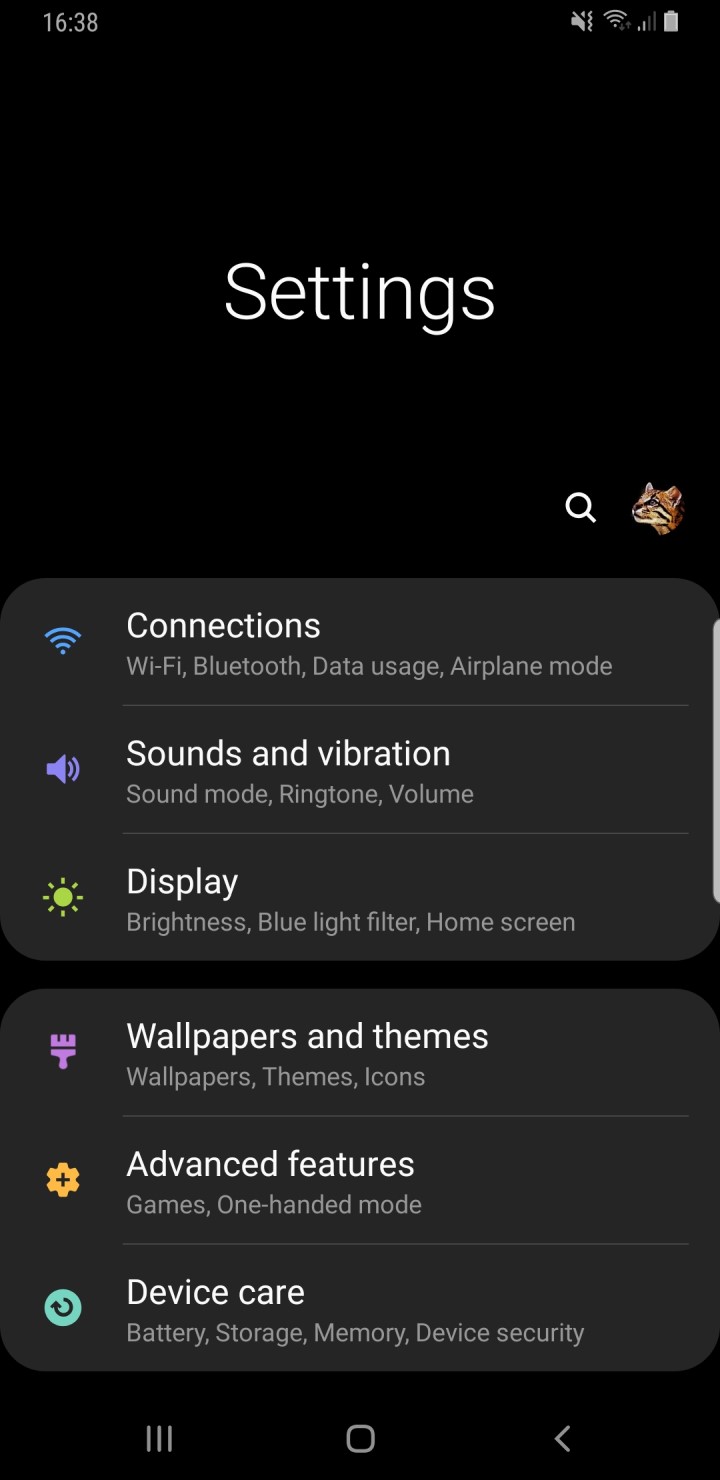
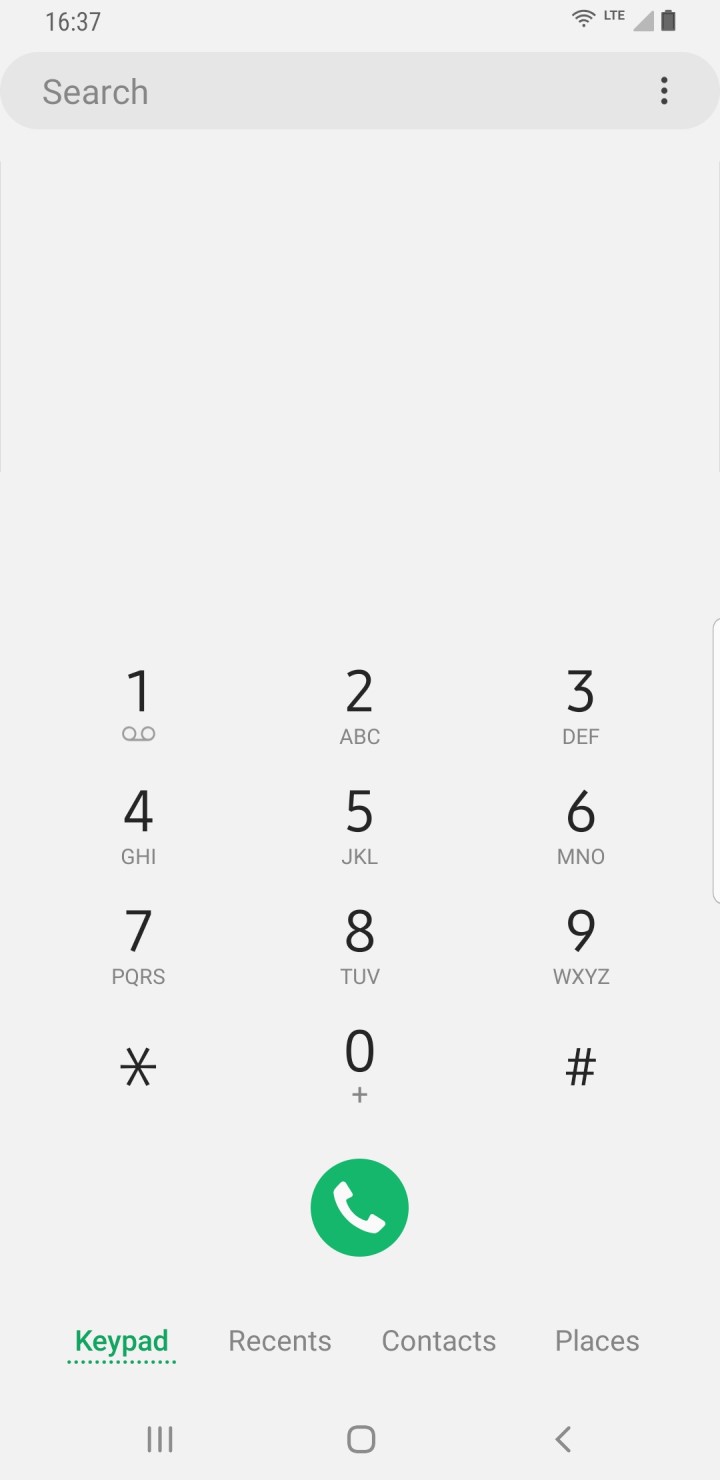
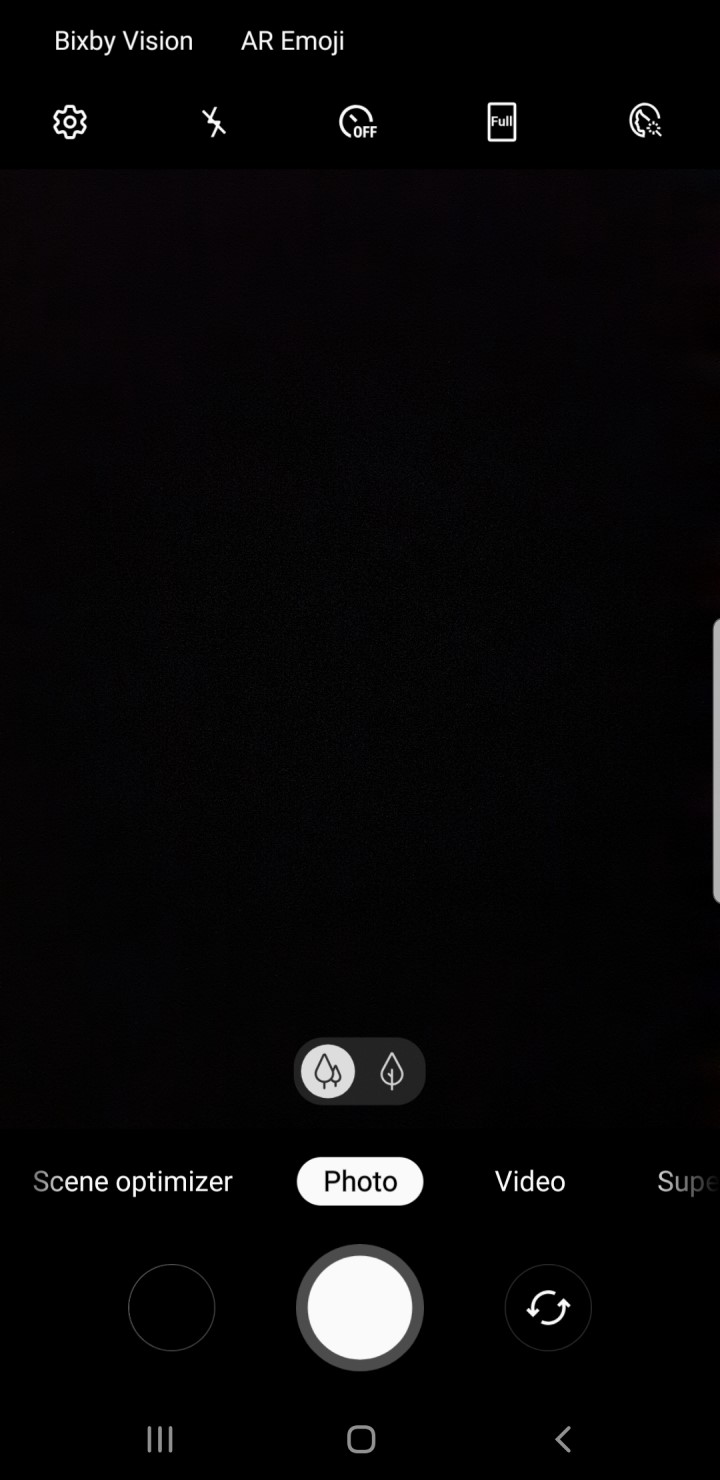
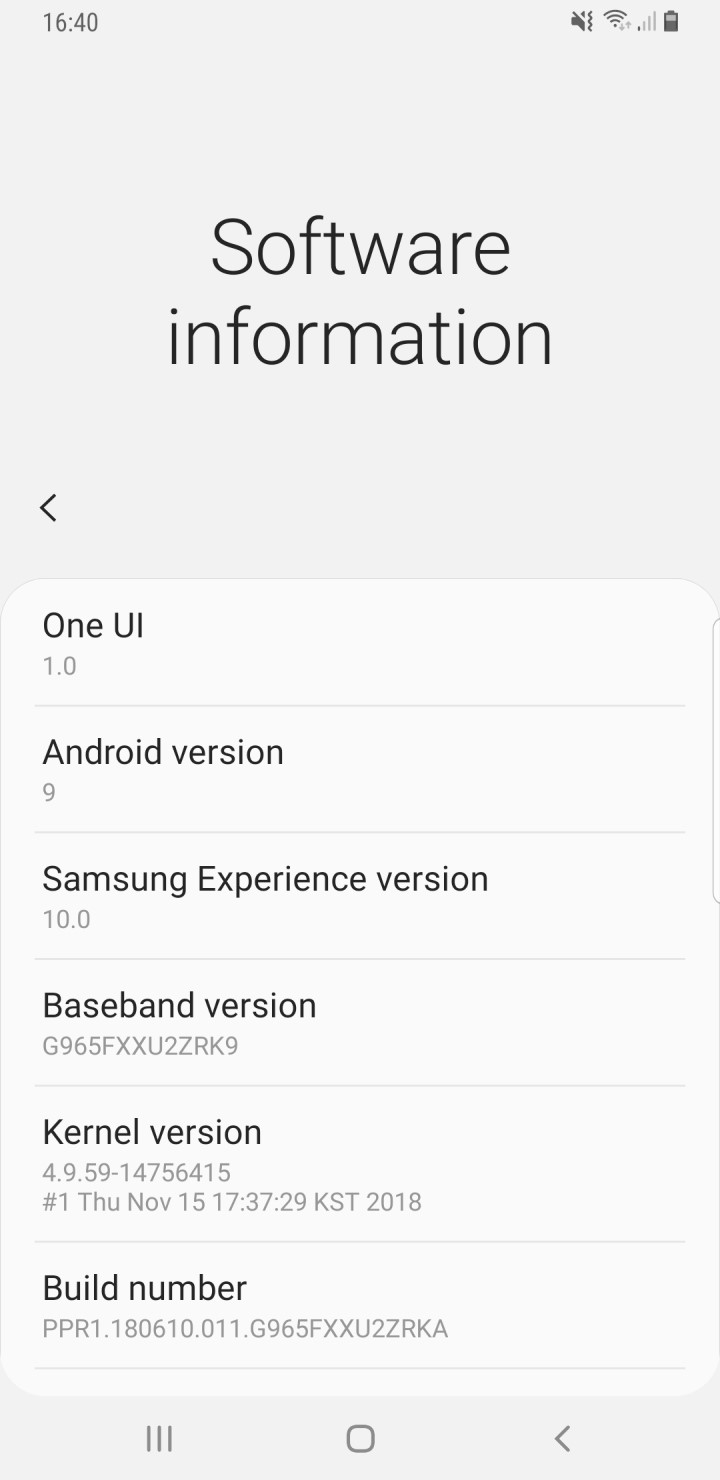
First of all, we can say the OS is running fairly smooth, with faster and improved animations. Secondly, all connectivity appears to be working flawlessly, even though some users have reported issues with Wi-Fi and data. Regarding the interface, the design has changed a lot since Oreo, so you’ll need some time to get familiar with it. Even though the opinion is purely subjective, the new design is very clean and perfectly matches the infinity display. Moreover, the night mode is really helpful in dark environments, not to mention the awesome looks. Lastly, we can report that in 8 hours of usage, we haven’t encountered any stability problems. For the moment that’s all we can say about it. We recommend checking out the screenshots, so you can get an idea of how it will look like. Stay tuned for the full review!
One UI Screenshots
Leave a comment below and let us know if you’ll install One UI Beta on your device!
Read next: 10 Best Substratum Themes for Your Android Device




Join The Discussion: