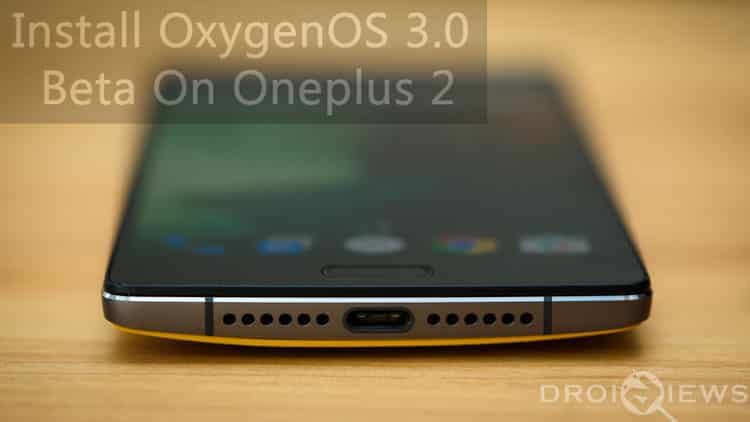
Oneplus has finally released a beta build of the OxygenOS 3.0, which is based on Android Marshmallow 6.01. The update was long awaited by many Oneplus 2 users. Though it is not the final build, something is better than nothing. The update will not be pushed Over the Air (OTA) to your device, so you will have to flash it manually on your OnePlus 2. Here is a step by step guide to do so.
OxgenOS 3.0 comes with few visual changes and all the cool features of Android Marshmallow. Here are few things that are new in the update:
- New OnePlus Camera
- New launcher setting to support wallpaper picker
- Shelf upgrade
- System performance improvement
- Finger Print performance improvement
- Applied March security patch
With these changes, I really felt the difference in performance with my OnePlus 2. The phone performs well and is smooth to use. The fingerprint scanner is now much faster and accurate as compared to OxygenOS 2.2.1. But being a beta version there are few bugs to be fixed. Few users have reported Wifi issues, but it works fine for some users.
Maxx Audio tuner is missing from the new update, as a result, few users are reporting poor audio quality. Some of your installed applications might not work and will require a Marshmallow compatible version.Well, taking everything in care the update is worth checking out, follow the steps given below to install it on your device.
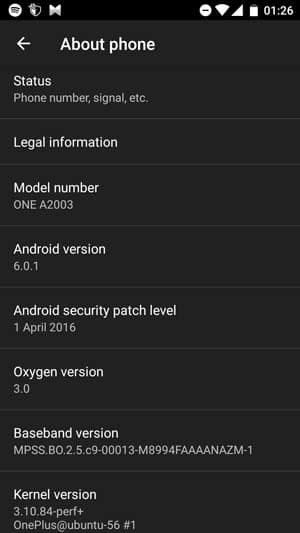
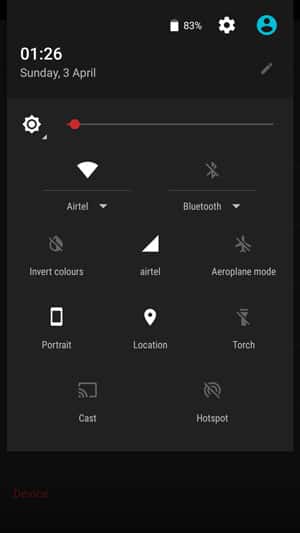
Here are few screenshots from the latest OxygenOS 3.0:
Things You Will Need
- OnePlus 2
- Oxygen OS 3.0 Beta| OnePlus2Oxygen_3.0_beta_bb10c034d8a4466d.zip
- TWRP| Link
This a modified TWRP img file required for the users who have TWRP already on their phone and are running custom ROM on their device other than H2OS.
- SupeSU| Link
Download this file f you want root access on your device.
Steps To Follow
For 100% Stock UUsers: Locked Bootloader, Stock Recovery, No Root:
If you are using an unmodified version of OxygenOS 2.2 or higher on your OnePlus 2 and you have a locked bootloader, stock recovery and have not rooted your device then follow the steps given below:
Step 1. Download the Oxygen OS 3.0 Beta ROM from the link given above and transfer it to your device.
Step 2. Now turn off your device and then boot it into recovery mode. To do so, press and hold Power and Volume Down buttons simultaneously.
Step 3. Now if you are willing to do a fresh install, i.e. you are willing to lose your installed applications and their data then select Wipe Data and Cache and perform the wipe. Then go back to the home of recovery. If you wish to keep to your installed applications then you may skip this step.
Step 4. Once recovery has booted select your Language. Then select Install from SD and select the zip file you copied to your device.
Step 5. Click on Install to start the process and wait for it to finish.
Step 6. Now Reboot your system and Enjoy!
Note: You will get Google Play Services Error if you do not perform the wipes. To overcome it just update the Google Play Services.
For Users Having TWRP
If you are on H2OS Marshmallow ROM or a Custom ROM based on it then follow the following steps:
Step 1. Download the Oxygen OS 3.0 Beta ROM from the link given above and transfer it to your device.
Step 2. Now turn off your device and then boot it into recovery mode (TWRP). To do so, press and hold Power and Volume Down buttons simultaneously.
Step 3. Select Wipe > Advanced Wipe then check mark Dalvik, System, Data and Cache. Now swipe to wipe these partitions.
Step 4. Now go back to the home of recovery and select Install, then browse for the OxygenOS 3.0 zip file that you copied to your device in Step 1. Swipe to install it on your device.
Step 5. Wait for the installation to finish and then Reboot to system and Enjoy!
If you are using custom ROM other than H2OS then follow the steps given below to install Oxygen OS 3.0 on your device:
Step 1. Download the Oxygen OS 3.0 Beta ROM from the link given above and transfer it to your device.
Step 2. Also, download the modified TWRP recovery from here and transfer it your device.
Step 3. Now turn off your device and then boot it into recovery mode (TWRP). To do so, press and hold Power and Volume Down buttons simultaneously.
Step 4. Select Wipe > Advanced Wipe then check mark Dalvik, System, Data, and Cache. Now swipe to wipe these partitions.
Step 5. Now go back to the home of recovery and select Install, then browse for the OxygenOS 3.0 zip file that you copied to your device in Step 1. Swipe to install it on your device.
Step 6. Now again go back to the home of recovery and select Install. You will see an Images icon on the bottom right corner of your screen, tap it. Then select the modified TWRP img file you transferred to your device in Step 2.
Step 7. Swipe to install the modified TWRP on your device. Then go back to the home TWRP and select Reboot>Recovery and wait for the recovery to boot.
Step 8. Now perform steps 4 and 5 again.
Step 9. Reboot and Enjoy!
Optionally you may flash the SuperSU.zip file in TWRP to obtain root access on your device. Also, keep in mind when TWRP shows a warning for Disable Stock Recovery, just swipe to keep TWRP otherwise you will lose TWRP and stock recovery would be installed.
Congrats! you have successfully installed OygenOS 3.0 Beta on your OnePus 2. Enjoy the latest version of Android, i.e. Android Marshmallow 6.0.1 on your 1+2!
Need help? Leave your queries in the comments section below. We will try our best to resolve your issues as soon as possible. Do leave your comments on how the update is working on your device.


Join The Discussion: