This past week has been quite a ride. Announcements, Nexus launch, and then the big Android Lollipop launch. But that wasn’t all! Every single time that a new version of Android is released, users look at their handset OEMs with probing eyes and only one question on their mind — when will our updates arrive?
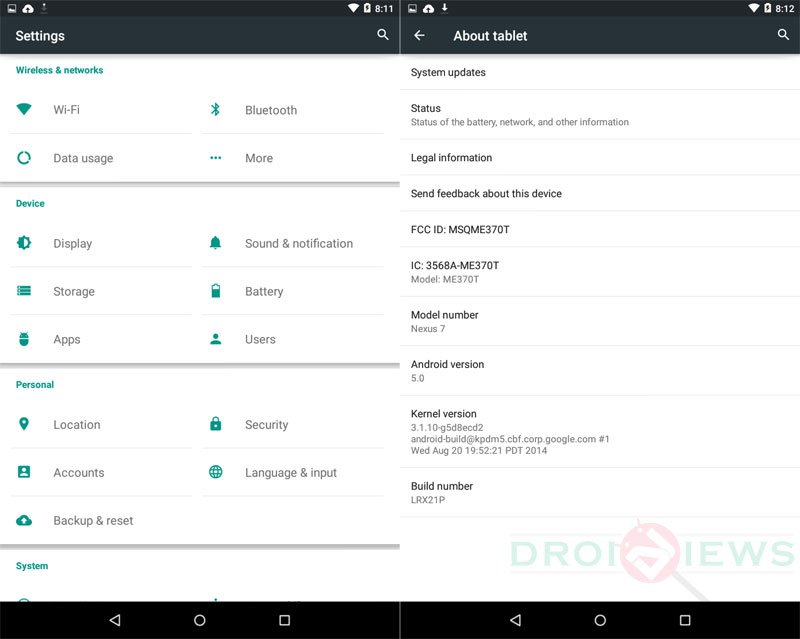
While any manufacturer has got a tough time ahead to meet their customers’ expectations, the Nexus users must really be readying their claws! The biggest gain of using the pure Google experience is the fact that updates arrive almost instantly on them since there is no forking involved. And while we are seeing a lot of leaks all around, specific to some devices like the LG G3, Galaxy S3 (and some others too); they are mostly just that — test builds which can hardly be termed stable. But this leak is different, the LRX21P Android Lollipop build for the Nexus 7 2012 (WiFi) we are talking about, might be the final ‘stable’ ROM we’ve been waiting for!
But that is a speculation, and we won’t know for sure until and unless there is an official confirmation of the same. But Google has been mum till now so it won’t hurt if we try it ourselves and be among the early adopters of Android Lollipop! Yeah, we guess we gave you a good enough motivational piece of dialogue, so it’s time for the stuff that matters.
But we need to give you our word of warning first. We should remind you to keep calm while doing these steps, shouldn’t we?
Warning
Things can go really wrong for your device if you don’t know what you are about to do and we’d suggest you to take a lot of care while following these steps. It is a tried and tested method, and any problems,( if they do arise, that is) can only be caused by your lack of ability in following this guide step by step. Keep your calm, and be careful!
Requirements
- Download the Factory Image: Google
- You need to setup the ADB drivers for Android on your PC by referring to these guides. ADB drivers are needed for connecting your device correctly to the PC for the purpose of flashing or installing stuff via fastboot mode.
- Now download Minimal FastBoot tool from here and then extract the contents to a folder. This is for quick fastboot setup, which requires Android developmental SDK otherwise. If you have that already set up, no problem, skip this step!
- When you are done with setting up ADB and FastBoot, you’ll have to install your device-specific drivers by connecting it to your PC via a USB cable. Download these drivers which are in a zip, and manually install them by opening your PC’s Device Manager and clicking on the ‘Other Devices’ button. Then, right-click on Nexus 5 and select ‘Update Driver Software’. In the pop-up screen that appears, browse to and select the zip drivers you just downloaded. You can also refer to this post if you want your device specific drivers.
- Enable USB debugging on your device in the ‘Developer Options’ menu by referring to the comprehensive guide in this post.
- Don’t forget to backup the data and charge your device beforehand.
Installation
- First and foremost, you’ll have to unzip the downloaded factory image file with the .tgz extension. If the factory image file is shown as a .tar file instead, don’t hesitate in renaming it to .tgz and extracting it thereafter.
- Now open the extracted factory image folder, here, you’ll find another zip file. Unzip this and extract it too.
- You have to copy the extracted files to the fastboot folder which you have set up. If you used Minimal Fastboot folder, go to that and paste it.
- Now reboot your Nexus 7 to the fastboot mode by holding the ‘Power + Volume Down’ button for 2-3 seconds when you switch the device On.
- Grab your USB cord and connect your Nexus 7 to your PC.
- Head to the Fastboot folder to which you copied the contents of the Factory-image zip file. Now hold shift and Right click on an empty space within that folder. From the right-click menu, click on ‘Open Command Window Here’.
- Now enter the following commands in the command prompt window (replace the bold ‘filename’ with the name of the file that you extracted):
fastboot flash bootloader bootloader-filename.imgfastboot reboot-bootloader
fastboot flash radio radio-filename.imgfastboot reboot-bootloader
fastboot flash system system.imgfastboot reboot-bootloader
fastboot flash userdata userdata.imgfastboot flash recovery recovery.imgfastboot flash boot boot.imgfastboot erase cache
fastboot flash cache cache.img - That’s it, you have finally installed Android 5.0 Lollipop on your Nexus 7 2012! Cheers!
So that’s to it! Give the ROM a try and you will know how it really is. From what we have seen till now, this seems to be a pretty stable build, we’d say. Whatever happens, the final official release by Google will confirm whether this is THE build we have been waiting for or the final version still needs to iron a few glitches here and there. Don’t forget to share your personal experience of using this ROM with us! You’re welcome.


Join The Discussion: