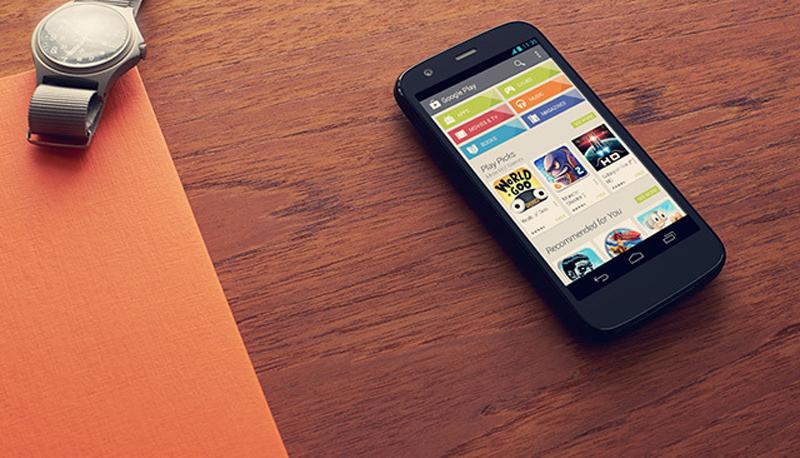
Motorola is quite frisky in releasing the Android Lollipop updates to its devices but still Android 5.1 is not widely available for the Moto G devices. The Moto G XT1032 users have not yet received the Lollipop 5.1 update but the GPE counterpart of the device has already enjoying the official 5.1 update. Luckily, ronin790 of XDA developers has made the Android 5.1 GPE update available for all the Moto G users in the form of a one-click installer. In the bundle, you’ll also find the option to root your device, install TWRP recovery and few other options. Below you can find the complete feature set of the tool:
Contents of the One-Click Installer
- Moto G GPE Android 5.1 Lollipop
- 15 second ADB setup for ADB installation, Fastboot and Drivers
- TWRP recovery 2.8.6.0
- SuperSU 2.4.6
- Dark Moto Logo
- Restore to Default (stock recovery and boot logo tweak)
So, if you’re ready to install the official GPE Android 5.1 Lollipop on Moto G, grab the download package and follow the simple instructions to use the tool. But before you go, I’d recommend you to backup necessary files on your device, a full nandroid backup is preferable.
Downloads
GPE Android 5.1 Lollipop One-Click Installer
How To Install Android 5.1 Lollipop on Moto G
- Download the one-click installer package from the above given link and extract it on your PC.
- Navigate to a folder named Tools in the extracted files and open it.
- Double click the adb-setup-1.4.2.exe to install the ADB drivers on your PC.
- Turn off your phone and boot into download mode by pressing Volume Down + Power Button together.
- Connect the phone to PC via an USB cable.
- Navigate to Gpe_5.1_OneClick and run the Flash_Gpe_5.1.bat.
- Wait until everything finishes and then reboot your phone.
How To Root & Install TWRP Custom Recovery
- Copy the Update-SuperSU-v2.46.zip from ROOT-RECOVERY folder to the device’s storage.
- Turn off your phone and boot into download mode by pressing Volume Down + Power Button together.
- Connect to PC via a USB cable.
- In the ROOT-RECOVERY folder, run the flash_recovery.bat
- Boot into recovery mode and install UPDATE-SuperSU-v2.46.zip to root your device.
Restore to Stock Recovery
- Put your phone into Download mode and connect it to the PC.
- From the default folder, run flash_recovery.bat
- Reboot your device when everything’s finished.
Change boot animation logo
- Put your phone into Download mode and connect it to the PC.
- From the Dark_MotoLogo folder, run flash_logo.bat.bat.
Restore Stock logo and Recovery
- Put your phone into Download mode and connect it to the PC.
- From default folder, flash_logo.bat & flash_recovery.bat
That’s it. It’s quite a simple tool, right? Tell us how it’s to your liking in the comments section below.


lost network
That seems to be a known problem, you have to flash your fsg.mbn file again, google for that and you will be able to make it work. That one is different depending on which model (intl, U.S. etc.) you have so that sometimes leads to problems.