Google Now which was released on July 9, 2012, has now been succeeded by even a more intelligent personal assistant developed by Google itself. Unlike Google Now, Google Assistant is designed to be personal. Also, it makes use of more natural language AI. Rather calling it a replacement, it’s better to call it an upgrade of Google Now. People can ask it anything from flight status till cookbook recipes. It can do amazing things if we have it integrated into our home also known as Google Home. Moreover, It can even drive your Google car for you.
Initially, this new assistant was released only for Android N devices but now it can be ported to other devices too. Thanks to brianelv of XDA for his hard work which made this possible. In this post, we will be talking about the procedure to enable the assistant in any Android N or M device.
List of Confirmed Working Devices
- Google Nexus 6P
- Google Nexus 5X
- Google Nexus 6
- Google Nexus 5
- Google Nexus 4
- Google Pixel C
- Moto G 2013
- Moto G 2015
- OnePlus One
- Lenovo Vibe K5 Plus
- YU Yureka Plus
- Samsung Galaxy S5 | CM14
- Devices running CM13 or CM 14
Note- The above is list is only to confirm that it works but it can work on any device as long as it has Android M or N installed on it.
Installation of Google Assistant on Android M Devices
- Make sure you have Xposed Framework installed on your device.
- Then, download the N-ify Xposed Module from the Xposed Framework’s modules section.
- After downloading activate it and reboot your device.
- Then use one of the two methods mentioned below.
Prerequisites
- Android 6.0/7.0 or higher
- SuperSU or kernel with dm-verity disabled
- Latest Google app (6.5.35.21 or newer)
- BuildProp Editor (download from Google Play Store) [googleplay url=”https://play.google.com/store/apps/details?id=com.jrummy.apps.build.prop.editor”/]
- Make sure TWRP is installed (if using automatic method)
- Download the flashable .zip files (if using automatic method)
Generally, there are two methods for installing Google Assistant on your device. A manual and an automatic method, choose according to preference.
Manual Method
- Edit the following lines in your phone’s build.prop. Open BuildProp Editor and search for ro.product.model and set it to ro.product.model=Pixel XL.
- After that, search for ro.opa.eligible_device and set it to ro.opa.eligible_device=true
Automatic Method
- Copy all the three downloaded .zip files in your device.
- Reboot into recovery.
- At first, flash GoogleAssistantVelvet.zip
- Then, flash GoogleAssistantBuildProp.zip
- Reboot into the system.
All Done! Finally, you can enjoy your own personal Google Assistant.
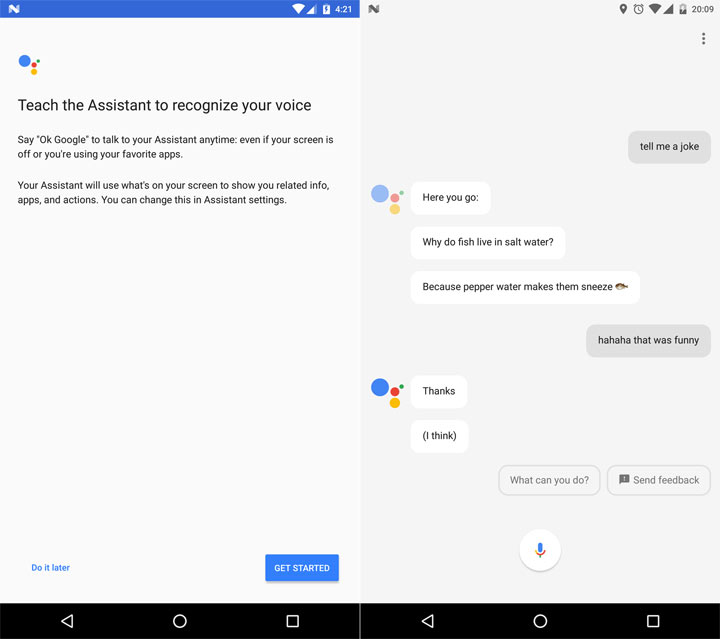
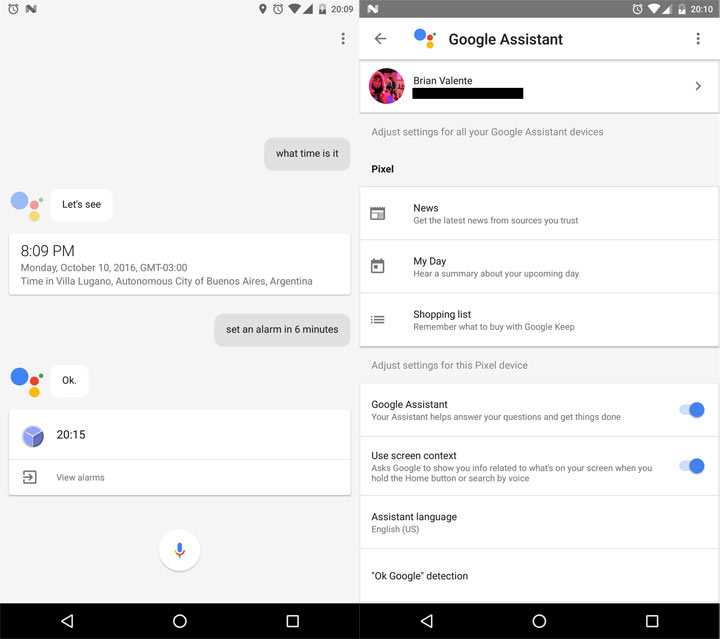
Screenshots:
Go ahead and tell us how it went for you, what do you think about the Google Assistant. We wanna hear from you in the comments section below.


Join The Discussion: