
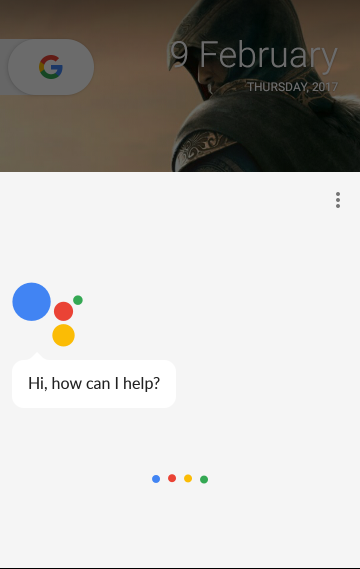
Google’s decision to keep its brand new AI exclusive to Pixel and Google Home was not well received in the Android community. Those more concerned with security and privacy issues might maintain that it was for the best but for others, it really was a major disappointment. True, Nexus 5X and 6P owners might soon be able to enjoy Google Assistant on their devices, but for the rest, things don’t look so bright. However, there is still no need to rush to the nearby store and get a brand new device. With a few tweaks, you can use the Google Assistant on almost any Android device.
Recommended for you: How to Make Your Phone Look Like Google Pixel
Google Allo
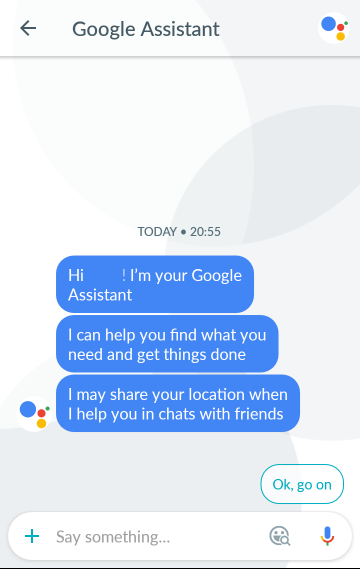
This is Google’s new instant messaging app, with a built-in tuned down version of the Assistant, which behaves much like a glorified chat-bot. Unless marked private, it will look at your conversations so as to ‘understand’ you better, and make intelligent replies when prompted. A regular chat in Google Allo is a three-way conversation between you, your contact, and the Assistant. This version, however, will not be able to perform systemic actions, say setting an alarm, or placing a call; neither can you activate it by using voice commands or home button.
Don’t miss: Install Google Assistant on Nougat Devices [“OK Google” Working]
Assistant Enabler
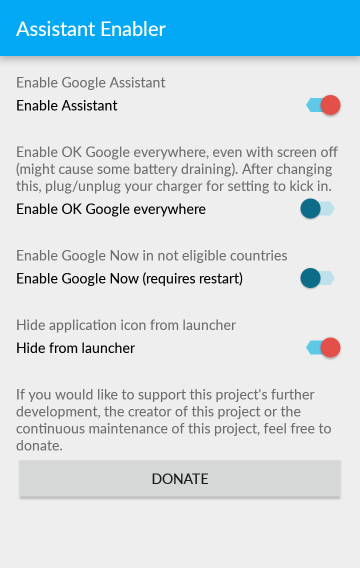
This is an Xposed Module by Sabissimo. The module replaces the default Google Now with the full version of Google Assistant. Please note that as it is an Xposed Module, your phone must be rooted and have Xposed framework installed. Also, this module works only on Android 6.0 and above. Once installed, activate the module and reboot. Next, open the app, toggle the switch to enable Assistant. There is also an option to enable hot-word detection everywhere, even when the screen is off. This module can also activate Google Now in non-eligible countries. Make sure you have recorded your voice model in Google Settings.
Editor’s pick for you: Huge List of Google Assistant Commands
GApps Aroma
Open GApps offers a zip package of all Google services and apps which can be flashed using a custom recovery. This is particularly for those who want to flash custom ROMs. Custom ROMs do not have any built-in Google apps, due to license restrictions.
Also read: 10 Xposed Modules You Should Try Right Now
GApps offer several packages (full, mini, micro, nano, pico, stock, aroma etc.) for all Android versions across different platforms (arm, arm64, x86 etc). The Aroma package contains a graphic interface in which you can select which apps to install. Starting from 3rd February 2017, the Aroma package offers Google Assistant for Android 7.0 and 7.1. Here’s what you need to do:
- Make sure your phone has the bootloader unlocked and a custom recovery like TWRP or Clockwork Mod installed.
- Upgrade you Android to Nougat. If your manufacturer doesn’t provide Nougat update for your device, you can check out various 3rd party ROMs. Here are the links for CyanogenMod and its successor Lineage OS.
- Download GApps from this link. If you’re using your mobile browser, GApps will automatically detect the device platform. Select Android 7.0 or 7.1 and choose Aroma. The package will be around 900MB in size, so make sure you’re using WiFi.
- Place the zip file in a suitable location on your SD Card.
- Boot into Recovery mode: Switch off your device. Then press Power and Volume down buttons together for a few seconds. Use the volume keys to navigate to Recovery mode and press Power button to select.
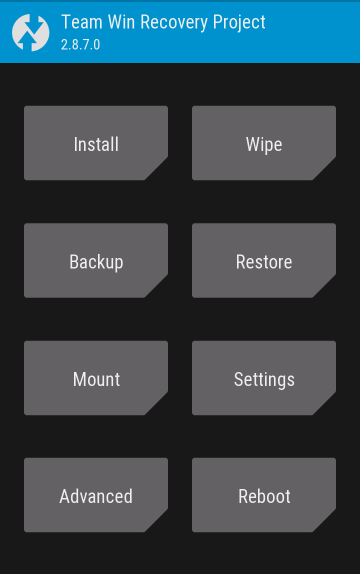
- Once booted in TWRP (or whichever recovery you are using), select Install.
- Select the GApps zip file. Swipe right to install.
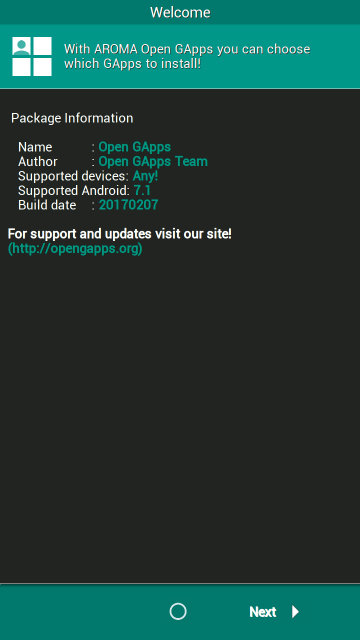
- You will be greeted with Open GApps Welcome screen. Tap Next.
- Select Customized installation. If this is your first time using GApps Aroma, Uncheck the box in the following screen. Tap Next.
- In the next screen, select the apps you wish to install. Make sure you don’t omit any important packages, like Google Play Services, Dialler Framework etc. Tap Next.
- In the next two screens, you can decide which stock apps (baked in the custom ROM) are to be retained. Tap Next.
- In the following screen, tap the check-box labeled Google Assistant. Tap Next. Go through the choices summary, and proceed to the next screen.

- If you wish, you can save your choices in a separate folder in the SD Card for future installations.
- In the following screen, tap Install GApps.
- Wait for the process to finish, and reboot.
That’s it. Log in with your Google Account, add your voice model in Google Settings, and enjoy conversing with the brand new quick and witty Google Assistant. The more you use it, the better it gets.
Also see: 47 Google Pixel XL & Google Pixel Tips and Tricks & Hidden Features


Join The Discussion: