The Motorola Droid Bionic is an Android-based, 4G LTE-capable smartphone designed by Motorola. LTE makes web page load speed and other Internet-based applications, much faster than 3G. It was one of the thinnest 4G LTE handsets of 2011. The 4.3-inch qHD display on the Droid Bionic is similar to the one we saw on the Droid 3.
Beneath the display are the four Android shortcuts for the menu, home, back, and search functions. On the right is a volume rocker while the Micro-USB port and Micro-HDMI port sit on the left spine. On the top are a 3.5mm headset jack and screen lock/power key. A front-facing VGA camera is above the display. The rear camera has a single LED flash.
In October 2012, Verizon officially pushed Android Ice Cream Sandwich out to users. In April 2013, Verizon officially pushed Android Jelly Bean out to users.
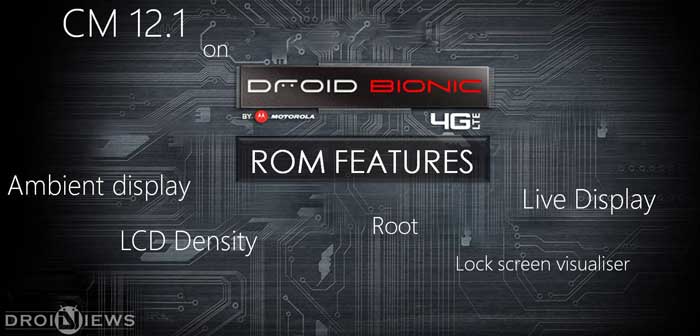
Now in 2015 Motorola Droid is ready to get sweeter and faster with Lollipop Android 5.1.1. This is a CM 12.1 Nightly version. Please note that this ROM nightly builds and contain few bugs which will be solved via OTA. If you don’t receive OTA, you can manually download the latest nightly from here.
Prerequisites
- Rooted Motorola Droid Bionic
- TWRP recovery or CWM recovery
- Ensure you have at least 60% battery
- Motorola USB drivers
Warning: The author is not responsible, if you damage or brick your device. Do it at your own risk and follow the instructions properly.
Procedure
- Connect and mount your Droid Bionic to your computer using the USB cable.
- Download
Android 5.1.1 CM12.1 Nightly ROMand Gapps for Droid Bionic to your computer and copy it to your phone memory/sdcard. Make sure the file is in the phone memory / SD card root (not in any folder). - Then turn off your phone and disconnect the USB cable.
- Get in the TWRP/ CWM recovery.
- Switch ON the phone while pressing and holding Volume Up + Power buttons together.
- Always have a full backup of system and data.
- Once you are in TWRP recovery/ CWM recovery, select and perform a full data wipe by selecting “wipe data/factory reset”. For CWM recovery use the power button to select everything while in the recovery mode.
- Then, perform a cache wipe by selecting “wipe cache partition”.
- Now this is optional, but it is recommended to perform a wipe of your dalvik cache as well. You will not get into boot loops or any other errors. For CWM recovery, go to ‘advanced’ and then select “wipe dalvik cache”.
- Then go back to the main recovery screen and select Install, to install the ROM.
- Repeat the same step for the Google Apps zip file as well and install it on your phone.
- Flashing will take few minutes. After the installation completes, reboot the phone by selecting “reboot system now” from the recovery menu.
- Your Droid Bionic will boot now and it might take about 5-10 minutes for the first time. So, please wait.
That’s it! Your Motorola Droid Bionic should now have Android 5.1.1 CM12.1 Nightly Lollipop custom ROM installed (Go to Settings > About phone to verify).
If you have any problems, just comment below and don’t forget to share your experiences.


Join The Discussion: