It has been raining Oreos on Samsung flagships albeit not for everyone. Those who were able to enroll their devices in Samsung’s beta program have started receiving the third Oreo beta update. Those who weren’t able to do that can still install the Oreo beta firmware. It’s not as easy as installing an OTA but that’s expected, considering Samsung doesn’t want you to. We’ve previously shown you how you could install the Oreo beta 2 on US Snapdragon variants and then how to flash it on a Galaxy S8 via TWRP. This method to install the Oreo beta 3 on Samsung Galaxy S8+ is somewhat similar. Because it does make use of TWRP, but it’s also slightly different.
The same method could also be used on the Galaxy S8 with the second Oreo beta but it’s not the one we went with. This time this is the only method at the moment, described by poczynek. It involves downloading a TWRP backup of the Oreo beta 3 ROM from a Samsung Galaxy S8+ which has received the update. To those that haven’t already guessed it yet, you will then be required to restore that backup using TWRP on your Galaxy S8+. Sounds simple enough if you already have an unlocked bootloader and TWRP installed.
If you don’t but are willing, you can follow our guide here to install TWRP on your Galaxy S8+. That guide is only for the Exynos variant. We do have a guide for the Snapdragon variant but no TWRP backup from a Snapdragon variant, yet.
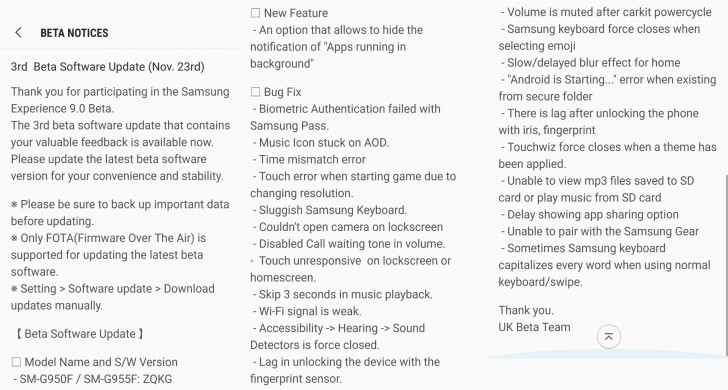
Not a lot is new in this update as it focuses on squashing as many bugs as it can. The changelog does mention Bluetooth stability improvements and the ability to hide the Apps running in the background notification. It also includes the November security patch.
Requirements
- Unlocked bootloader.
- TWRP custom recovery.
- Samsung Galaxy S8+ [G955F] [Exynos]
Downloads
Create a backup
- Download the zip files on a computer from above and extract ZQKG TWRP Backup files.zip to a folder named whatever you like.
- Reboot your Samsung Galaxy S8+ into recovery mode.
- Power off your device.
- Once it’s off, press and hold the Bixby and Volume Up buttons, then press the Power button to turn it on.
- Let go of the Power button when the screen turns on, while still keeping the Bixby and volume up buttons pressed.
- Let go of all the buttons when you see the recovery mode logo.
- Select Backup from the TWRP menu and then select all the partitions, swipe at the bottom to create a backup.
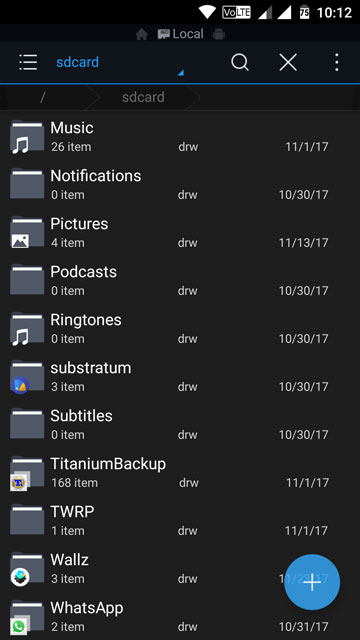
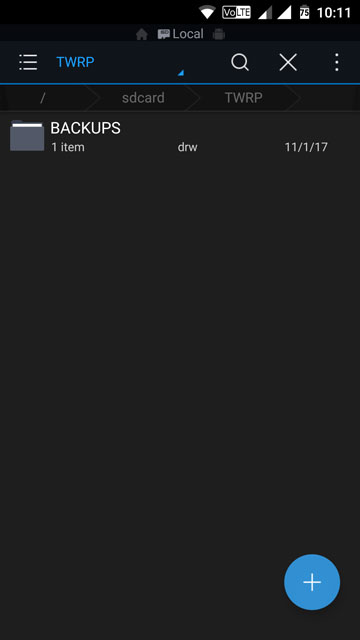
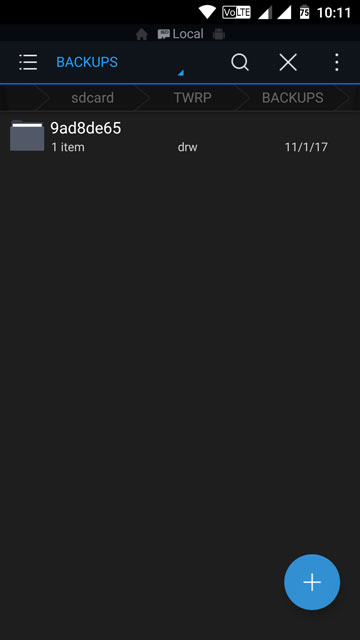
- The backup is created in a TWRP folder on your internal storage by default unless you’ve changed the default storage to External storage. Regardless, there will be a folder named TWRP and inside it will be a folder named BACKUPS. This folder contains another folder named in some unique fashion, e.g. 9ad8de65. This folder contains the backup you just created.
Install Android Oreo beta 3 on your Samsung Galaxy S8+
- Connect your phone to the PC with a USB cable while it is still in TWRP recovery and transfer the extracted folder from ZQKG TWRP Backup files.zip to the folder containing your backup.
Internal (or External) sdcard/TWRP/BACKUPS/9ad8de65/
- Make sure you move the extracted file to the exact location as your backup.
- Transfer the SuperSU zip to your device as well. This zip can be placed wherever you like.
- Go back to the TWRP main menu and tap Restore.
- You will see two backups here to restore from. Select the one you just downloaded and transferred to your phone.
- Once the restore is complete, go back to the main menu and select Wipe > Format data and type yes.
- Now, hit the Restore button again and select the backup file you created at the beginning.
- Select only the data partition here, because you wouldn’t want to restore your previous ROM right now. This will restore all your apps and other data. You can skip this step if you’d like a fresh install for some reason.
Root
- Select Install and then select the SuperSU zip file you downloaded. Rooting is not optional here since you will be needing it soon.
- Swipe at the bottom to flash it.
- When you’re ready hit the Reboot system button and wait.
Fixes
You may face random reboots and some Knox issues after your device reboots. This can be fixed by making a couple of changes to the build.prop file. If you haven’t heard of it before what are you even doing here? Failed attempts at humor aside, you can know quite a bit about the build.prop file and how to edit it here. Use a file explorer or any build.prop editing app powered with Superuser access to find and change the following values in the build.prop file:
-
ro.config.tima=1 to ro.config.tima=0
-
ro.config.knox=v30


Join The Discussion: