When it comes to software updates, Sony has been doing its job rather well compared to some other manufacturers. The Japanese giant is one of the first ones to provide updates for its latest flagship devices and does not seem to forget older devices that fall under the 2-year support umbrella. The Xperia Z3 Plus, Z4 Tablet, and Z5 family which were announced sometime between May 2015 and September 2015 making them almost 2-year old. Yet, after rolling out official Nougat updates for Xperia XA Ultra and Xperia X a week before, Sony is now seeding the Android 7.1.1 updates for Xperia Z5, Z4 Tablet, and Z3.
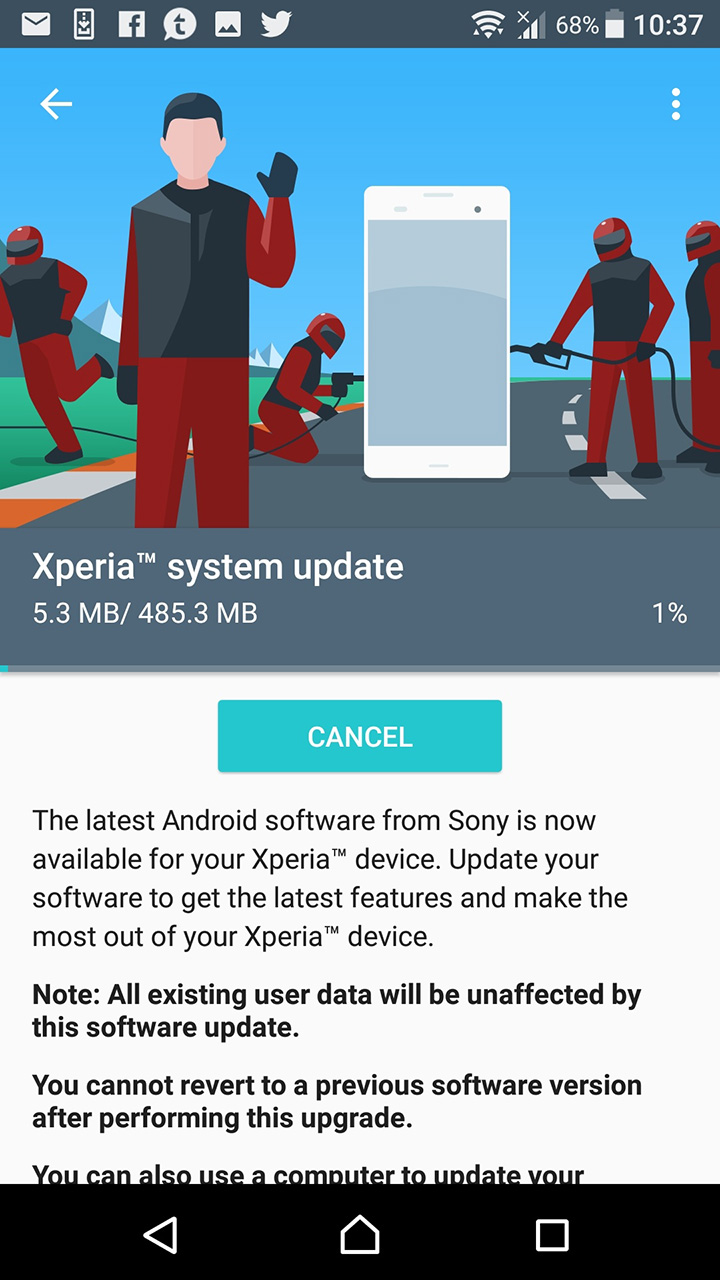
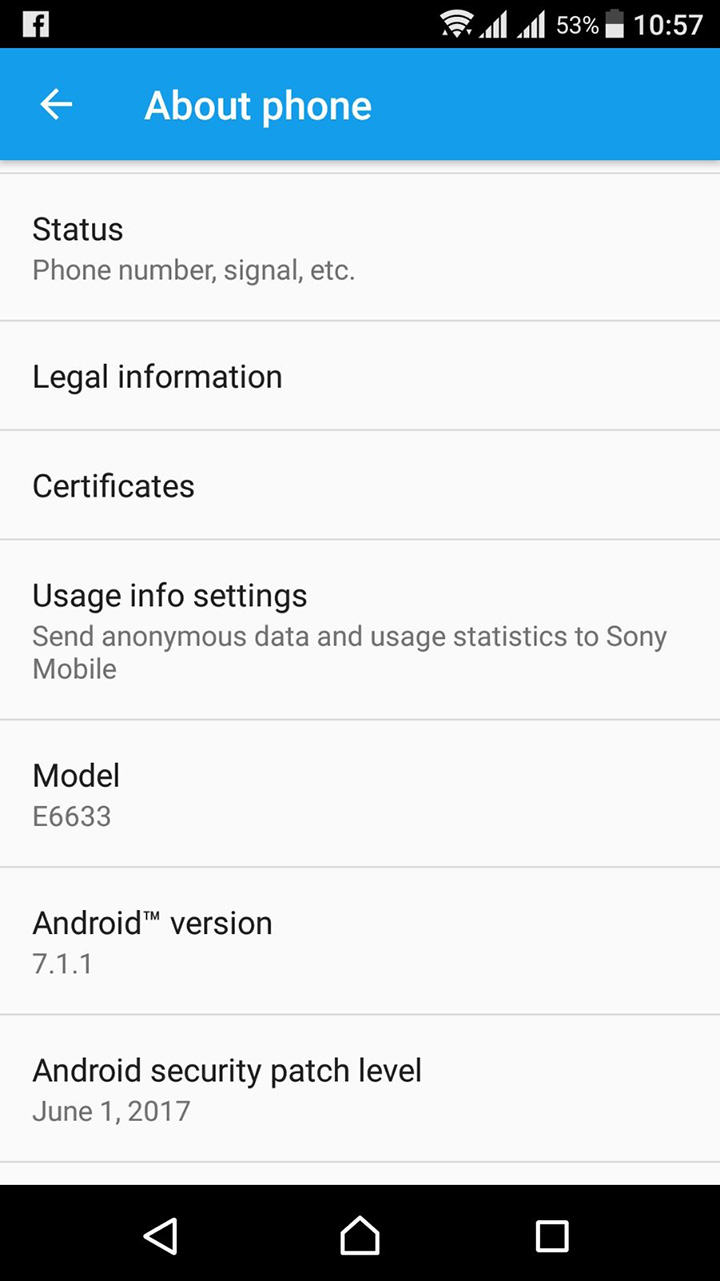
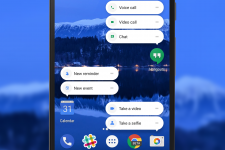
The 485.3 MB update pushes the build number from 32.3.A.2.33 to 32.4.A.0.160 and brings in the usual Android 7.1.1 features. This includes a jump to API level 25 bringing new capabilities for developers. New Sony features include a new Sony Assist panel on the home screen of the new Xperia Home Launcher 10.2.a.2.60. It also brings the June security level patch.
The update is being pushed out via OTA updates so it might be a while before you see a notification on your phone for the same. You can try checking for it manually in Settings > About phone > Software updates. But if you’re not one of the patient users of Xperia Z5, Z4 Tablet, or Z3 Plus you can manually download the update.
Warning
You should know that manually installing an update this way would wipe your data completely and you’ll have to start fresh with your device.
Download Android 7.1.1 Nougat 32.4.A.0.160 for Xperia devices
Xperia Z5 (E6653)
- 1298-7277_32.4.A.0.160-R3E_Customized_AU.ftf
- 1298-7250_32.4.A.0.160-R1E_Customized_PH.ftf
Xperia Z5 (E6603)
- 1300-4290_32.4.A.0.160-R2E_Customized_US.ftf
Xperia Z5 (E5533)
- 1307-1380_32.4.A.0.160-R2E_Customized_TR.ftf
- 1297-9122_32.4.A.0.160-R2E_Customized_MEA.ftf
- 1297-9117_32.4.A.0.160-R2E_Customized_SA.ftf
- 1297-9114_32.4.A.0.160-R2E_Customized_MAA.ftf
Xperia Z5 (E5583)
- 1298-7547_32.4.A.0.160-R2E_Customized_IN.ftf
- 1298-9654_32.4.A.0.160-R1E_Customized_MY.ftf
Xperia Z3 Plus (E6553)
- 1294-9984_32.4.A.0.160-R2E_Customized_US.ftf
- 1295-3975_32.4.A.0.160-R2E_Customized_GEL.ftf
- 1295-0592_32.4.A.0.160-R2E_Customized_RU.ftf
Xperia Z3 Plus (E6533)
- 1295-0175_32.4.A.0.160-R2E_Customized_MEA.ftf
- 1298-0242_32.4.A.0.160-R1E_Customized_MY.ftf
- 1295-0221_32.4.A.0.160-R2E_Customized_SA.ftf
- 1294-9721_32.4.A.0.160-R2E_Customized_MAA.ftf
XperiFirm
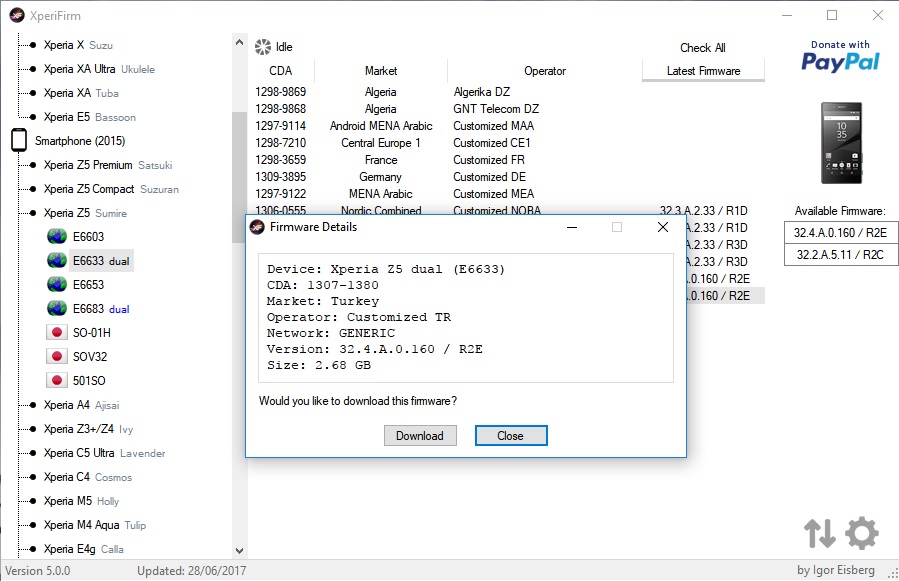
If you couldn’t find an ftf file for your device above, you can download the firmware with XperiFirm.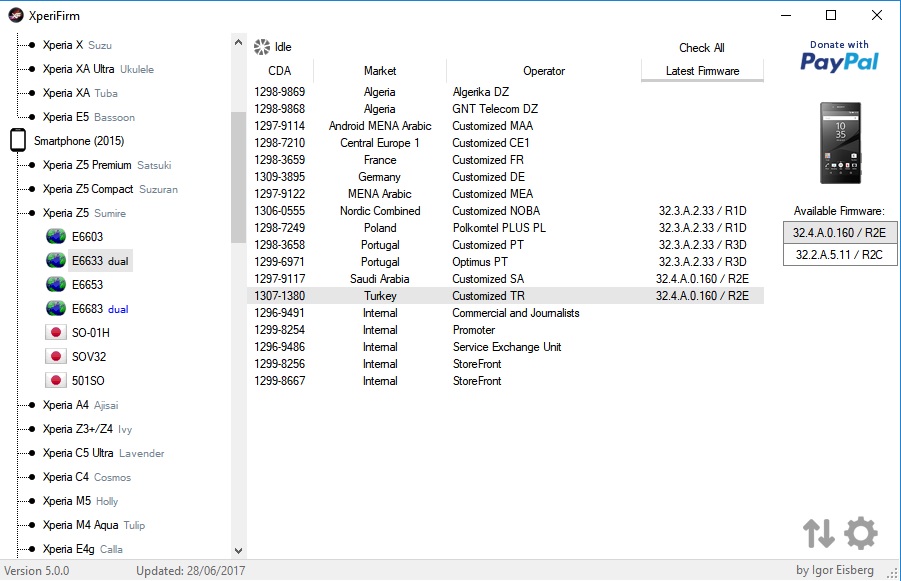
Launch the XperiFirm software and let it load the list of all available Sony devices. Then you will see a window similar to the one above. On the left column is a list of all Sony Xperia devices. Find yours and click on it. In the center, you will see a list of all the markets the device is available in and the operators that sell it. Select the one that suits you and then on the right, you will see the latest firmwares available for your device. Click on the firmware number 32.4.A.0.160 and a pop-up window appears. Click on the Download button and the firmware will begin downloading.
To know how you can use XperiFirm to download the latest available firmware for your device and flash it using flashtool visit this link.
Flash the 32.4.A.0.160 firmware ftf for your device with Flashtool
To use the unofficial Sony flashtool, you will first need to download it. If you don’t already have it installed and set up, you can refer to our guide here. If you follow the guide, you will not only have the flashtool setup but also have installed the necessary drivers for your device. So the only thing left would be to use the flashtool. Transfer the downloaded ftf firmware to the flashtool firmware folder (C:\Users\username\.flashTool\firmwares)
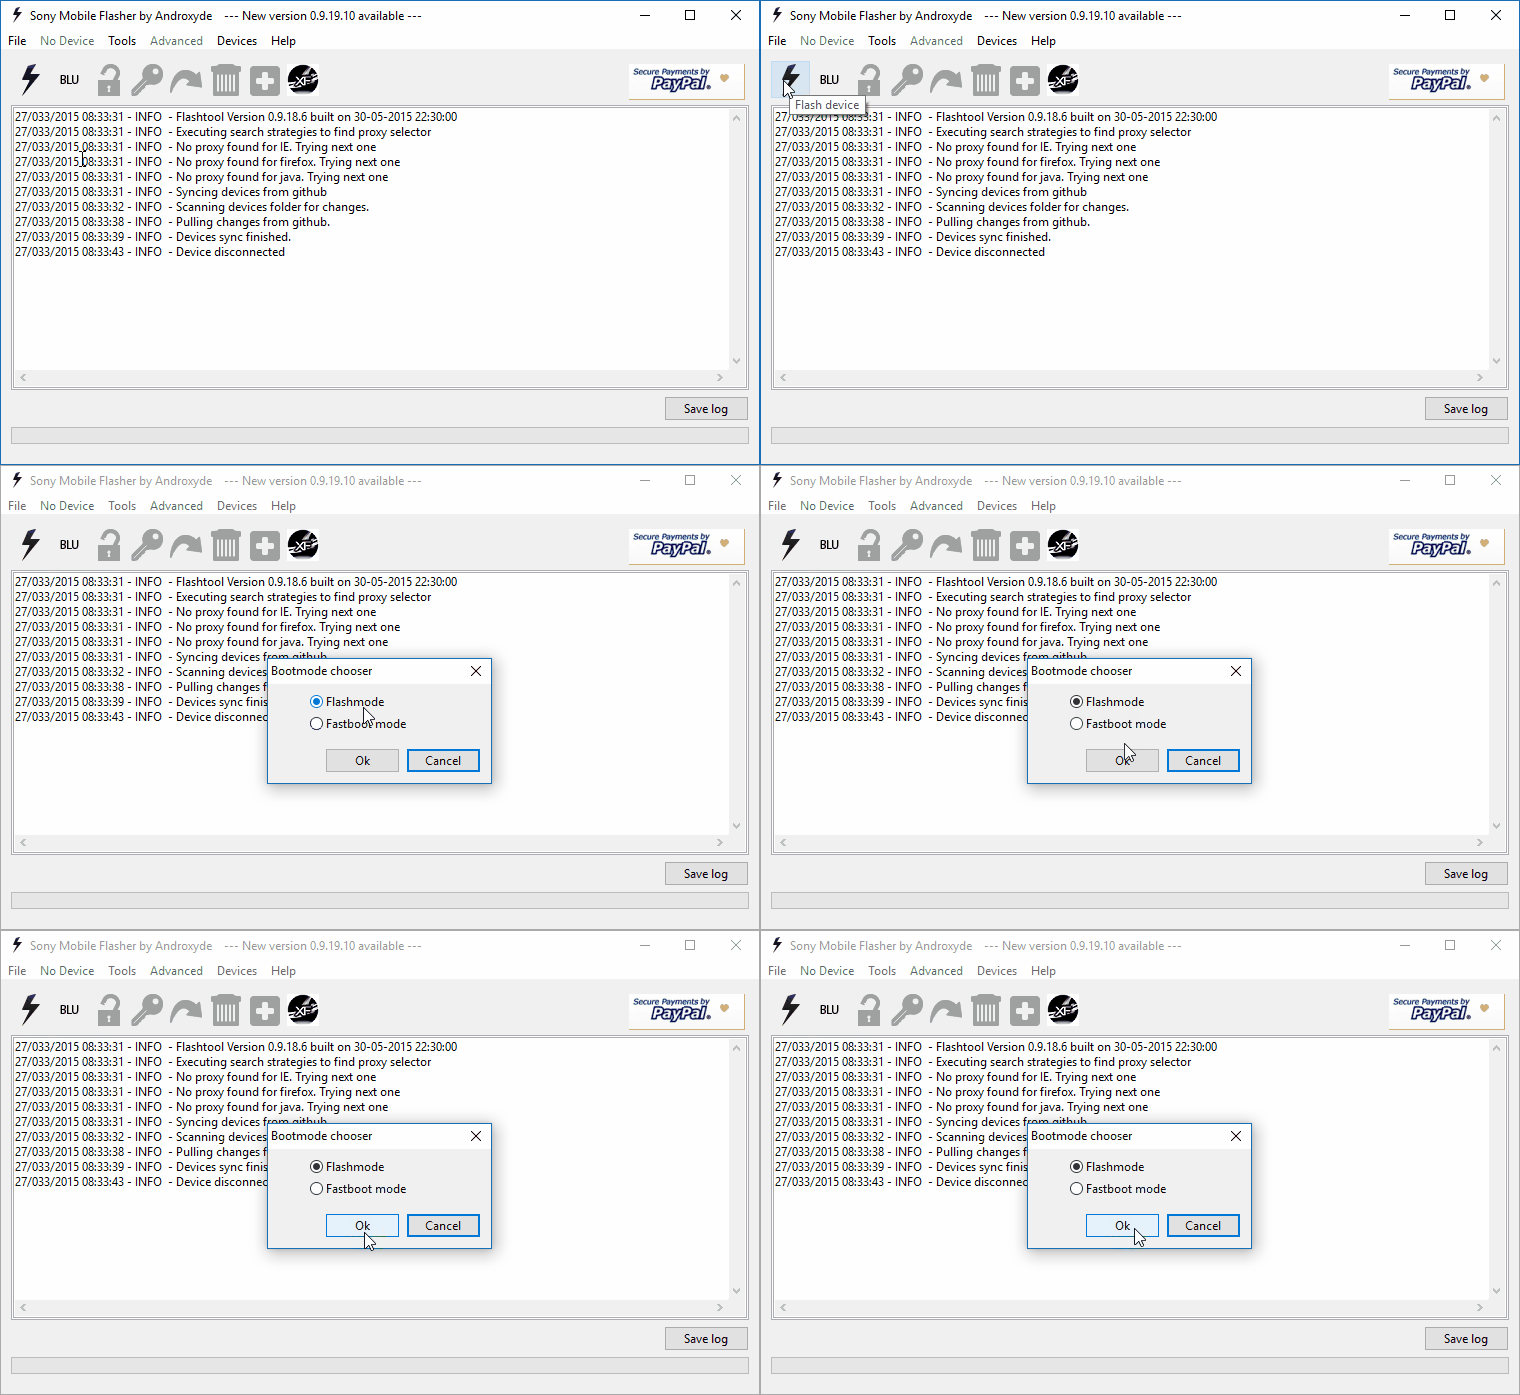
- Launch the flashtool and let it sync the list of devices.
- Once ready, click on the flash icon
 on flashtool and select flash mode.
- A new window appears with a list of firmwares in your flash tool firmwares folder. You should see the 32.4.A.0.160 firmware listed here on the left.
- On the right side of the window under Wipe, tick DATA, CACHE, and APPSLOG. If you’re using flashtool v0.9.19.10 and older, make sure you tick the SIMLOCK option as well. For newer versions of flashtool, make sure SIMLOCK is unticked.
- Click the Flash button at the bottom right.
- You’ll see the message “Preparing files for flashing” and this preparation can take a while.
- Power off your phone now, and plug in a USB cable into your PC.
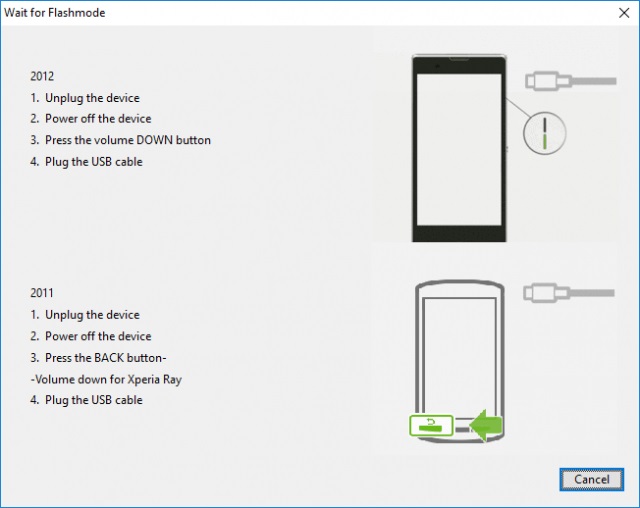
- When prompted on the screen, press and hold the Volume down button on your phone.
- While holding the Volume down button, plug in the other end of the USB cable into your phone.
- When flashtool detects your device, that is if you’ve connected it properly, the flashing will immediately begin.
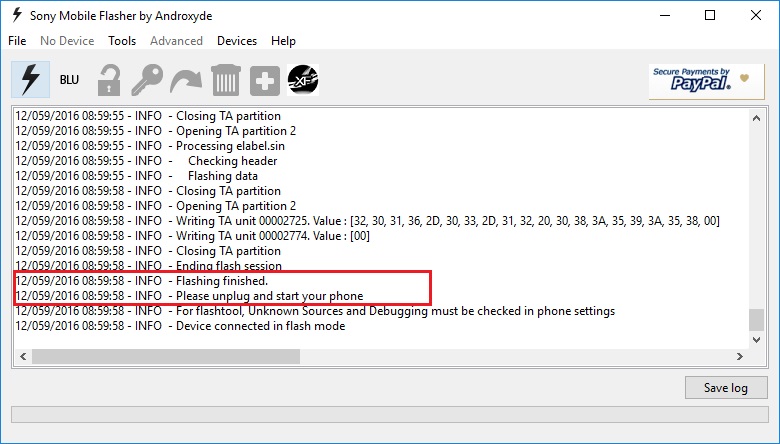
The process can take a while considering the size of the FTF file that needs to be transferred and installed over the USB connection. Make sure you don’t disturb the phone and that the connection is not loose. When the flashing is finished, you’ll see the same reflected in the flash tool window. Unplug your phone and power it on. Since this is the first boot after a new software installation, it will take longer than usual.


Join The Discussion: