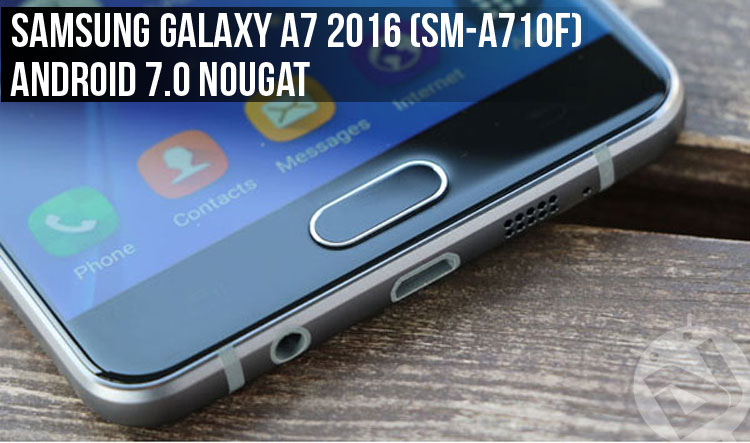
Galaxy A7 (SM-A710F) is a premium mid-range smartphone launched by Samsung last year. It features Exynos 7580 chip, an Octa-Core chip by Samsung itself, clocked at 1.6 GHz with 3 GB of RAM. The phone when launched was running on Android 5.1.1 Lollipop but was soon upgraded to Marshmallow. Recently Samsung has announced another update for the smartphone to Android Nougat, which is quite nice as Samsung is rather slow with updates for its non-flagship smartphones. If you haven’t yet received the latest update, you can use our tutorial to install Android 7.0 Nougat on Galaxy A7 2016 (SM-A710F).
You can easily upgrade to Nougat if you have a non-rooted phone. But not all of us are patient to keep waiting for Samsung to get a taste of the latest version of Android. Here, in this tutorial, I will inform you about several methods for flashing stock-ROM on your Galaxy A7 2016 edition.
1. Install Android 7.0 Nougat on Galaxy A7 2016 (SM-A710F) via OTA update
This is the easiest and most common method of updating your smartphone. Most of the smartphone users don’t know about the other methods and prefer to use this method mentioned here. To update your phone using this method you need to go to Settings> About Device/Phone> Software Update. But this method does not work on rooted phones. So if your smartphone is rooted but you want to update it to the latest version, please follow the steps mentioned down below.
2. Install Android 7.0 Nougat on Galaxy A7 2016 Using Odin
Getting prepared:
First of all, you need to download the Nougat Firmware, the links for which have been provided down below. I have also provided Firmware links for certain countries which were available at the time I published this article.
Use these link to download the firmware specific to your country:
Saudi Arabia: Download | Mirror 1 | Mirror 2
South Africa: Download | Mirror 1 | Mirror 2
Kenya: Download | Mirror 1 | Mirror 2
Zambia: Download | Mirror 1 | Mirror 2
Israel: Download | Mirror 1 | Mirror 2
Morocco: Download | Mirror 1 | Mirror 2
Caucasus Countries: Download | Mirror 1 | Mirror 2
Kazakhstan: Download | Mirror 1 | Mirror 2
Ukraine: Download | Mirror 1 | Mirror 2
Turkey: Download | Mirror 1 | Mirror 2
Uzbekistan: Download | Mirror 1 | Mirror 2
While the Firmware is downloading, download ODIN and Samsung USB drivers as well. Also, do not forget that this process will clear all the internal data on your mobile phone. You can check out the backup apps for backing up your data, Link for which has been provided right here:
Before starting any process please make sure that your phone is charged up to at least 70% battery capacity. You would also have to enable the USB debugging option from Settings> Developer Options.
Firmware installation steps:
Now that you have downloaded all the files necessary, it is time to start the process.
Let’s start with the process now:
- First of all, install the Samsung USB drivers onto your PC/Laptop.
- Now, extract the file you have downloaded from the link above which includes: AP_XXXXXXXXXXXXXX.tar.md5
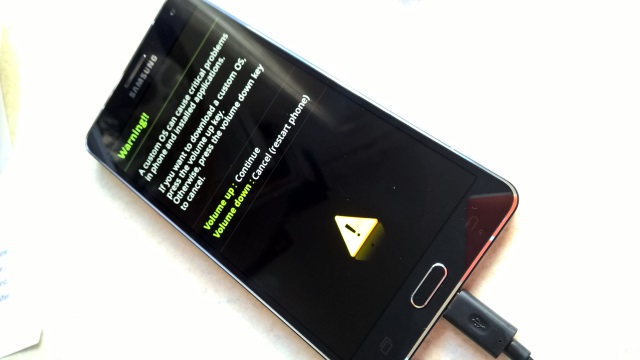
- Reboot your GALAXY A7 into the download mode, which can be done by, turning off the phone then by pressing and Holding HOME+VOLUME DOWN+POWER buttons until you see a blue screen with an exclamation sign, then press the VOLUME UP Key. Now that your device is in Download Mode.

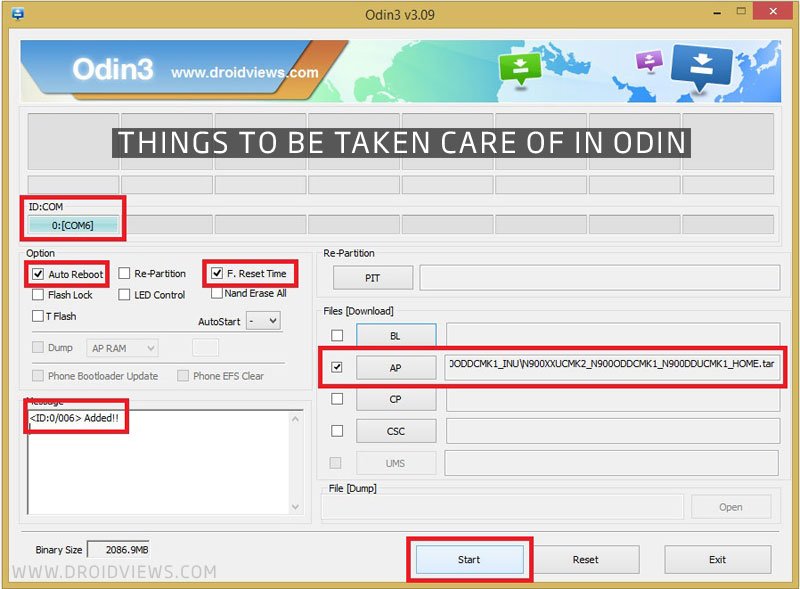
- Open the extracted ODIN file, and connect your phone to your PC/Laptop via a USB Cable.
- The ID: COM port in Odin will show up in the upper-left dialogue box. You will also see “Added!!” in the message box below. Visit the Options menu of ODIN and DO-NOT to tinker with any of options, just make sure that “Re-partition” option is UNCHECKED.
- Now click the AP option in ODIN and browse where you have extracted the Firmware file, and select the file starting with AP.When all this is done, click on the Start option and wait some time for the process to complete.

Your device will Reboot automatically after the process is complete. Now you can enjoy your freshly updated smartphone!
(P.S. If you come across a firmware which has more than 1 file in it please follow this tutorial right here: Tutorial for Multi-Firmware Installation.)
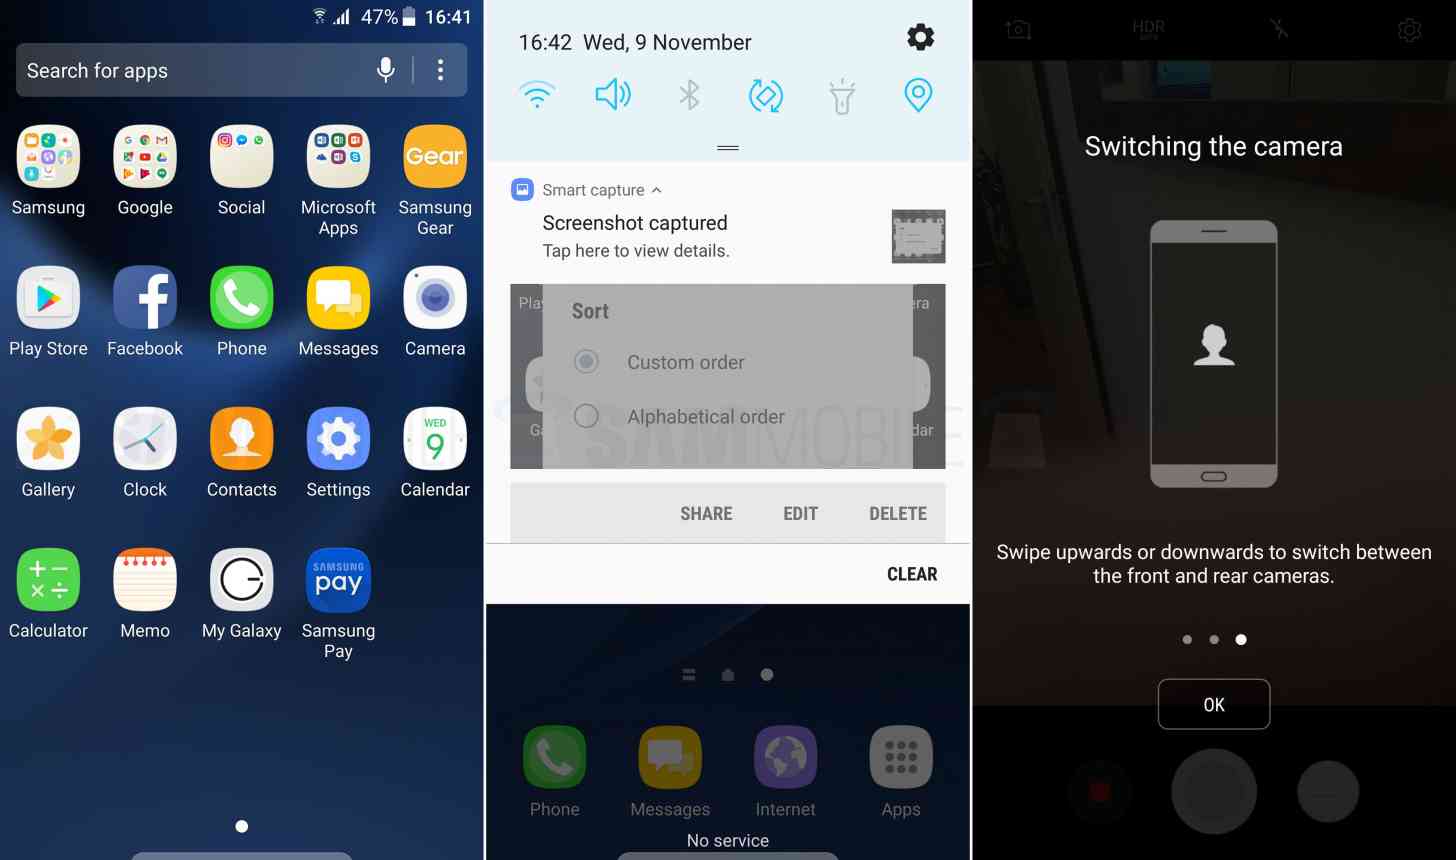
After the Nougat update your Galaxy A7 will look something like this:


Join The Discussion: