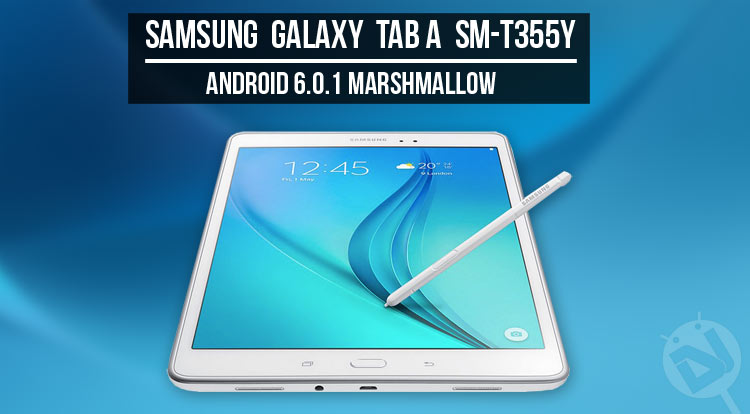
As you know, Samsung releases different variants of the same device based on network configuration and localizations. The timing of OS updates released by the manufacturer also differs. Just yesterday, we published a guide about manually updating the Galaxy Tab A 8.0 SM-T355 to Android Marshmallow. It’s true that the OTA has been rolling out for the tab for weeks now, but today we’ll see how we can install Android 6.0.1 Marshmallow on Samsung Galaxy Tab A SM-T355Y.
The Android 6.0.1 Marshmallow update for the Samsung Galaxy Tab A bring a host of new improvements, bug fixes, and exciting features. The new update improves performance and stability. The new App Standby and Doze features improve the performance of the battery life so that you can use your tablet for longer.
Besides, the Marshmallow update will also add quick scroll and app search feature in the app drawer so that you can access apps quicker. Also, you can activate Google Now on Tap simply by holding the Home button to get contextual information just when you want.
The Android 6.0.1 Marshmallow OTA update is being pushed in countries like Australia, New Zealand, India, Sri Lanka, Vietnam, etc. for a while now. However, if you own Samsung Galaxy Tab A SM-T355Y and do not belong any of the countries listed above, you can install the Marshmallow firmware using Odin and start enjoying the latest update right away. Those who have rooted and installed a custom recovery on their Tab A will not get the OTA from Samsung but they can get Marshmallow by installing it manually.
Related Post: Install Android 6.0.1 Marshmallow on Galaxy Tab A SM-T350
Disclaimer
While the firmware installation procedure is the same for all Samsung devices, you must not try the firmware provided below on any other model of the Galaxy Tab A 8.0 other than SM-T355Y. Go through all the preparatory steps before installing the firmware and follow the tutorial carefully. In case you have any doubts about anything, clear them first. Follow the tutorial at your own risk.
Download Galaxy Tab A 8.0 SM-T355Y Marshmallow Firmware
Note:
Your country not listed below? Don’t worry, you can still install any of the Marshmallow firmware from below even if you are not located in any of the following countries.
New Zealand: T355YDOU1BPL2_T355YXNZ1BPL2_XNZ.zip | Mirror
Australia: T355YDOU1BPI1_T355YXSA1BPI1_XSA.zip | Mirror
Australia (Telstra): T355YDOU1BPI1_T355YTEL1BPI1_TEL.zip | Mirror
India: T355YDOU1BPJ1_T355YODD1BPJ1_INS.zip | Mirror
Vietnam: T355YDOU1BPEC_T355YOLD1BPE4_XXV.zip | Mirror
Sri Lanka: T355YDOU1BPED_T355YODD1BPE3_SLK.zip | Mirror
We’ll add more firmware when they are available.
Getting Prepared
- Download the appropriate firmware from above
- Download Odin 3.10.7.
- Install the latest Samsung USB Drivers on your PC.
- Also, go to Settings> Developers options on your device and enable USB Debugging.
- Backup your data and installed apps as a precaution because sometimes you need to perform a hard reset after installing a new firmware to fix boot loop.
- Charge your Galaxy Tab A to ensure at least 60% battery level.
Update Samsung Galaxy Tab A SM-T355Y to Marshmallow
It’s time now for the main action. Just follow the installation steps described below.
- Extract the downloaded firmware and Odin Zips to your desktop.
- Now open the Odin folder and launch Odin 3.10.7.exe.
- Boot your Galaxy Tab A into the Download mode: to do so, power off your device and then press and hold the Volume Down + Home + Power buttons at the same time. Keep the keys pressed until you see the warning screen and then press the Volume Up key to enter the Download/Odin Mode.
- Connect your device to the computer using a USB cable. When your device is detected by the PC, the ID:COM port in Odin will turn blue and you’ll see “Added!!” in Odin’s log box (see the screenshot).
- Now click the AP button in Odin, navigate to the firmware folder and select the firmware file with .tar.md5 extension.

- Finally, click the Start button in Odin to begin the firmware installation.
- When the installation is finished, you will get PASS! message on Odin followed by an automatic reboot of your Samsung Galaxy Tab A. You can now disconnect the USB cable.
In case your Samsung Galaxy Tab A is caught into a boot loop and does not reboot normally, follow the instructions given in the following guide.
How to Perform Data Factory Reset on Samsung Galaxy Devices
If you got a question or need help, please, let us know via comments!


Join The Discussion: