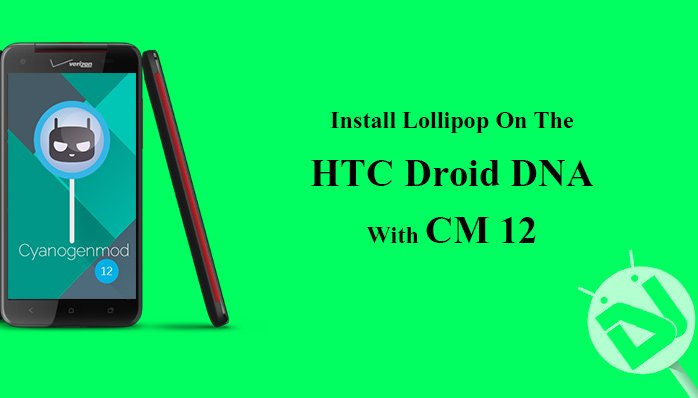
HTC has released many flagship devices in this recent year. The One M7 and the M8 are examples. They rock beastly specs, which you may not be able to find in most of the Android devices. However, we people know HTC as a true-flagship device company from its release of the HTC One. But, it’s not true. Back in November 2012, HTC released a device known as the Droid DNA, which rocked beastly specifications at that time, and still, the HTC Droid DNA is recommended for the Android enthusiasts. Let’s get to its specifications real quick. The Droid DNA sports a massive 2 GB RAM, which was for two years ago, a lot.
The Droid DNA also features a killing Full HD (1080 x 1920) display, with an incredible 441-pixel density! It has a fast CPU, the 1.5 GHz Krait Quad Core processor, and with Adreno 320 as its GPU! The Droid DNA featured a full 8 MP primary camera, with a front shooter of 2.1 MP. You may now think that the Droid DNA is an awesome phone, and you should’ve purchased it a long time ago! The only drawback of this beastly-specced is its OS, which is still stuck at Android 4.1, JellyBean. Many users now are using Android 4.4.x KitKat and some are even using Android 5.0.x, Lollipop. This article will guide you how to install Lollipop on the Droid DNA, yes you heard it right. You can now get Android Lollipop on the Droid DNA with official CM 12 support!
Although the Droid DNA can be updated to Android Lollipop with CyanogenMod 12, users will need to install the Google Apps manually, because they are not provided with this ROM.
Requirements
- Make sure your Droid DNA is completely Rooted, with an unlocked bootloader, to prevent any malfunctions while in the process of flashing the ROM.
- Download the ZIP file you want from all the nightlies provided.
- Take a FULL backup of your Droid DNA, and I mean totally. Make sure you backup your files, from the phone storage, for it, will be deleted while in the process. Also, take a full Nandroid backup of your current ROM.
- Download this Google apps zip package.
- Make sure your Droid DNA is charged atleast up to 60%.
Procedure to Install the ROM
- Transfer the GAPPS and the ROM file you downloaded earlier to your Droid DNA’s storage using your PC.
- Switch off your Droid DNA, and reboot into the recovery mode. You can do so by pressing the volume down and the power button at once. Once you get into the bootloader mode, navigate to ‘Recovery Mode’ and select it.
- Select Wipe Data/ Factory Reset, also clear the Cache.
- Now install the ROM by navigating to the ZIP file you just transferred to your phone.
- This process may take longer than usual, it may also take up to 5 minutes.
- Once done, reboot your Droid DNA!
Voila! You’ve just flashed Android Lollipop on your Droid DNA, with CM 12! If you need help with the GAPPS, refer below.
Installing GAPPS
- Reboot into recovery mode.
- Select the GAPPS ZIP you transferred to your Droid DNA earlier.
- Select ‘Ok’.
- Wait for some time, and then reboot your Droid DNA.
You’ve installed GAPPS on it too! If you encounter any problem while flashing, feel free to leave a comment down below.
Read Next: Install OTA Updates on via ADB Sideload & Recovery


Join The Discussion: