Google Pixel XL is the larger of the two “Made by Google” smartphones introduced last year at the expense of the Nexus line which was a huge favorite among hardcore Android fans and developers alike. It should come as no surprise that despite being way more expensive than the most expensive Nexus smartphone ever, the Google Pixel and the Pixel XL do enjoy the same kind of developer love. And here in this tutorial, we’ll go step by step on how to install Resurrection Remix ROM on Google Pixel XL. Resurrection Remix is one of those heavy on features ROMs and it’s one of my personal favorites as well.
Features
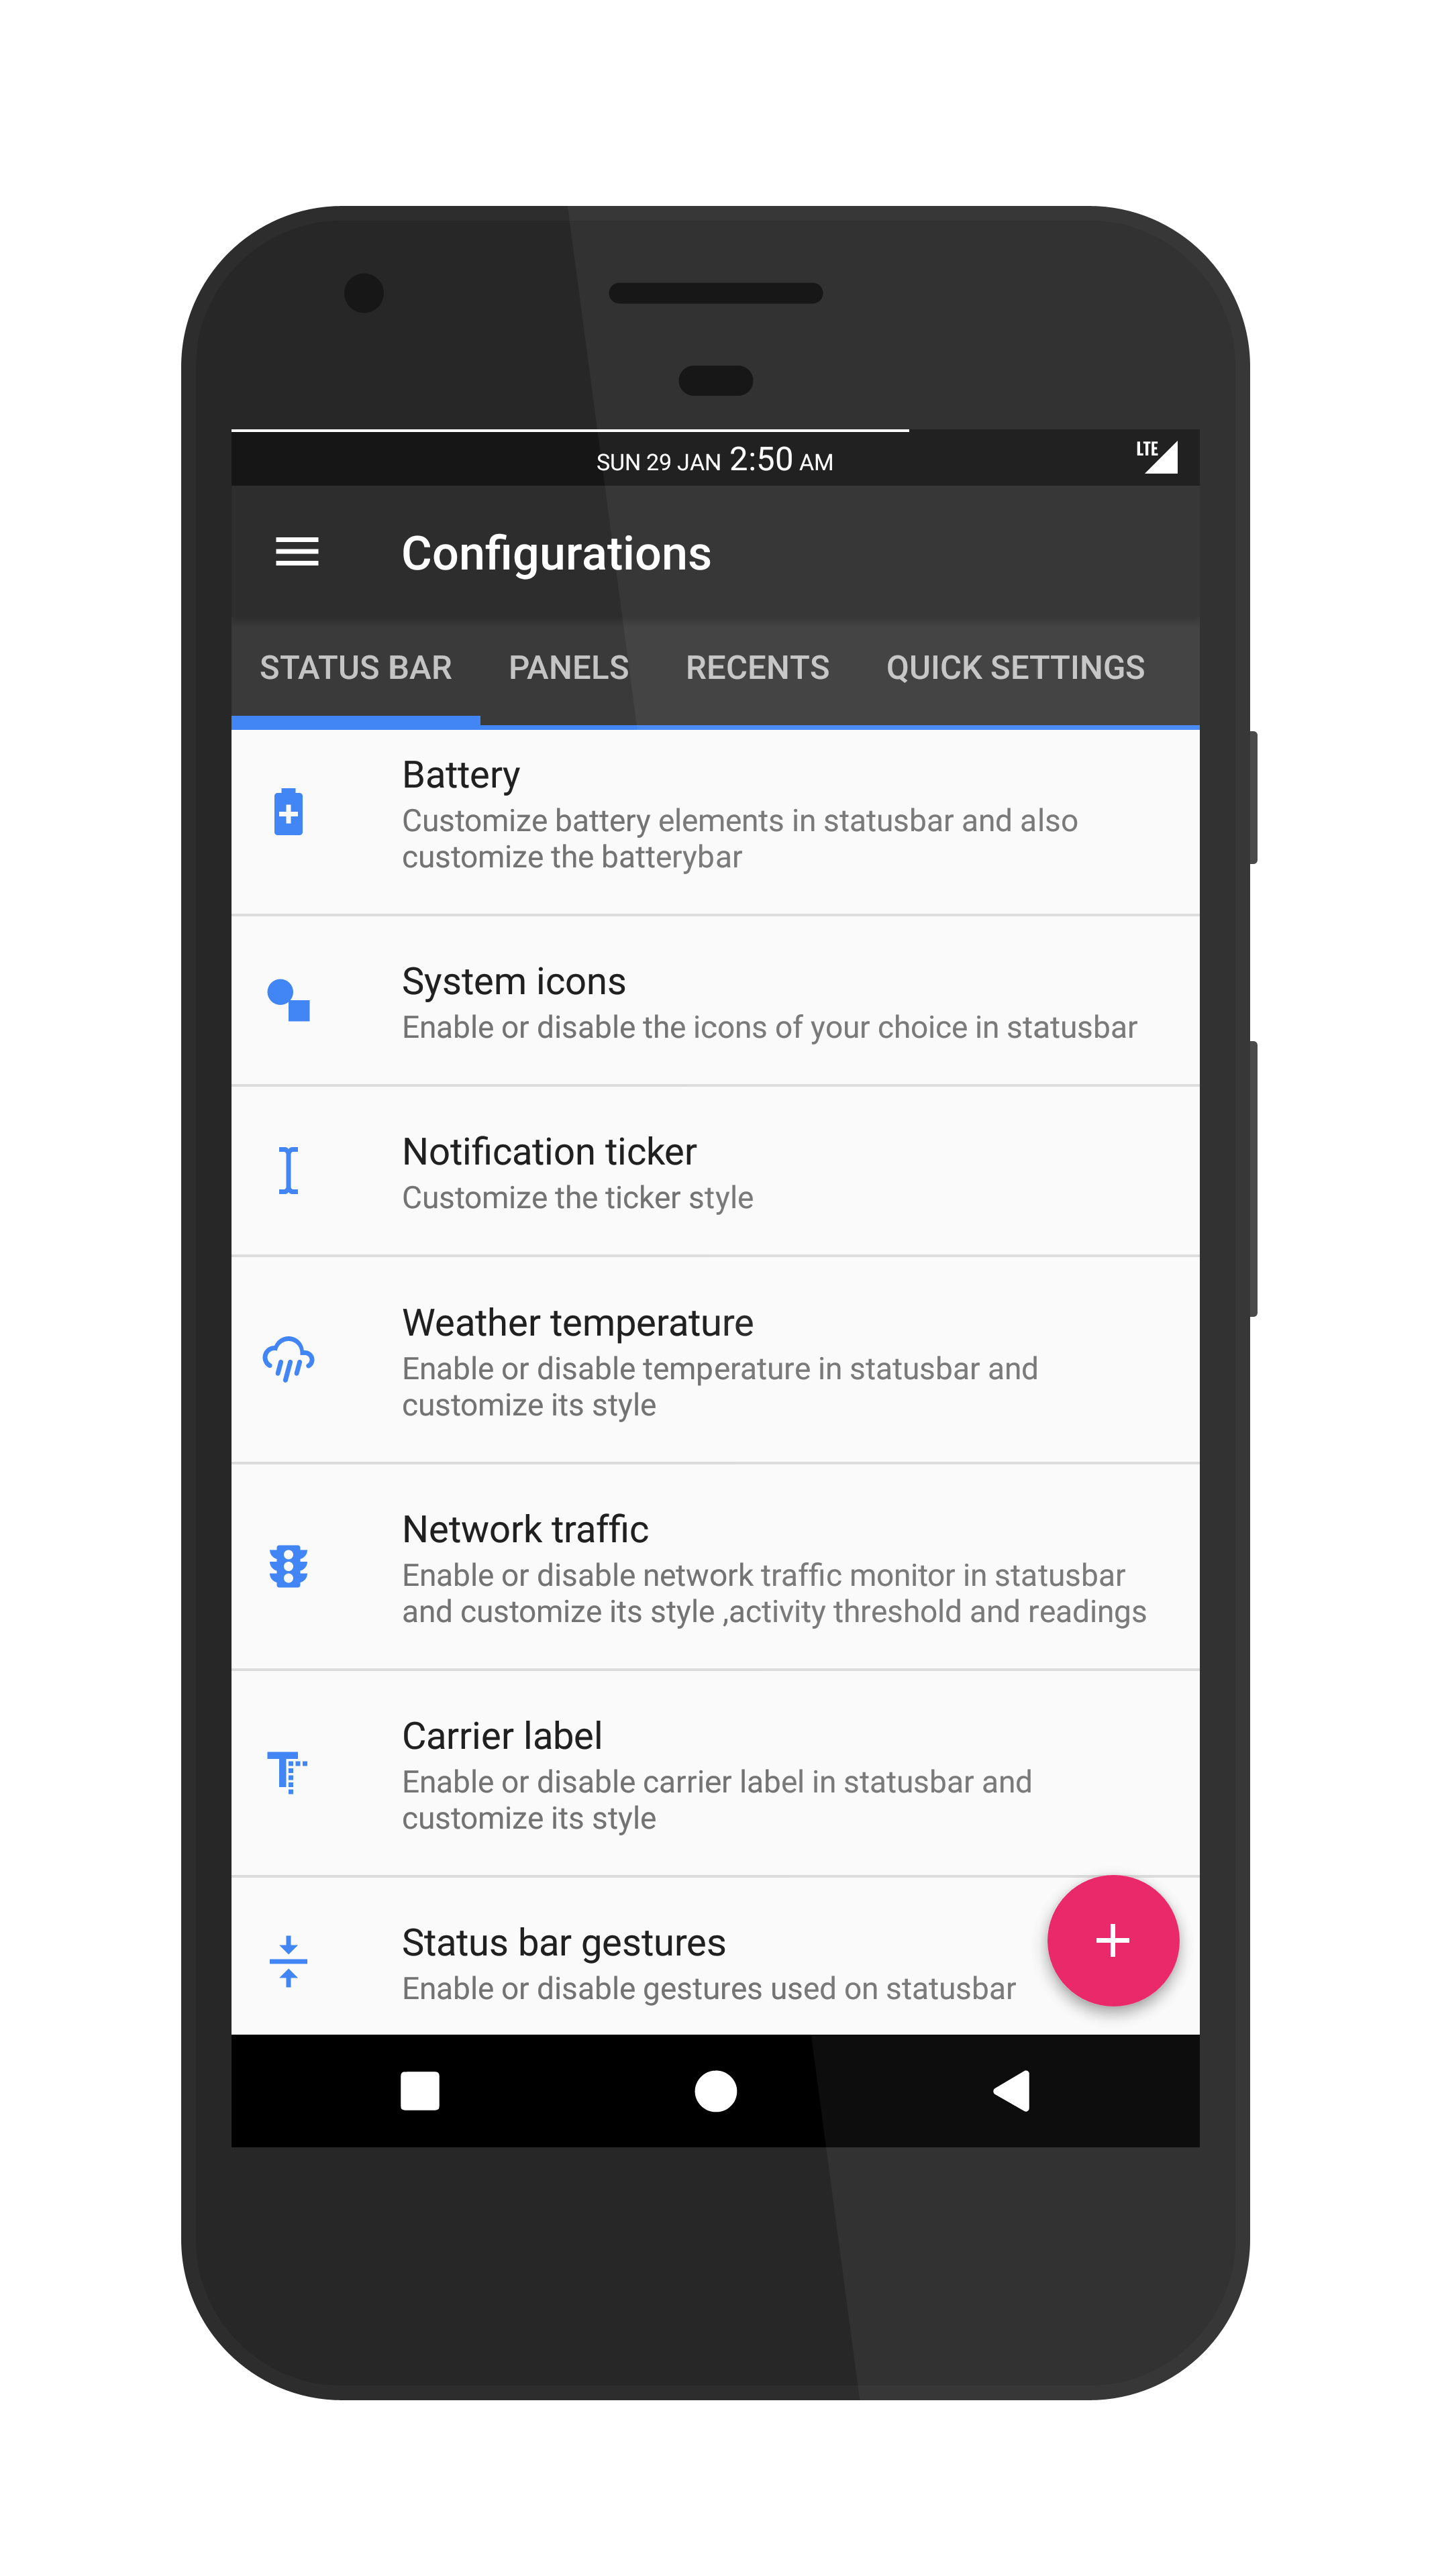
The ROM includes a ton of customization options listed below:
- Enable/Disable Navbar
- Navbar Button Customization smart bar
- Navbar Pulse
- Navbar Fling
- Double Tap To sleep navbar
Statusbar
- Brightness Slider
- Enable/Disable Show Notification Count
- Carrier Label
- Clock Customizations
- Time & date
- Center/Right/Left Clock Choice
- Date Format
- Clock Font Styles
- Battery Bar customization
- Battery % Text
- Network Traffic Indicator
- Network traffic Color
- Custom Logos
- Style
- StatusBar Weather
- StatusBar Ticker
Animations
- Toast Animations
- ListView Animations
- System Animations
- Power Menu Animations
- Misc Animations
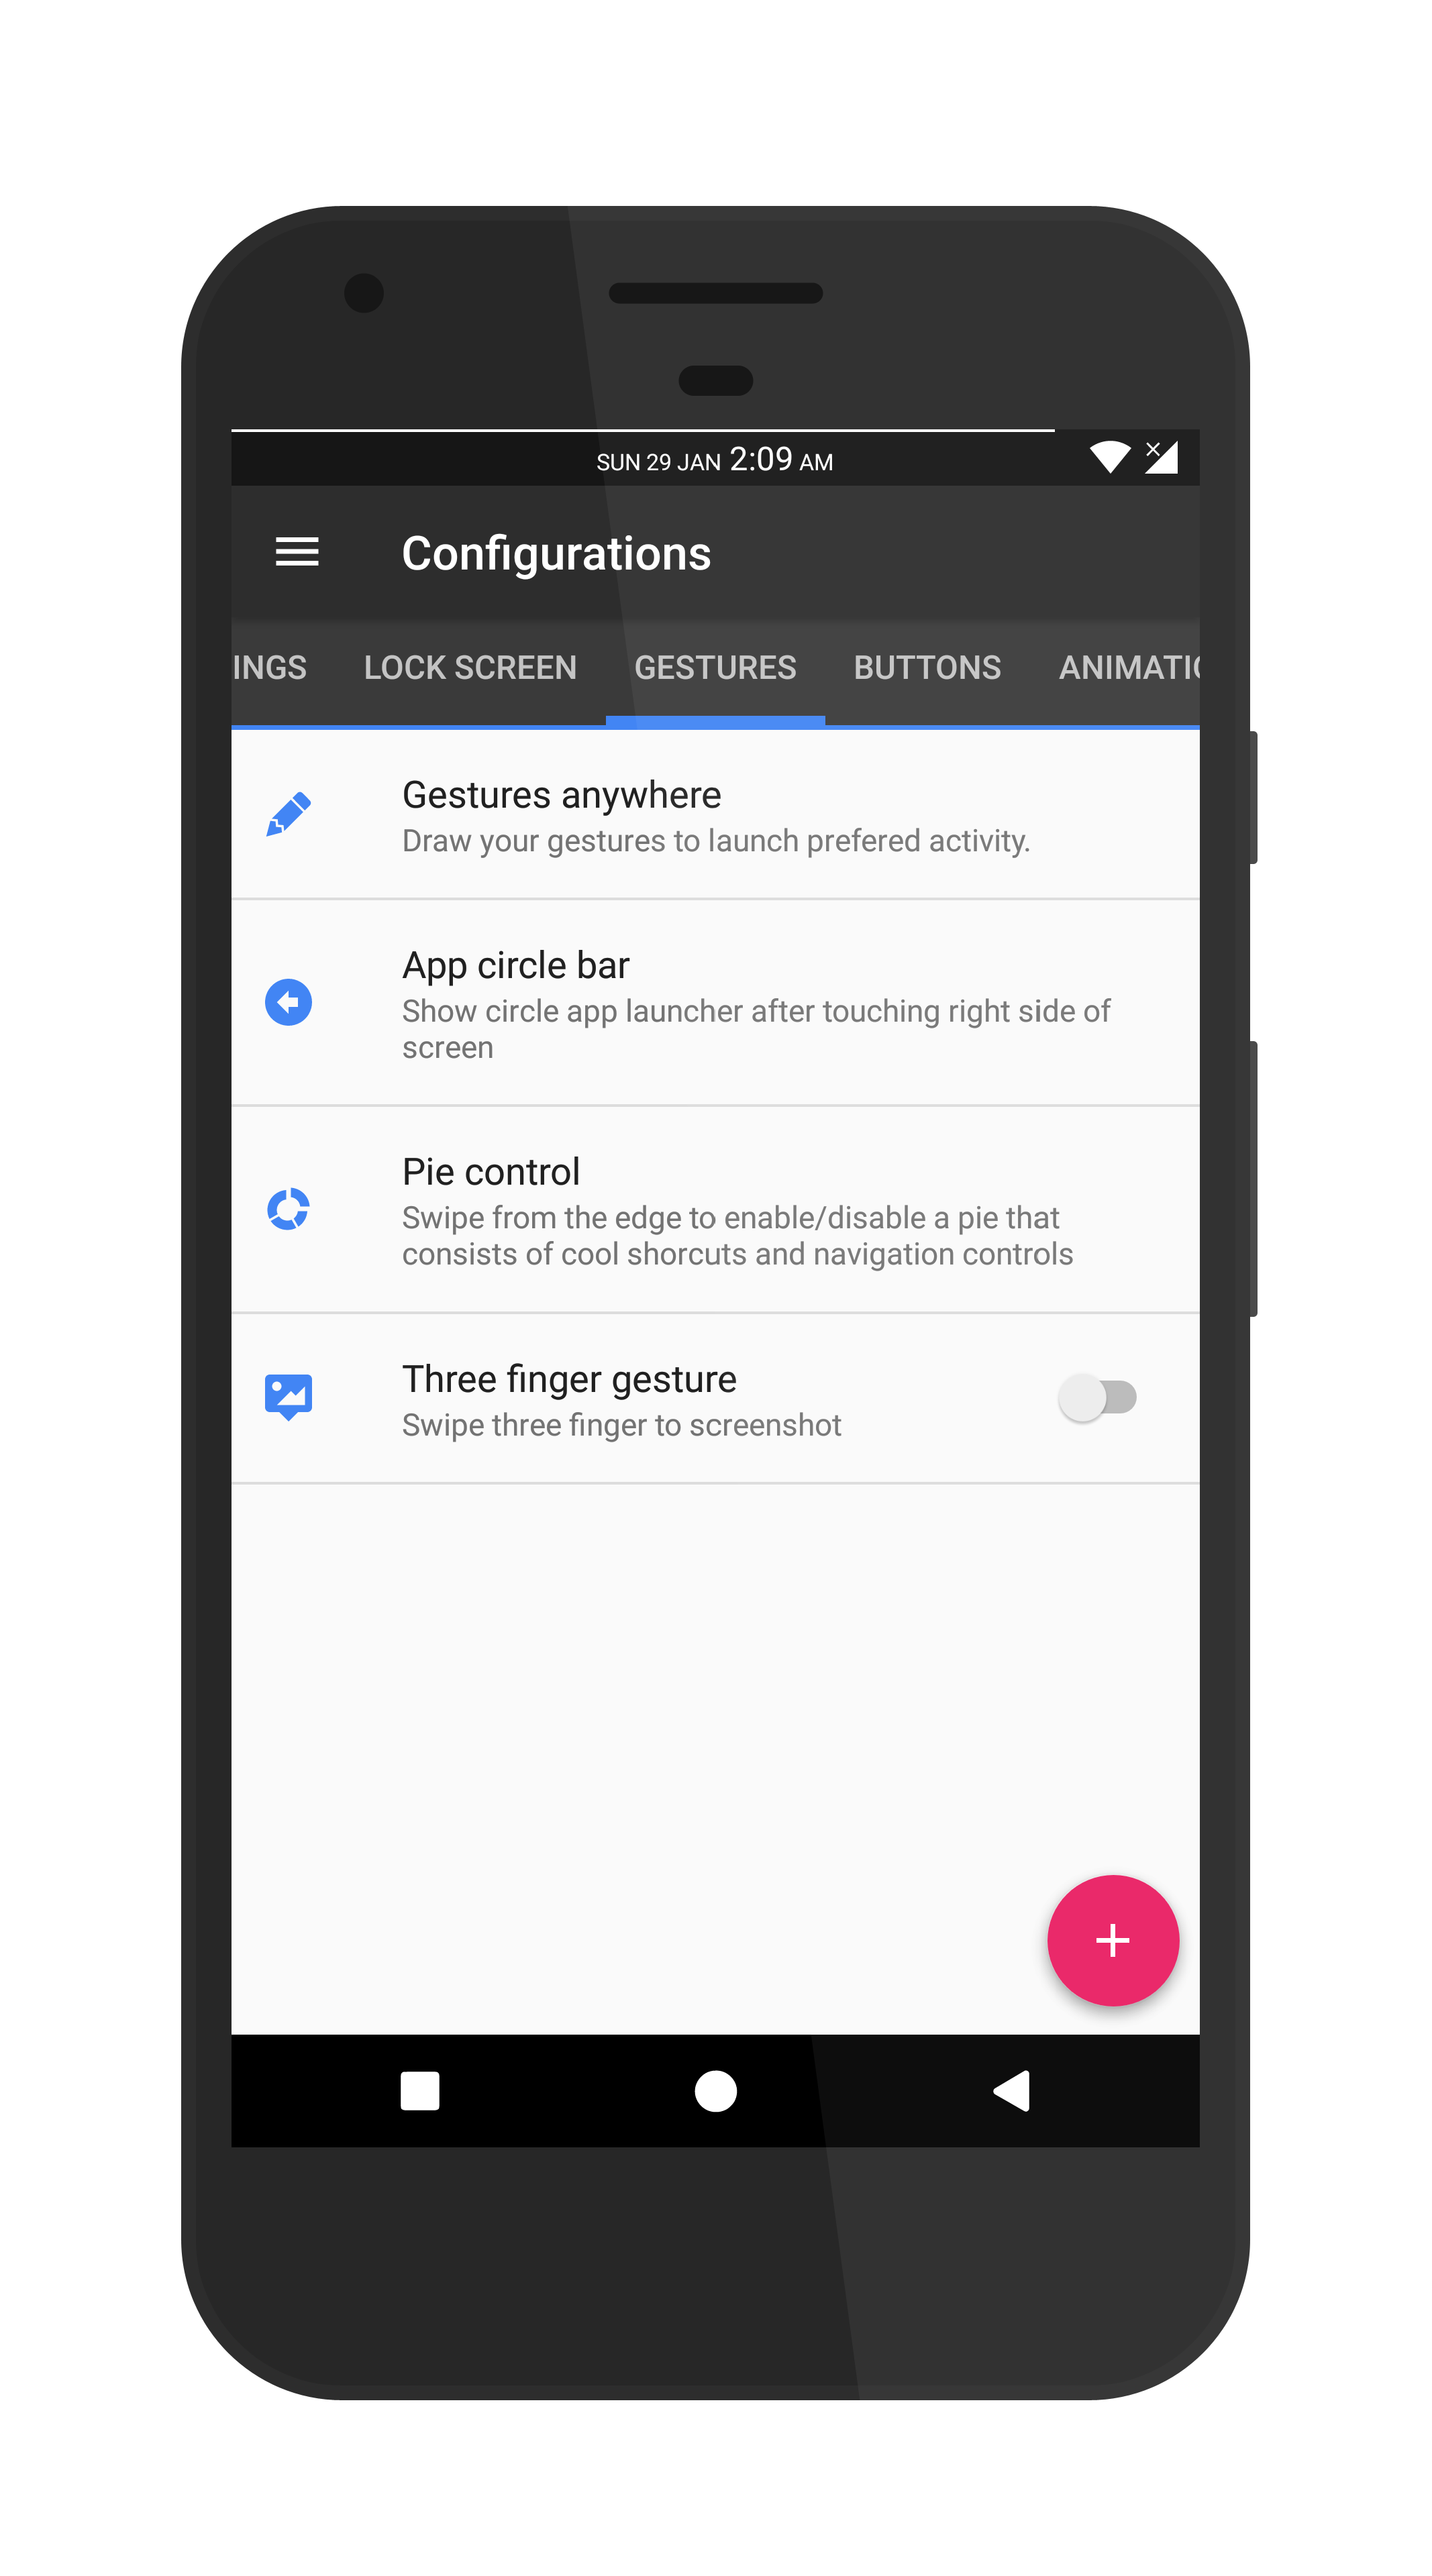
Gestures
- Gestures Anywhere Feature
- 3 Finger Swipe Screenshot Gesture
App Circle Bar
- Choose apps in AppSidebar
- Trigger Width, Height, Position
- App Sidebar
- Choose apps in App circle
- Pie
Recents Panel
- Clear All Tasks Switch
- Clear All Button Location(Top right,Top Left,Top Center,Bottom Left,Bottom Right,Bottom
- Center)
- Full-Screen Recents
- OmniSwitch
Clock Widget
- Clock And Alarm Customizations
- Weather Panel Customizations
- Calendar Events
LockScreen
- Lockscreen Bottom Shortcuts
- 100+ Icons for Shortcuts
- Double Tap to Sleep Lockscreen
- Lockscreen Media Art/Enable Disable
- Quick PIN/Pattern Unlock
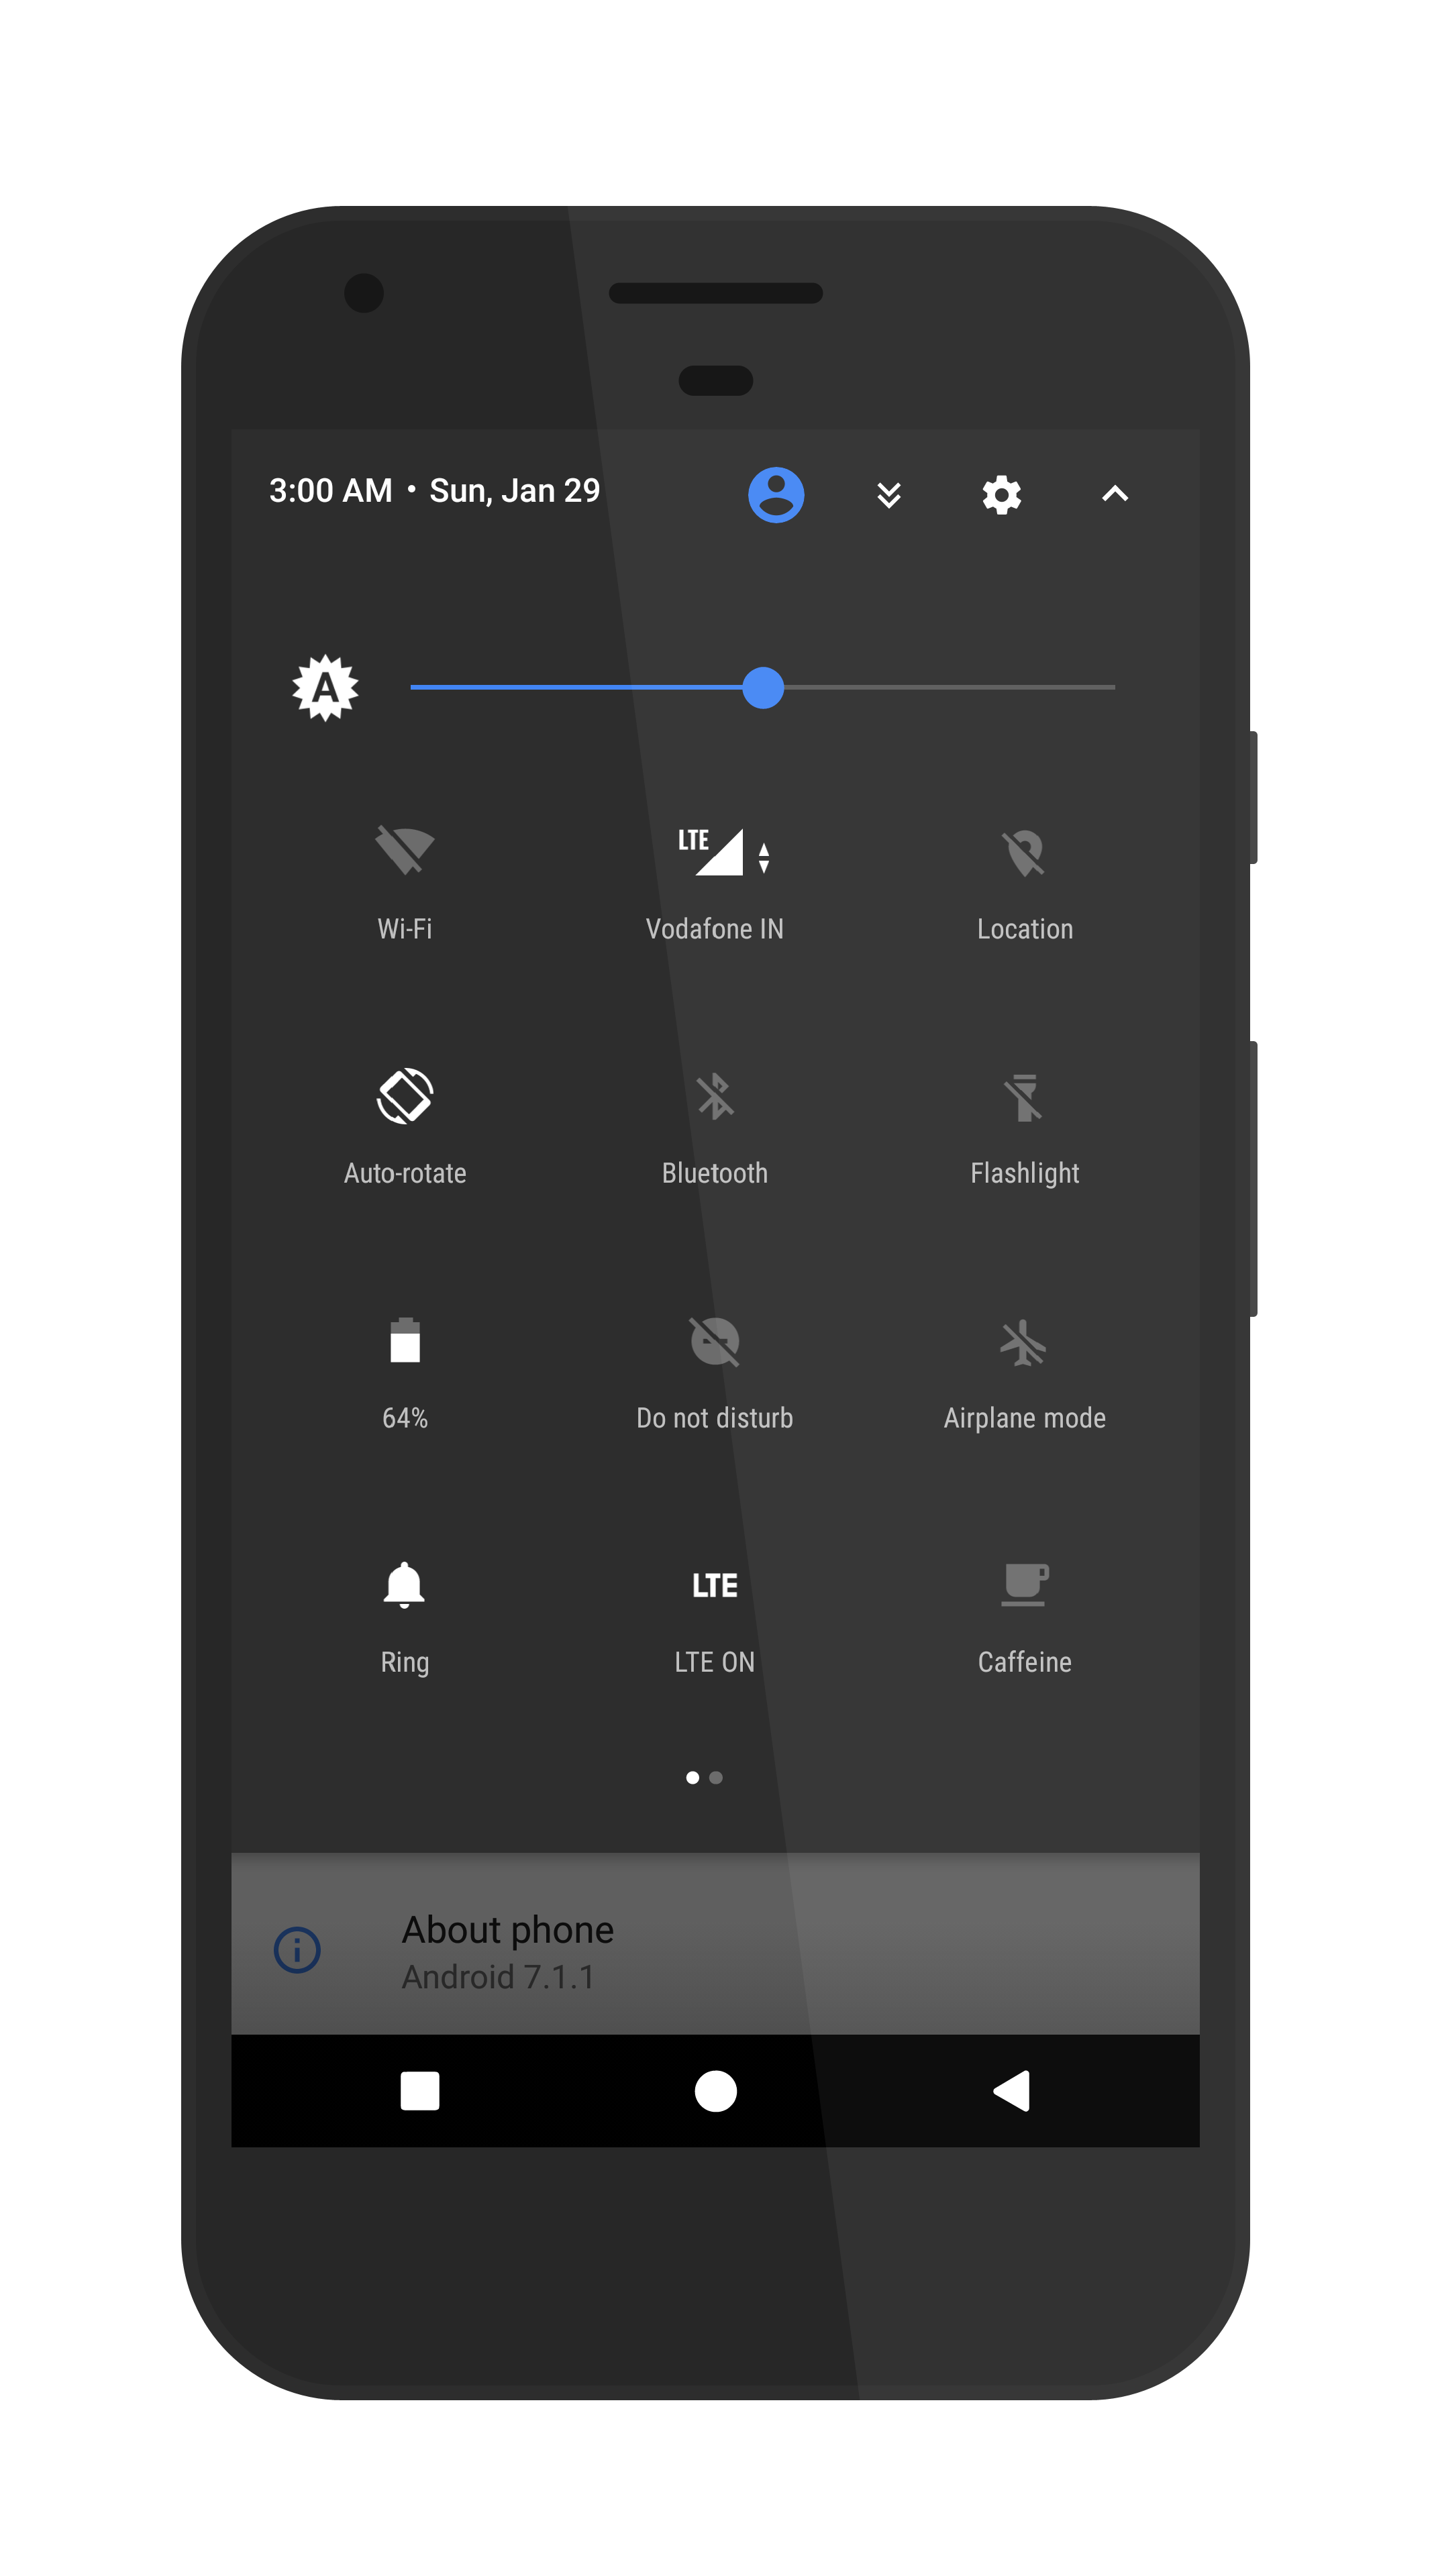
Quick Settings Tiles
- Customizable Tiles
- Dynamic Tiles Adjustment
- Number of columns/rows
- Tile Animations
- Notification Drawer
- LongPress Toggles to Enter Settings
- Disable Immersive Mode Messages
- Force Expand Notification
- Quick PullDown
- Smart Pulldown
- Notification Panel Transparency
- Volume Dialog Transparency
- Notification Panel Stroke
- Volume Dialog Stroke
Buttons
- Backlight Timer
- Backlight Strength
- Home Button(For devices with HW keys Only)
- Home Button answer call
- Long Press Actions
- Double Tap Actions-Menu Button(For devices with HW keys Only)
- Short Press Actions
- Long Press Actions-Search Button(If Device Supports)
- Short Press Action
- Long Press Action-Volume Buttons
- Wake Up Device
- Playback Control
- Ringtone Volume Control
- Keyboard Cursor Control
- Swap Buttons on Landscape mode
- Volume Key Answer
Advanced Reboot Menu
- Power Menu Customizations
- Power Off
- Reboot(Recovery, Bootloader, Hot Reboot)
- ScreenShot
- Power Menu End Calls Switch
- Restart SystemUI
- Airplane Mode
- ScreenRecord
- On the Go Mode
- Sound Panel
SystemUI Tuner
- Enabled By default
- Removed Demo mode and Tweaked SystemUI Tuner As compared To AOSP
- StatusBar Icons Customizations
- Quick Settings Customizations
- Performance Profiles
- LCD Density
- Expanded Desktop Mode
- Heads Up Switch and customizations
- Live Display
- Configurable 0,90,180,270 Degree Rotation
- Lock Screen Autorotate Switch
- Native Tap to Wake From Marshmallow
- Double Tap Power Button To enable Camera gesture
- Prevent Accidental Wakeup
- Wake Phone on Charging Plug
- Battery Light Customizations
- Notification Light Customizations
- Font Size
- CM privacy guard
- Performance Tweaks(Kernel Aduitor Inbuilt)
Miscellaneous
- SELinux Switch (Switch Between Permissive and Enforcing SELinux if Device has Selinux Enabled)
- cLock Shortcut
- Disable Battery Saver Warning Color
- OTA U
- Camera Shutter Sound Enable/Disable
- CM root in-built
Prerequisites
- Charge your device up to at least 50% before starting the procedure. It’s not a set rule but better safe than sorry.
- Enable USB Debugging from Settings> Developer Options.
- Backup all your important data to your SD Card or PC.
- Make sure you have rooted Pixel XL and TWRP recovery already installed.
Disclaimer
The procedure described here has been tried and tested by the developer, as well as many other users. By following our post, you agree that you understand the risks involved and will take full responsibility for whatever happens to your device. We have been extremely careful in describing the procedure below and we hope you follow it carefully. We, at DroidViews, are not responsible for anything that happens to your device as a result of following the procedure incorrectly. If you are okay with this, then go ahead with the tutorial. Do remember that this procedure will void your warranty.
Install Resurrection Remix ROM on Google Pixel XL
- Download the Resurrection Remix v5.8.2 ROM and TWRP RC1 for Google Pixel XL.
- Transfer all the files to your Pixel XL device.
- Power off your Pixel phone.
- Press & hold Power + Volume down button for a few seconds. This will boot your phone into bootloader mode.
- In the bootloader mode, press Volume down button twice to highlight Recovery mode and press the Power button to select it.
- Once in the TWRP recovery, select Install and navigate to the TWRP RC1 zip file downloaded earlier. Swipe to flash it. Go back to the main menu, select Reboot>Recovery
- This should reboot your device to TWRP RC1 recovery. Select Wipe>Advanced Wipe and wipe Dalvik cache, Cache, and data. Do not wipe system.
- Flash the ROM and then the TWRP RC1 zip again.
- Reboot.
The Gapps are already baked into the ROM for this version but the developer says this might change in the future. As usual, the first boot might take a while so be patient. Refer to the source link for more information.
See Also: Download Google Pixel Stock Wallpapers and Ringtones


Join The Discussion: