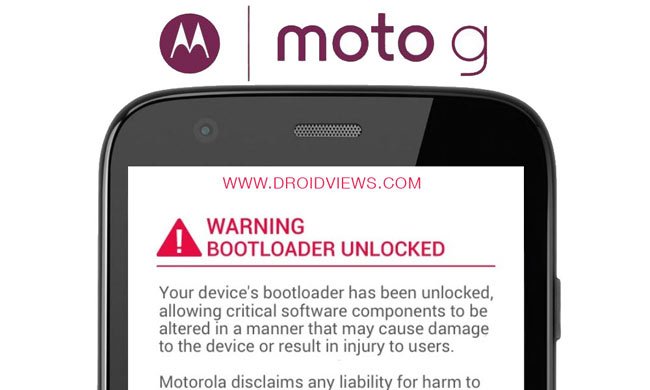
Almost all devices come with locked bootloaders in order to restrict users from performing any unauthorized activities on the device. However, with many developers and hackers in the Android community, it is very difficult to restrict the users to sit idle and use the same thing they bought on day One. The process for unlocking bootloaders for almost all devices can be found on any developer forums or blogs. So it’s a clear sign that no restrictions are applicable in the Android world.
The manufacturers are not against unlocking the bootloader, they give users the choice to use the locked bootloader or to unlock the bootloader. Without an unlocked bootloader, it is difficult to root or install custom recoveries on the device, so we usually unlock the bootloader on the device which will trigger the flag bits in the register that voids the warranty. Rooting an Android device is like taking a sip of water these days, and even the manufacturers are aware of these activities but still, they chose to launch devices with locked bootloaders.
In an act of reminding your unauthorized activities, the OEM’s designed the bootloaders such that whenever an unlock operation is performed an ugly screen reflecting the crimes you’ve committed. It’s a warning screen that will replace the logo.bin file in your Android system which will remind you that the bootloader is unlocked, your device warranty will be void, your device may be subjected to software crimes and blah blah!!! This screen is just a part of OEM’s advice for locked bootloaders and you don’t need to be panicked on this.
To make you feel better, we will show you how to replace the disgusting Warning screen with the default logo of your device. This guide is intended only for the Moto G but the process is applicable to any device as long as you pick the correct logo.bin that is meant for your device. So follow the process carefully to get rid of unlocked bootloader warning on Moto G and say Hasta La Vista to the warning symbol. The process is applicable on any device, but make sure to get the correct logo.bin or you’ll get into trouble.
Preparations
- If you are able to see the bootloader unlocked warning screen, we presume that you already have unlocked the bootloader on your Moto G.
- Download the stock logo.bin file to replace the warning screen.
- Either setup ADB and Fastboot on your computer, or download the Minimal Fastboot tool and unzip it: mfastboot-v2.zip
- Install Motorola USB Drivers on your computer.
- Enable USB Debugging on your Moto G.
Removing Bootloader Unlocked Warning on Moto G
- Extract the Logo zip file and copy the logo.bin file to the mfastboot-v2 folder. In case you have installed Android SDK, copy the logo.bin file to the platform-tools folder.
- Open a command window in the fastboot folder by pressing Shift+ right-click on your mouse at an empty space and select Open command window here option.
- Execute the following command line in the command window to reboot into bootloader mode:
adb reboot bootloader
- Once in the bootloader mode, type the following command and press Enter key to dump the logo.bin file to replace the warning symbol.
mfastboot flash logo logo.bin - Reboot your Moto G once the process is completed.
That’s it, the warning screen is now replaced with the ‘logo.bin’ file and you can see it by booting into the bootloader mode again.
Leave your feedback in the comments section below.


Thank you! It worked like a charm! ^_^
Hi, I did as what’s mentioned above and successful removed the warnings. Now, I’m not able to unlock the bootloader again, I followed all d steps from Motorola website, but unlocking failed.. Pls help
Thanks!!!
Thanks, your guide came in handy today !