On the Project Treble supported devices, one AOSP Generic System Image or GSI can be booted. Since the Nokia 6.1 Plus supports it, you can flash Generic System Image or GSI on it. Follow the tutorial to know how you can do that.
Over the past year, you may have heard quite enough about Project Treble and how it is supposed to help major Android updates roll out more quickly. There’s also another aspect to Project Treble and compatible devices. A single AOSP Generic System Image (GSI) can be booted on any Project Treble supported devices. This makes the job of third-party custom ROM developers a whole lot easier. It also means that your heavily skinned, Samsung, LG or Huawei device can run stock Android even if there isn’t a custom ROM specifically developed for it. Nokia 6.1 Plus is one of the supported Project Treble devices. Today we’ll guide you through the process of flashing a GSI on your Nokia 6.1 Plus.
Warning
While Project Treble devices are supposed to be able to boot a generic system image, they don’t necessarily do it without issues. This means that you may have a broken camera, and bigger issues or you may have none, depending on the GSI you’re booting and your device. The process also requires an unlocked bootloader, and unlocking the bootloader will void your warranty. It will also result in a complete format of your device.
We can assure you that the method mentioned below has been successfully tested and that it works perfectly fine. What we can not assure you of is that everything that you do (even if you follow this guide exactly) will produce the desired result. That is to say, there’s always a risk that something can go wrong. In which case, you must understand that you were warned, and you still went with it anyway. Therefore, DroidViews cannot be held liable for any damage to your device.
Requirements
- A Nokia 6.1 Plus with an unlocked bootloader.
- TWRP recovery must be installed on your Nokia 6.1 Plus. We already have a guide up on how to do just that and root the device. You don’t have to root it though, just stop once the TWRP is installed. In fact, your device shouldn’t have Magisk, Xposed or any similar modifications that modify the stock boot image.
- You can also use fastboot which means you’ll need to install ADB and Fastboot on your computer. We have detailed guides on how to install and set up ADB and Fastboot on the three major desktop operating systems. If you don’t know how to do that, you can check out the links to our guides below.
- Make sure the device has at least 70% battery before you start the process.
- Enable USB debugging and OEM Unlock on your device.
- A generic system image that you want to flash on your Nokia 6.1 Plus. You can download a GSI for most custom ROMs by searching for them on Google.

Downloads
Flash Generic System Image (GSI) on Nokia 6.1 Plus – via command line
- Download the vendor and boot image files from the links provided above. They’re the stock images from the stock Nokia 6.1 Plus firmware.
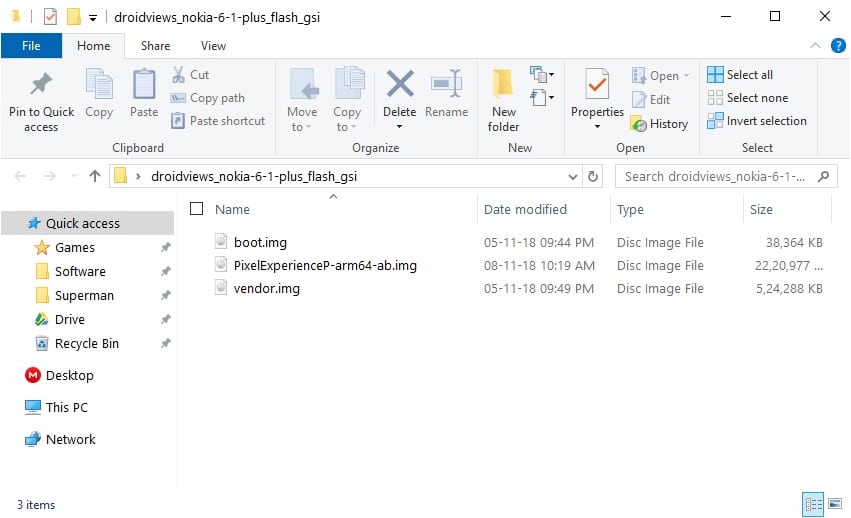
- Place the downloaded vendor and boot image files in the same folder as the generic system image that you want to flash. It would be easier to just place all the three files in your adb folder instead if you haven’t installed a system-wide adb and fastboot.

- Open a command window inside your adb and fastboot folder.
- Connect your Nokia 6.1 Plus to your computer with a USB cable and reboot it into fastboot mode using this command.
adb reboot bootloader
- Format your device with the following fastboot command. This will wipe your device’s internal storage as well.
fastbot -w
- Now flash the vendor image with this command.
fastboot flash vendor vendor.imgIf you’ve placed the image files in a separate folder outside the adb folder, you’ll have to enter the full path to the image files as well. For instance,
fastboot flash vendor C:\Users\DroidViews\Desktop\droidviews_nokia-6-1-plus_flash_gsi\vendor.img - Similarly, flash the downloaded system image with the following command and make sure to enter the full path to the image file if it is placed outside the adb folder.
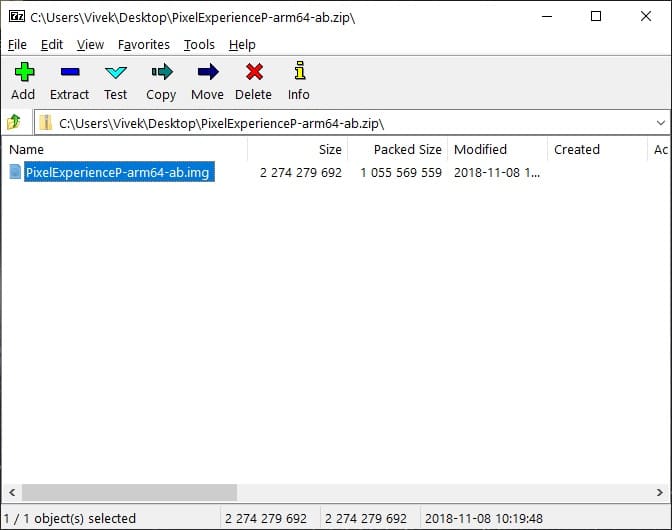
fastboot flash system PixelExperienceP-arm64-ab.img - The system image may take a while to flash but when it’s done, flash the boot image with this command.
fastboot flash boot boot.img - Format the device again.
fastboot -w
- Now, reboot it.
fastboot reboot
Flash Generic System Image (GSI) on Nokia 6.1 Plus – via TWRP
- Transfer the vendor, boot and the generic system image files to your device’s internal or external storage.
- Reboot your device to recovery mode.
- In TWRP, select Wipe > Advanced Wipe and then select all the partitions except the internal and external storages.
- Swipe at the bottom to wipe the selected partitions.
- Go back to the TWRP main screen and select Install > Install Image.
- Select the vendor.img file and in the partition box select vendor image. Swipe at the bottom to flash the image.
- Similarly, flash the generic system image file (PixelExperienceP-arm64-ab.img) and select system image in the partition box and then flash boot.img and select boot image in the partition box.
- Once all the images are flashed, select Reboot system.
When your device boots up, it should boot up into a clean, stock Android Pie.


Join The Discussion: