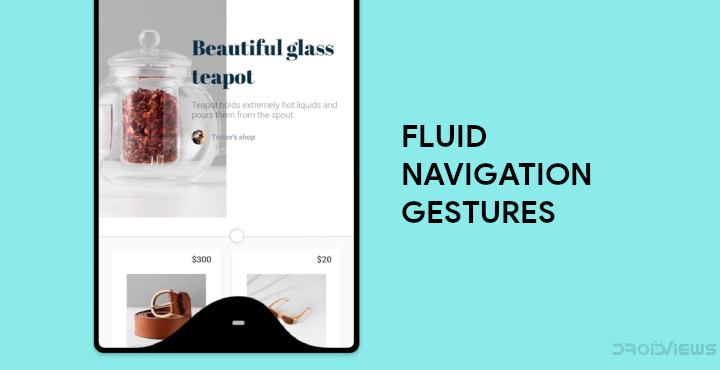
Since the iPhone X, the concept of using gestures to navigate has become one of the trending features on Android devices, along with the notch. Unlike the notch though, navigation gestures aren’t really new. In fact, they’ve existed on phones that are now considered outdated and archaic. It has even existed on custom ROMs on Android like the Pie menu from Paranoid Android. Now Android Pie has its take on gestures using buttons, which is a little confusing. Several OEMs have come up with their own take on full-screen gestures without a navigation bar. None of them are as intuitive, beautiful, lively, or customizable as this little app called Fluid Navigation Gestures.
Fluid Navigation Gestures: Navigate on Android in Style
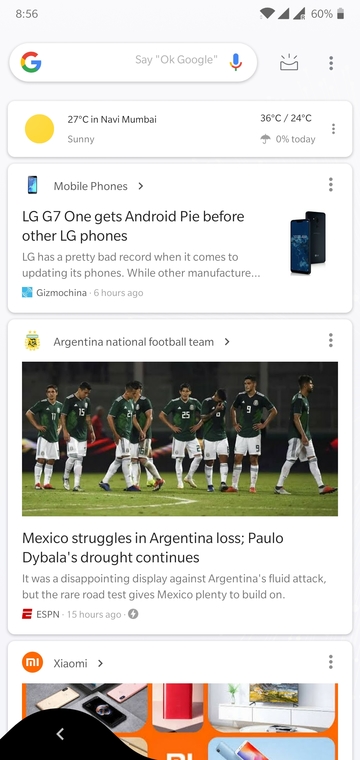
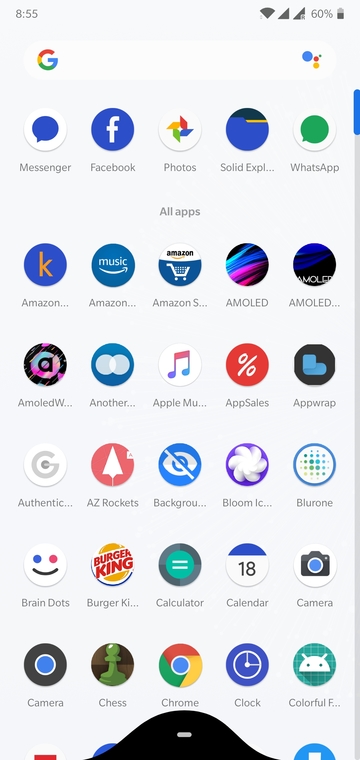
Now again, this isn’t the first app built to help users navigate using gestures. There have been plenty including this neat app from that uses an iPhone-esque gesture bar. Sure, everything the iPhone does become a trend but Fluid Navigation Gestures can make even that app look dull and uninspiring. The demonstration video will speak a lot better than words so check it out. There are essentially only two gestures, swipe, and swipe to hold. There are 5 different places to perform the gestures on though. These are the left and right edges of your screen, the bottom-left, bottom-center, and bottom-right of the bottom edge.
Read also: Simplify Your Android Experience with fooView – Float Viewer
If you’re counting, that brings a total of 10 different actions that you can set up. Below is a list of actions that the app can perform, but we expect a few more with more updates.
- Back
- Home
- Recent apps
- Toggle split screen
- Open notifications, power dialog, quick settings & keyboard selector
- Voice Search
- Launch Google search overlay, assistant, apps & shortcuts
Download the App
Activate Fluid Navigation Gestures
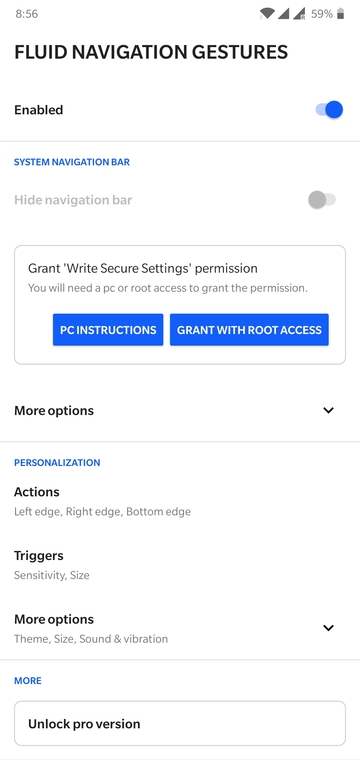
Most Android smartphones these days have a navigation bar already, even Samsung and OnePlus couldn’t avoid it trying to trim down the bezels. Their presence, kind of makes gestures pointless and also a bit harder to use while we want to make the navigation bar pointless with gestures. When you launch the Fluid Navigation Gestures app, you’ll probably notice the two big buttons before anything else. One of them reads GRANT WITH ROOT ACCESS and the other PC INSTRUCTIONS. The app will require the permission to write system settings in order to hide the navigation bar which is a part of the System UI. If your device is rooted, you can simply tap on the GRANT WITH ROOT ACCESS button, grant root access and you should see your device’s navigation bar gone.
Use ADB
If you’re not rooted, you’ll need to grant the permission using ADB, which requires the use of a PC with ADB installed. We have guides available on how to install ADB and fastboot on Windows, Mac, and Linux that you can refer to. When you have adb installed, launch it on your PC and connect your phone to it via a USB cable. Make sure to enable USB debugging on your phone found in the Developer options. When you connect your device to the PC with adb started, you should see a popup on your phone. Tap ALLOW so as to grant the PC USB debugging permissions. If you don’t see something like that, try using the command given below in the ADB command window.
adb devices
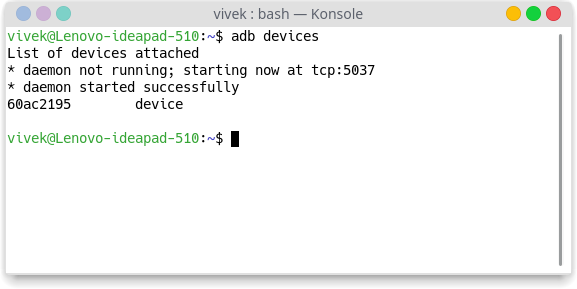
When you grant the necessary permission, you should see your device’s serial number as shown above. This also means that your device is properly connected. So you can go ahead and enter the following command in the adb window to grant the required permission to the app.
adb shell pm grant com.fb.fluid android.permission.WRITE_SECURE_SETTINGS
Linux users not using Ubuntu or one of its derivatives as well as Mac users will need to use the command below.
./adb shell pm grant com.fb.fluid android.permission.WRITE_SECURE_SETTINGS
You won’t see anything when you enter the command but the two buttons on the app should disappear at that point and you can toggle the navigation bar off or on from the app.
Customize Fluid Navigation Gestures
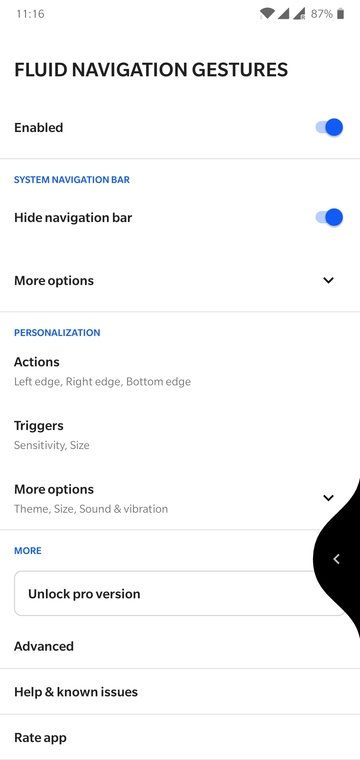
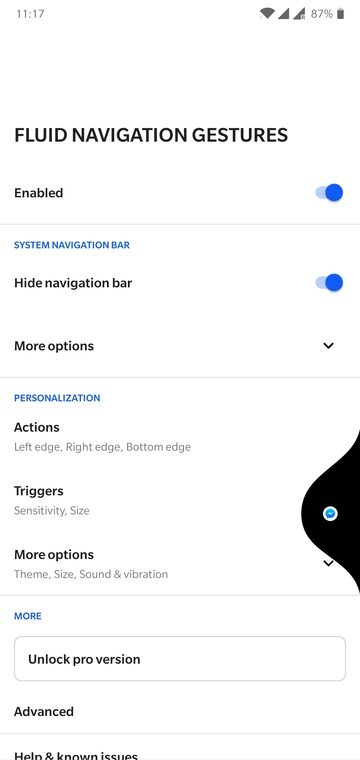
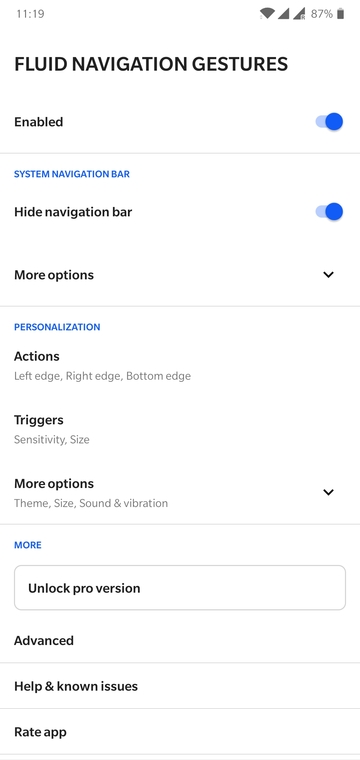
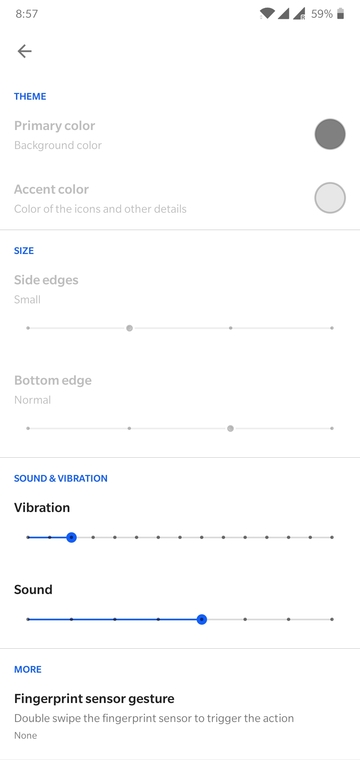
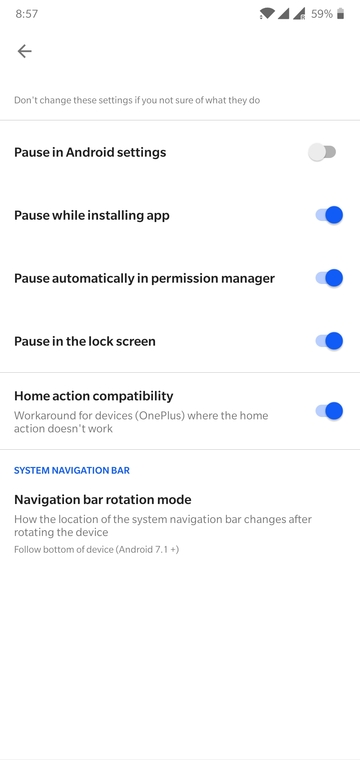
Fluid Navigation Gestures is pretty simple and most of the things that you may want to do are accessible right on the main page instead of being tucked around inside drawers on pop-out menus. By default, the app allows the navigation bar to be visible when the software keyboard is up. You can change that by going to More Options under the SYSTEM NAVIGATION BAR heading. Under PERSONALIZATION, you can assign all the different actions, set the trigger size and sensitivity, change the colors, size, sound, vibration, etc. Some options are locked in the free version. You probably shouldn’t change anything in the Advanced settings unless you’re having issues.
Read next: Make Your Android Device Look Amazing with Swift Installer



Nyc