If you are an Android enthusiast, you might already have come across android system dumps uploaded by developers for various devices; you can even check some of them out on our website through this link. And then you would wonder how they did it. In this post, we will describe how to pull image files from your Android device, and extract Nexus or Pixel Factory images to create a system dump.
What is a Factory Image?
A factory image is everything that your phone came preloaded with, in an archived format. Just like burning .iso files on CDs with Daemon Tools, a disc image file (.img) can be ‘flashed’ onto your Android’s internal memory. Generally, a factory image contains both the stock android, as well as the stock bootloader.
Also see: Understanding Smartphone Specs: The Camera
Manufacturers use image files to load their firmware after building the smartphone, and sometimes provide a copy of the same in their websites. There are two main uses of a factory image: first, for restoring your device to its factory state, and secondly to extract preloaded apps and other stuff (wallpapers, ringtones and whatnot) you might want to use elsewhere. Additionally, you can extract a factory image, add some modifications and repack it; although distributing such modified img files might not always be legally acceptable.
Getting the Image Files
To download factory images for Nexus and Pixel devices, click on this link. You will get a zip file, which can be extracted using any archive manager of your choice. Look through the extracted contents; there will be a bootloader factory image, another zip archive, and a few other files. For example, these are the contents of a factory image of the Nexus 5X (bullhead):
Unzip the image-*.zip file, to get a few more files:
Everything “Android” about your device is stored in the system.img file, so that’s the one we need.
Extract Nexus or Pixel Factory Images to Create a System Dump
In this tutorial, we will be using the System Image Extractor Tools developed by XDA Senior Member ZawZaw. Simply follow these steps:
For Windows
- Download SystemImgExtractorTool-Windows.zip from this link to your PC.
- Extract the contents of the zip file in a suitable location, using any zip tool.
- Copy the system.img file to the SystemImageExtractor folder.
- Now run the Extractor.bat file.
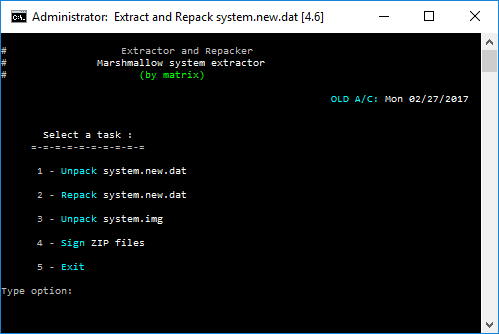
- In the terminal window that pops up, type 3 and press Enter.
- Now press any key to continue.
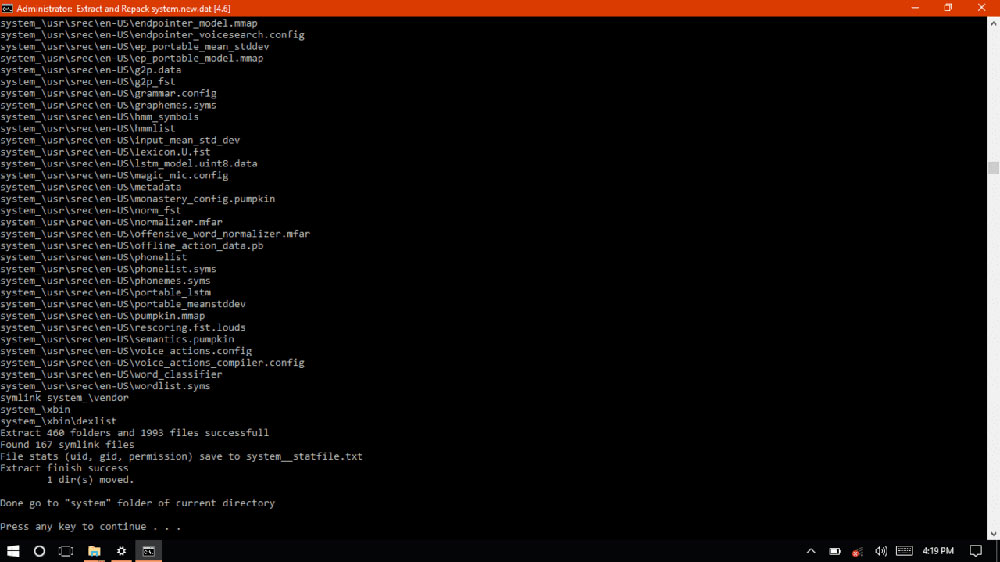
- The tool will now detect and extract the system.img file.
- When prompted, press any key to finish the process.

- Now exit the terminal window by typing 5 and pressing Enter.
- You will notice a new folder created in the SystemImageExtractor directory.
- Open this folder to find all your extracted files.
Must Read: Boost your Chrome browsing experience with Earth View
For Linux Systems
- Download ImageExtractorTool-Linux.zip from this link to your PC.
- Extract the zip to any suitable location.
- Open the extracted folder and copy the system.img file to that location.
- Right click on any empty space inside the folder and select “Open Terminal”.
- Now type the following commands (press enter and wait for the process to finish after each command):
mkdir sys
./simg2img system.img sys.raw
sudo mount -t ext4 -o loop sys.raw sys/
sudo ./make_ext4fs -s -l *M -a system new.img sys/
- In the last command, replace * with the exact size of your system image in megabytes.
- The system dump will be created inside the sys folder.
Your system dump is now ready to use.
The app folder contains all preloaded apps your device comes with, while the media folder contains the audio files and the boot animation. Have fun!


Join The Discussion: